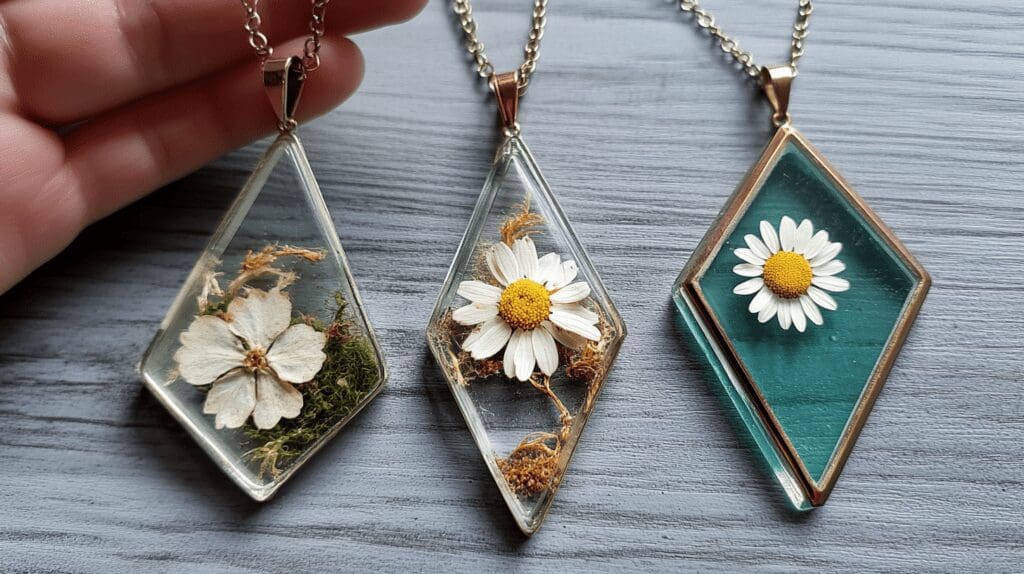
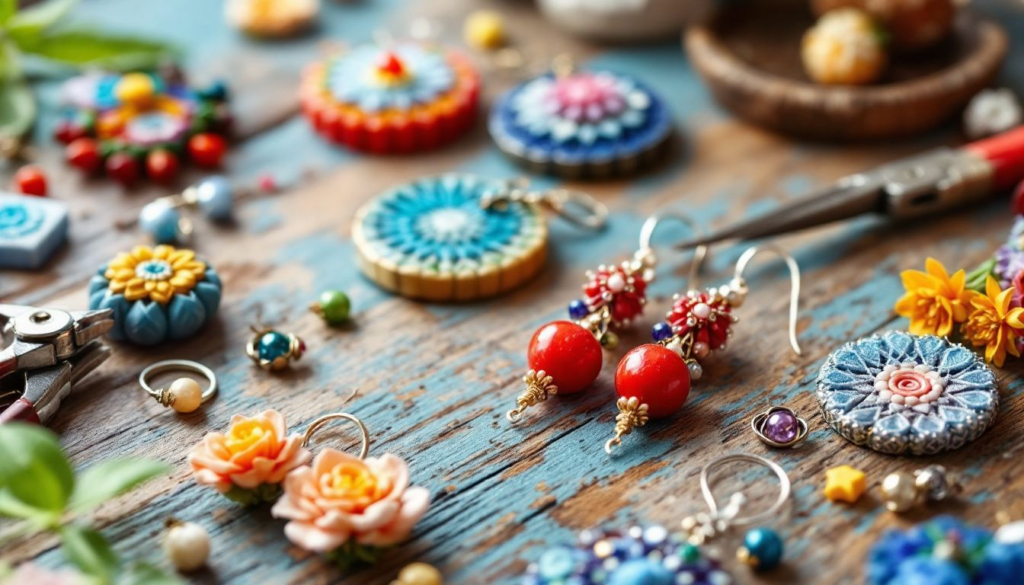
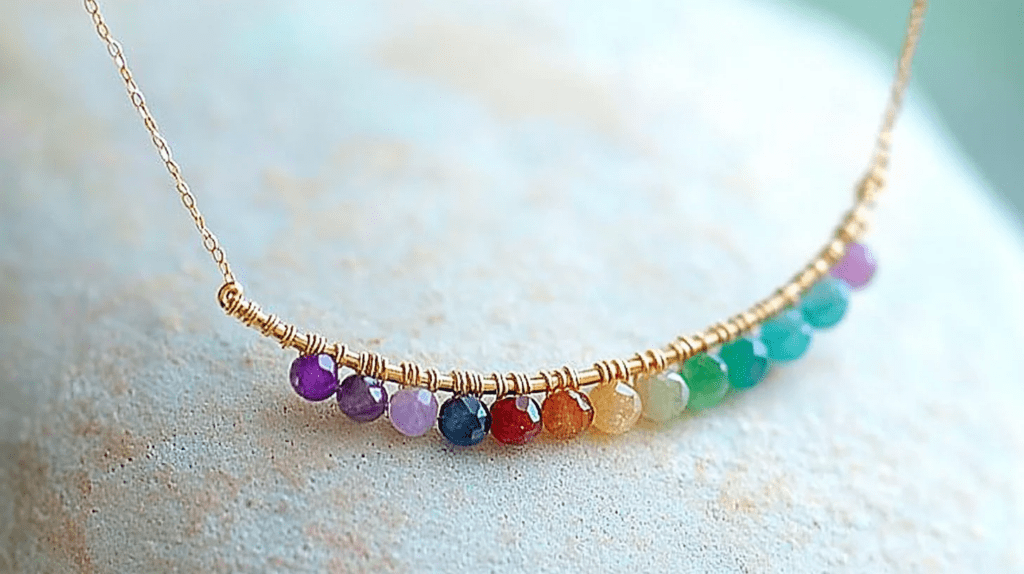
Are you ready to unlock your creativity and dive into the enchanting world of resin charms? Crafting these delightful little treasures is not only a fun and rewarding experience, but it also allows you to express your unique artistic flair!
Whether you’re a seasoned crafter or just a beginner, crafting resin charms can be an exciting adventure filled with vibrant colors and endless possibilities.
Join us as we explore the step-by-step DIY tutorial to create stunning resin charms that will spark joy and inspire others!
Key Takeaways
- Measure and mix resin and hardener in a precise 1:1 ratio for optimal curing.
- Incorporate opaque color pigments and embellishments to customize the resin mixture.
- Pour the mixture carefully into silicone molds to minimize air bubbles.
- Allow the resin to cure completely in a well-ventilated area for 24-48 hours.
- Demold the charms gently and sand any rough edges for a smooth finish.
What Are Resin Charms?
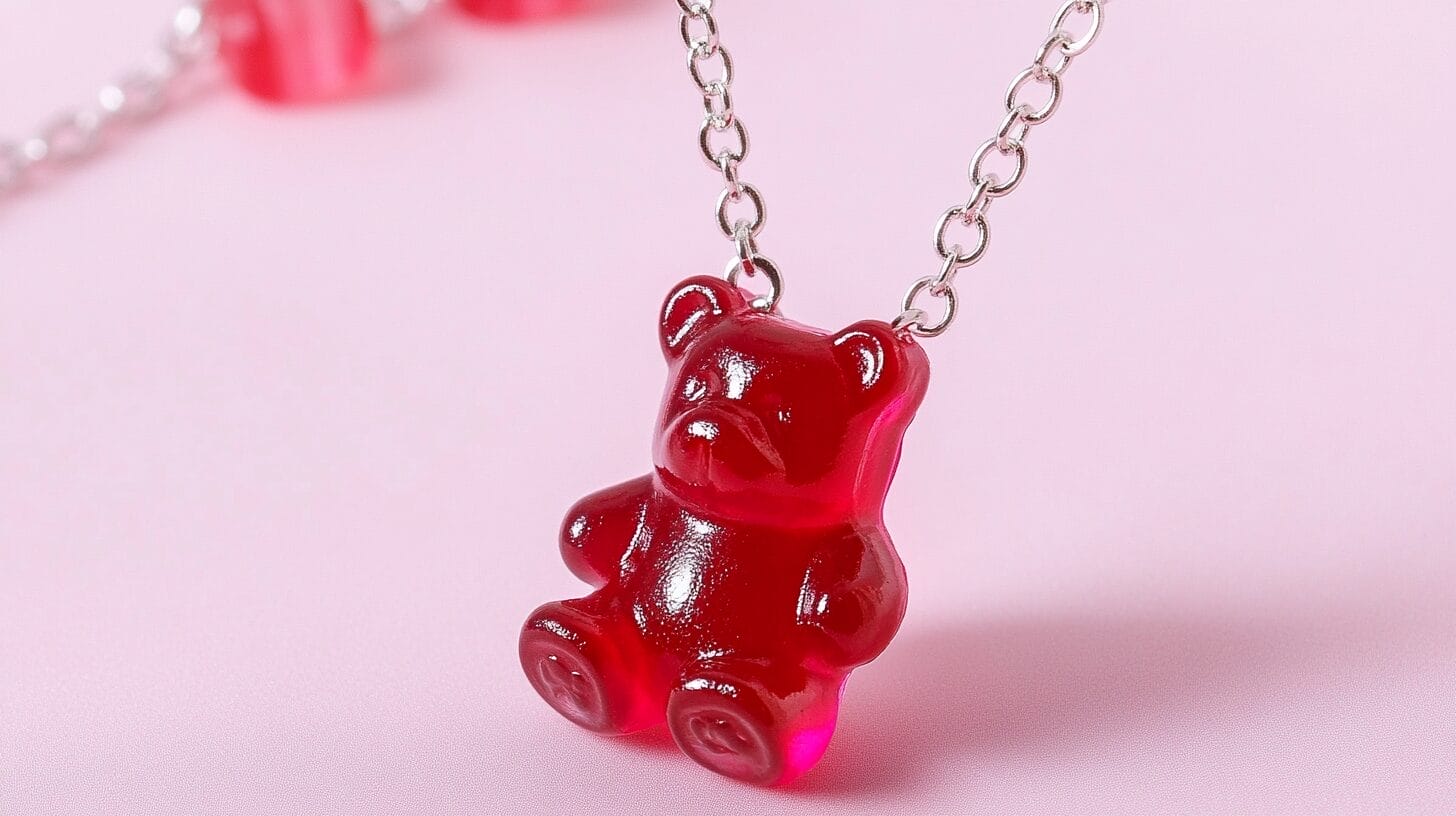
Resin charms are captivating decorative items made by pouring a two-part resin mixture into molds. The mixture will harden into a glossy, durable finish.
They’re customizable, allowing you to embed glitter, flowers, or pigments for unique designs.
The curing process takes 24 to 72 hours, transforming the resin into a non-toxic, waterproof state.
Attach these charms to jewelry findings for versatile crafting options.
Gather Materials and Supplies
Creating your own resin charms opens up a world of endless customization and creativity.
- Epoxy Resin: Choose a high-quality, clear epoxy resin suitable for casting.
- Hardener: This is usually included with the resin and is essential for curing.
- Silicone Molds: Available in various shapes and sizes. Ensure they’re flexible for easy removal.
- Mixing Cups and Sticks: Use disposable cups and wooden sticks to mix the resin and hardener.
- Protective Gear: Gloves, masks, and goggles to protect from fumes and skin contact.
- Colorants: Resin dyes, pigments, or mica powders to add color to your charms.
- Embellishments: Glitter, dried flowers, beads, or small trinkets to embed in the resin.
- Release Agent: A spray to help easily remove the cured resin from molds.
- Heat Gun or Torch: To remove air bubbles from the resin surface.
- Sandpaper or Files: For smoothing edges after demolding.
- Jump Rings and Findings: To attach the charms to keychains, necklaces, etc.
- Work Surface Protection: Use plastic sheets or newspapers to protect your workspace.
How Do You Make Resin Charms? Detailed Instructions
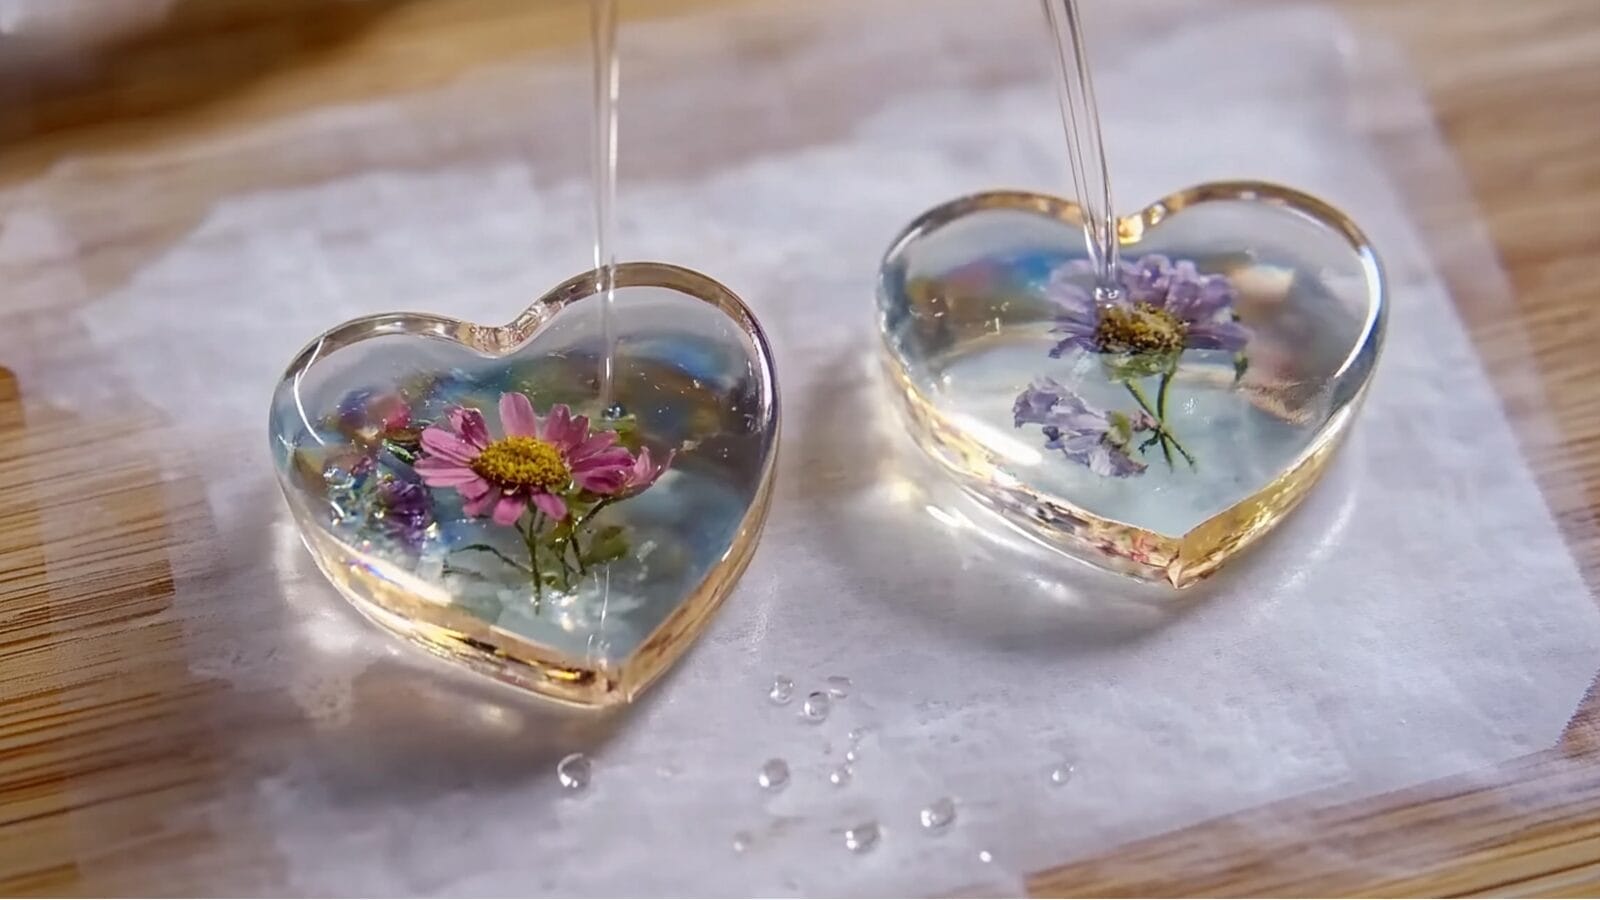
Now that you’ve gathered your materials, it’s time to prepare your workspace and start making resin jewelry pendants or charms.
Step 1: Measure and Mix Resin
Ensuring precise measurements is crucial when working with resin to achieve a flawless finish.
Use measuring cups to measure the epoxy resin and hardener in a 1:1 ratio.
Mix the two components thoroughly for 7-10 minutes to prevent bubbles forming.
Scrape the sides and bottom of your container to ensure a clear casting.
Let the mixture sit briefly, allowing air bubbles to rise before pouring.
Step 2: Pour the Resin into Molds
Once you’ve mixed your resin thoroughly, it’s time to pour the resin into the molds.
Add color by splitting the resin into cups, using a toothpick to mix opaque color pigments.
Pour a layer of resin into mold cavities, then let it cure.
For embellishments, use polymer clay sprinkles or small items.
Step 3: Cure the Resin
After you’ve poured the resin into the molds, it’s time to let it cure for the recommended duration, typically 24 to 48 hours.
Monitor the curing process closely for bubbles. If they appear, use a heat gun or torch to pop them before the resin hardens.
Make sure your workspace is well-ventilated to prevent inhaling fumes.
Once the cured resin is solid and clear, it’s ready for the next step.
Step 4: Demold
Your patience during the curing process has paid off, and now it’s time to demold your resin charms.
Gently twist the silicone mold to release them. If needed, carefully use a craft knife for stubborn edges.
Once demolded, your charms will be ready for further finishing, ensuring a smooth finish.
Step 5: Sand and Polish Edges
To perfect your resin charms, you should focus on sanding and polishing the edges.
Start with wet/dry sandpaper, using a coarse grit to smooth any roughness. Gradually progress to finer grits for a polished finish. Sand in circular motions and rinse frequently.
Once smooth, buff the charm with a soft cloth to enhance its shine and overall appearance.
Step 6: Add Hardware
Once you’ve perfected the edges of your resin charms, it’s time to focus on adding hardware to transform them into wearable pieces.
Use E-6000 adhesive to secure bails or hooks to your finished charms. If your molds have cast-in-place holes, simply attach jump rings.
Otherwise, create holes before adding hardware. Allow the adhesive to cure fully before wearing your beautiful DIY resin charms.
Troubleshooting Common Issues When Making Resin Charms
When crafting resin charms, you might encounter bubbles, sticky surfaces, or color issues.
Bubbles in the Resin
Air bubbles can be a nuisance when working with resin, but with some careful tips, you can minimize their appearance.
Mix the resin slowly to reduce bubbles and pour it from the mixing cup’s edge.
Use gentle heat from a heat gun to release surface bubbles after pouring into the mold.
If bubbles appear during curing, lightly tap the mold to help them escape.
Sticky or Soft Charms
One common issue when crafting resin charms is a sticky or soft finish, often caused by incorrect resin and hardener mixing ratios.
Ensure a precise 1:1 ratio and mix thoroughly for 7-10 minutes, scraping the container’s sides and bottom.
Work in a warm environment to help cure and pop any surface bubbles.
If tacky, apply a thin resin layer and allow additional curing.
Color Fading or Bleeding
Although creating vibrant resin charms can be exciting, color fading or bleeding can sometimes spoil the outcome. To prevent this, use opaque pigments, as they’re more stable.
Ensure each resin layer cures fully before adding another to avoid bleeding. Watch out for temperature fluctuations during curing, as they can affect color stability.
Always test your colors first to catch any potential issues.
Final Words
You’ve now learned how to create stunning resin charms. With the right materials and a bit of patience, you can craft personalized pieces that reflect your style.
Remember to mix your resin thoroughly, add colors and embellishments creatively, and give your charms enough time to cure. If any issues arise, troubleshoot patiently. Once de-molded, sand the edges and attach any hardware you like.
Enjoy the satisfaction of wearing or gifting your unique creations! Don’t forget to share your work on Instagram, YouTube, or Pinterest.
FAQs
How Do I Make Resin Charms?
Start by organizing your workspace and gathering materials. Mix resin and hardener, eliminating bubbles. Pour into molds, add decorative items, and let cure. Demold carefully, sand rough edges and attach findings. Enjoy your custom resin charms!
What Do You Need for Resin Jewelry Making?
You need molds, resin, hardener, mixing cups, stir sticks, gloves, and safety gear. Consider decorative elements like glitter or gemstones. Use Resin Obsession’s super clear resin for clarity. Ensure a clean workspace to prevent contamination.
What Do You Need to Make Resin Keychains?
You’ll need resin, a silicone mold, mixing cups, stir sticks, gloves, and optional pigments. Add decorative items like sprinkles or gemstones. For a unique accessory, attach the charm to a keychain with a jump ring.

