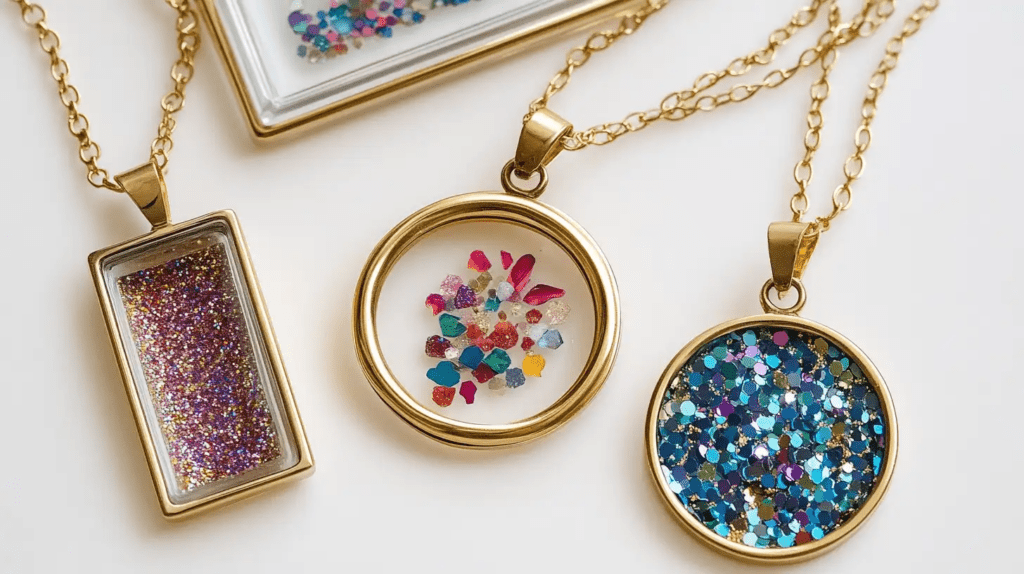
Are you ready to unleash your creativity and craft stunning DIY resin jewelry without the need for molds? Dive into the enchanting world of resin crafts where your imagination knows no bounds! This tutorial will empower you to explore innovative techniques and unique designs, allowing you to express your style like never before.
Whether you’re a beginner or an experienced artisan, get ready to transform everyday objects into beautiful, wearable art. Let’s embark on this exciting journey and create one-of-a-kind pieces that will dazzle and inspire!
Key Takeaways
- Use non-stick surfaces like wax paper or plastic sheets to shape resin without molds.
- Create wireframe shapes to fill with resin for custom jewelry designs.
- Utilize bezels to hold and arrange resin with decorative items creatively.
- Employ layering techniques to add depth and visual interest to resin jewelry.
- Use household items, like plastic containers, as makeshifts when needed.
Understanding Resin
To start creating resin jewelry, you need to understand what resin is and the types suitable for your projects.
What Is Resin?
At its core, resin is a fascinating synthetic material created by mixing two essential components: resin (part A) and hardener (part B).
Once combined, this mixture begins to harden, forming a solid, shiny, and waterproof surface.
Types of Resin for Jewelry Making
When selecting the right resin for jewelry making, epoxy resin often stands out due to its durability and glossy finish.
UV resin cures quickly with ultraviolet light, perfect for small projects.
For bezels, consider using doming resin to enhance depth.
Safety Precautions When Working with Resin
Choosing the right resin for your jewelry project is just the beginning. Understanding how to work with it safely is equally important.
Always wear safety gear like gloves, a respirator, and glasses. Work in a well-ventilated area to avoid inhaling hazardous fumes. Cover your workspace with protective material to prevent spills.
Handle uncured resin carefully, as it can be sticky and damaging. Keep materials away from kids and pets.
Prepare Materials and Tools
Creating mold-free resin jewelry involves gathering specific materials to ensure the project’s success and safety.
- Resin and Hardener: Choose a clear epoxy resin suitable for jewelry making.
- Mixing Cups and Sticks: Use disposable cups and sticks to mix the resin and hardener.
- Protective Gear: Wear gloves and a mask to protect yourself from fumes and spills.
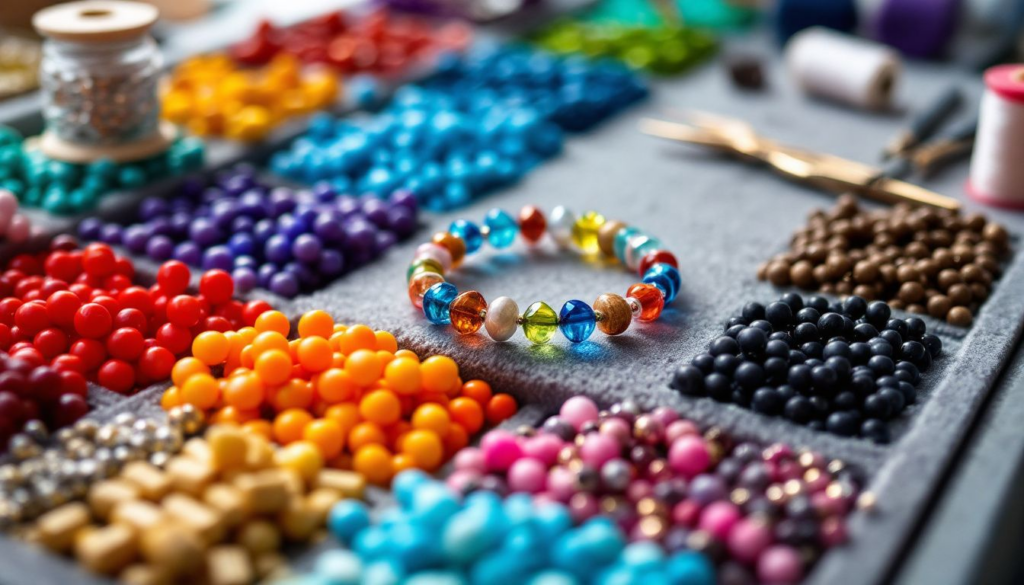
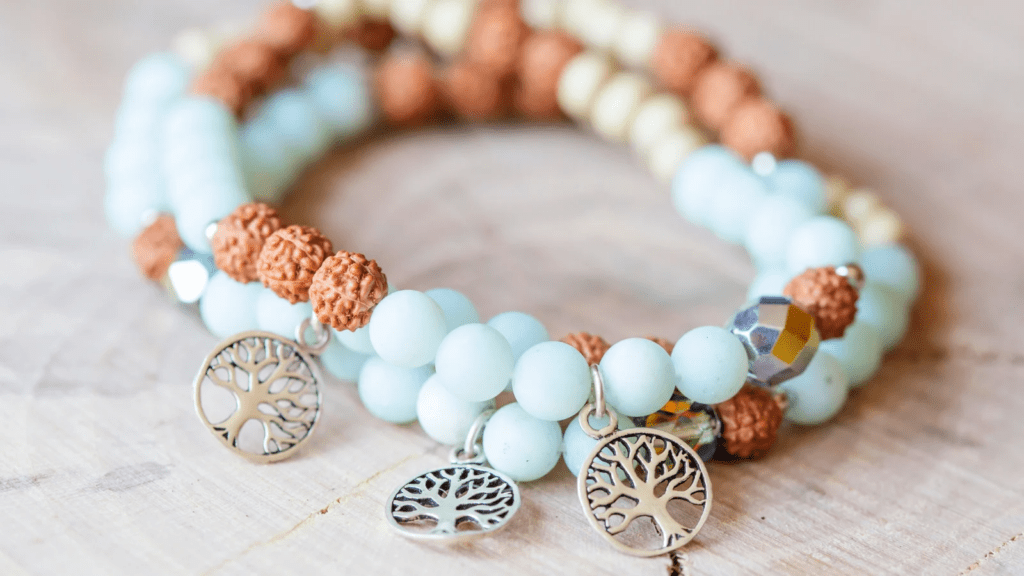
- Jewelry Findings: Such as earring hooks, jump rings, and necklace chains.
- Bezels or Frames: Use bezels to contain the resin or create frames using wire.
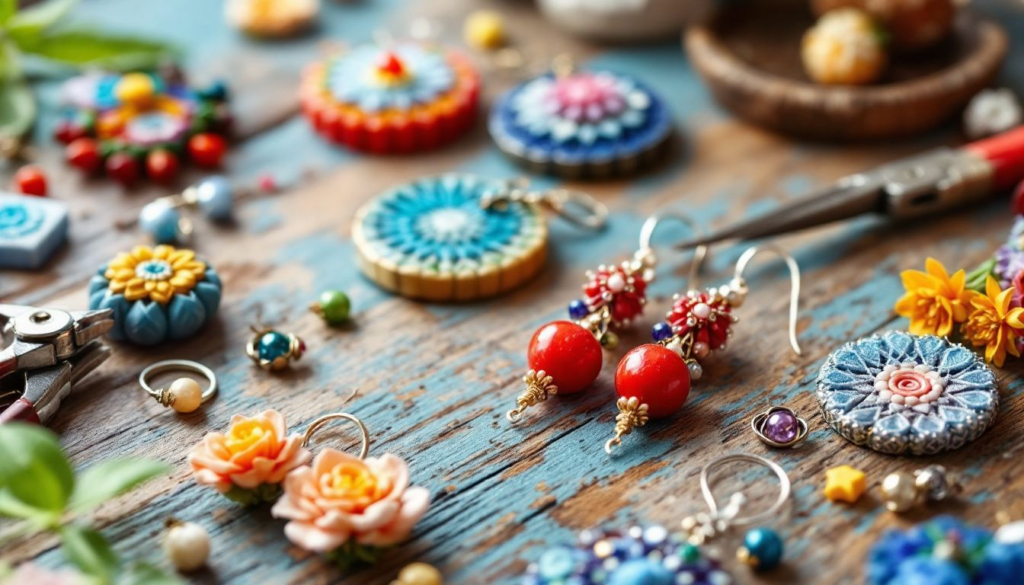
- Decorative Elements: Such as dried flowers, glitter, pigments, or small charms to embed in the resin.
- Parchment Paper or Silicone Mat: To work on and catch any drips.
- Tweezers: For placing small decorative items into the resin.
- Sandpaper: To smooth any rough edges once the resin cures.
- Drill or Dremel Tool: If you need to make holes to attach jewelry findings,
How to Make Resin Jewelry Without Molds: 5 Methods
To craft unique mold-free resin jewelry, consider these five creative techniques that allow you to shape your designs freely.
Method 1: Use Wax Paper or Silicone Mat
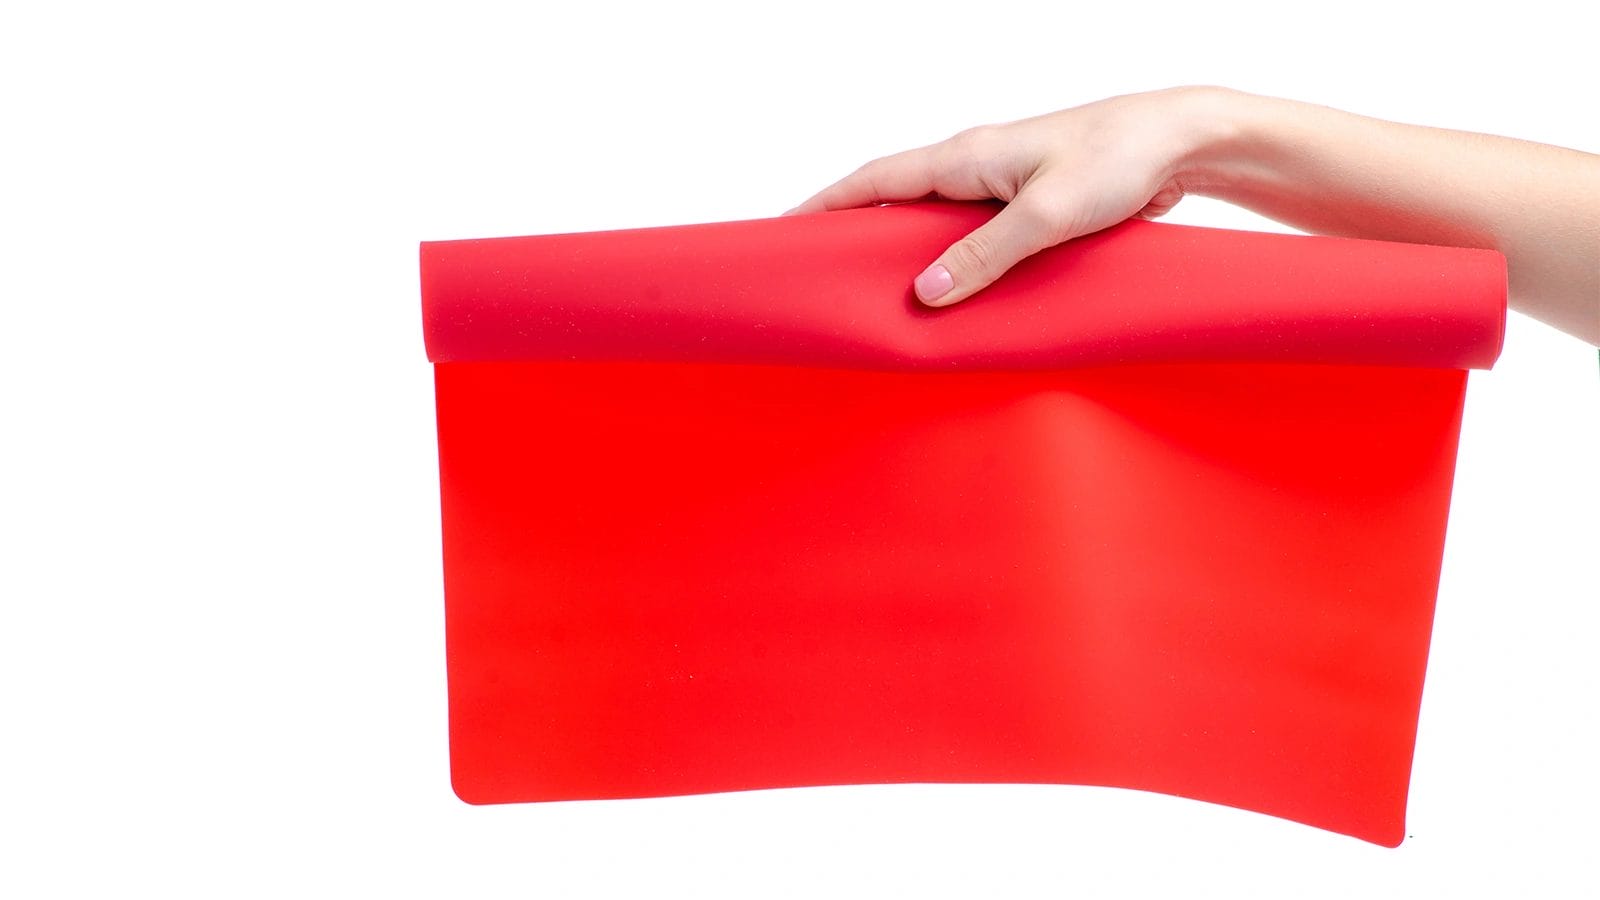
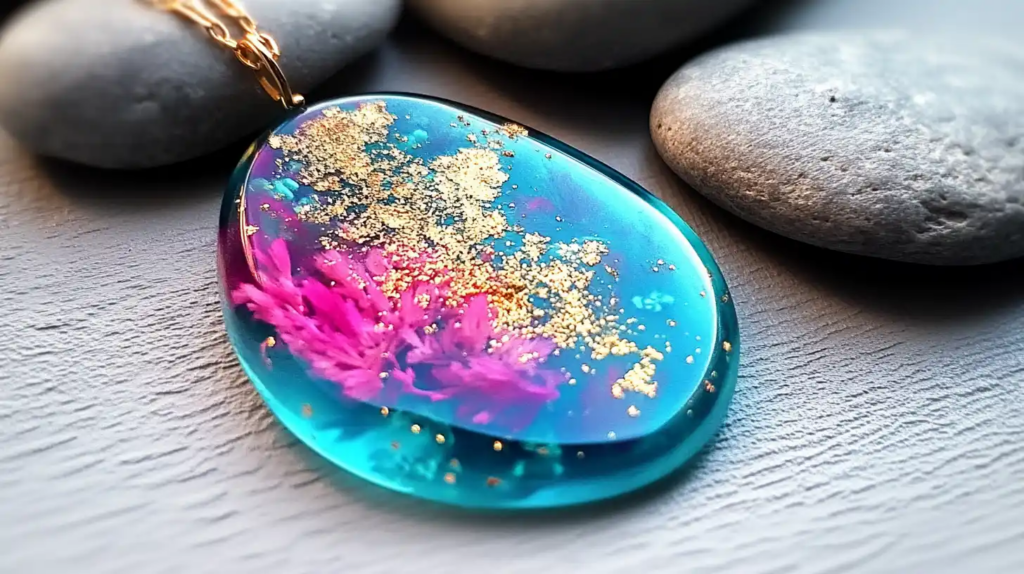
To create resin pendants, mix the resin and hardener and pour small amounts onto wax paper or a silicone mat.
Use a stick or toothpick to manipulate the resin into your desired shapes and forms. While the resin is still wet, add embellishments such as glitter or dried flowers for added flair.
Allow the resin to cure completely before gently peeling it off the surface. Once hardened, attach jewelry findings like earring hooks or necklace chains to make your pieces wearable.
Method 2: Use Wireframe
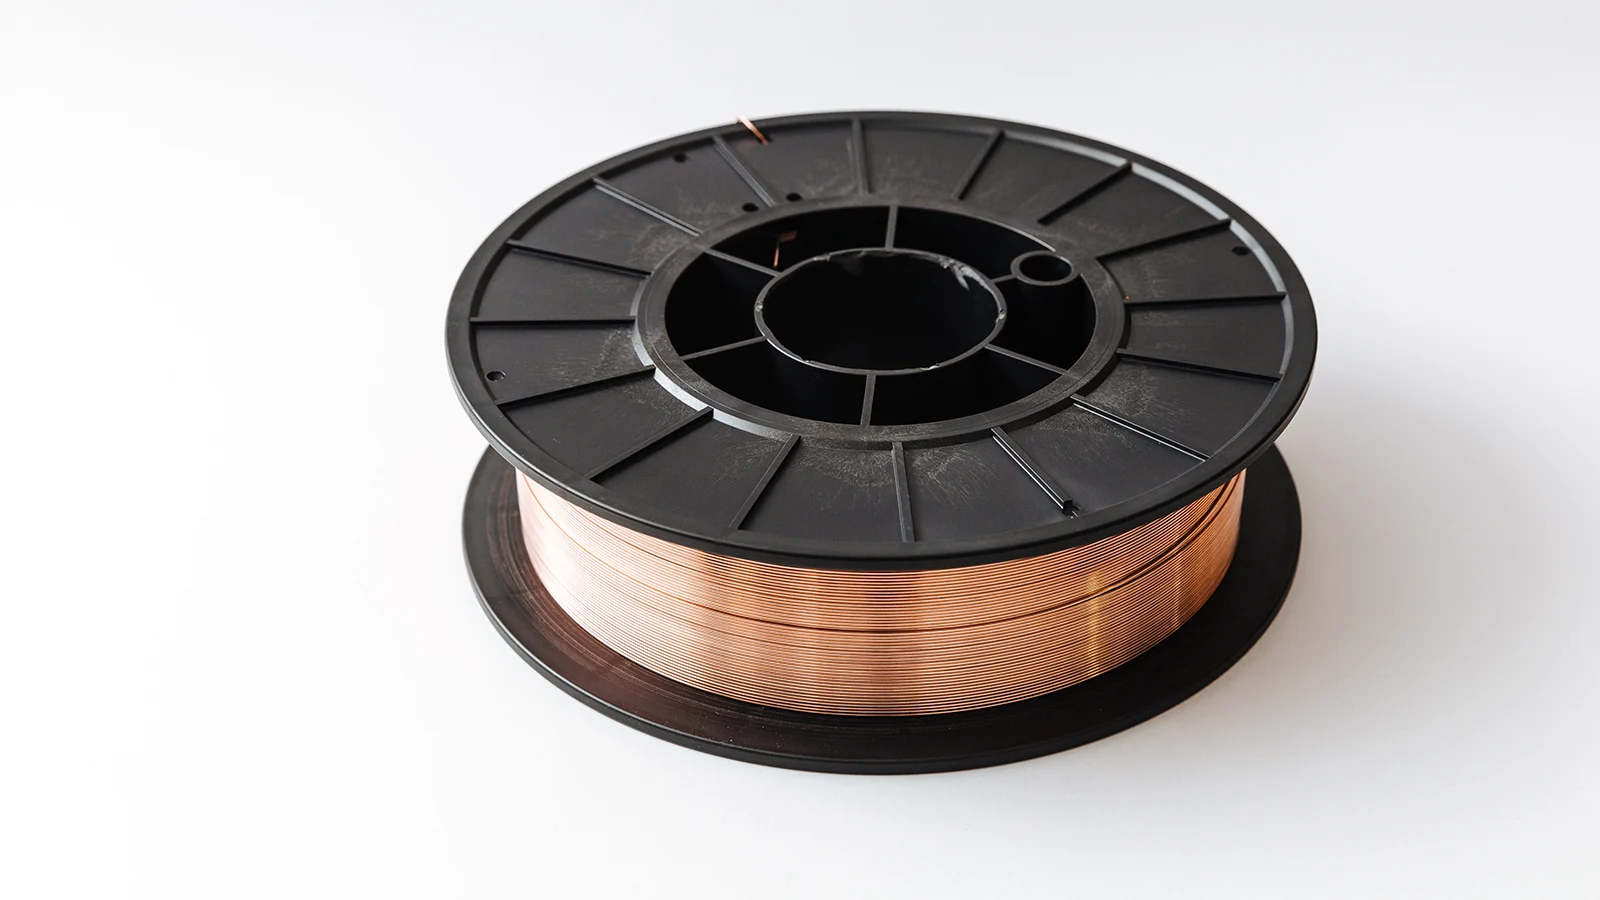
Crafting mold-free resin jewelry can be both innovative and rewarding, especially when using the wireframe technique.
Start by bending metal wire into your desired shape. Secure this wire on a sticky surface like masking tape to keep it steady.
Using a toothpick, carefully fill the wireframe with resin. Let it cure for at least 24 hours. Once set, add findings for wearability.
Method 3: Utilize Bezel Settings
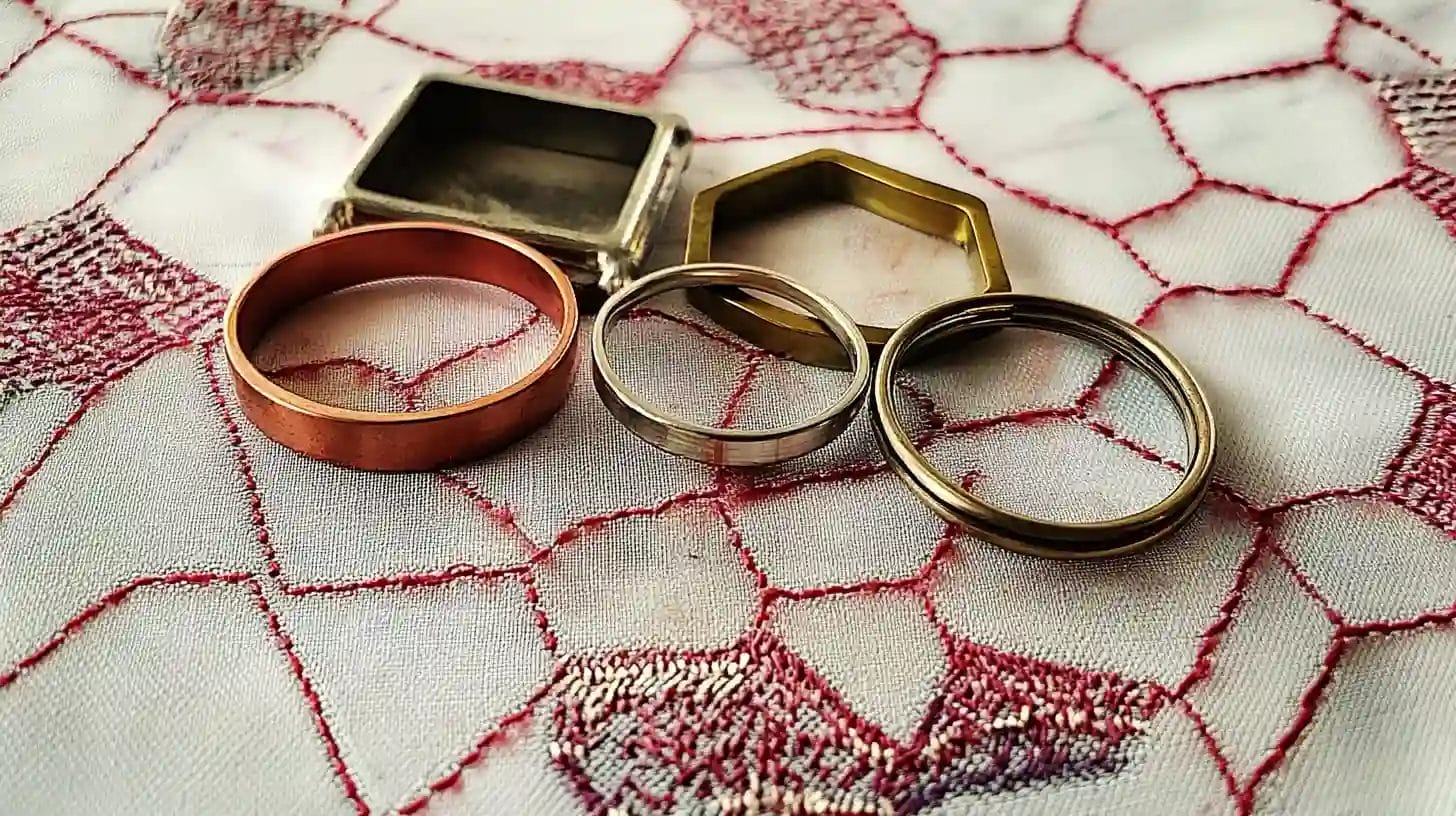
Utilizing bezel settings offers a creative way to make mold-free resin jewelry. Choose open-backed bezels for a stunning light effect, but remember to use sticky tape to contain the resin.
Arrange your decorative items, ensuring they’re dry and sealed to maintain their appearance during curing.
Pour the resin into the bezel and let it cure undisturbed for 24 hours.
Method 4: Layering Technique
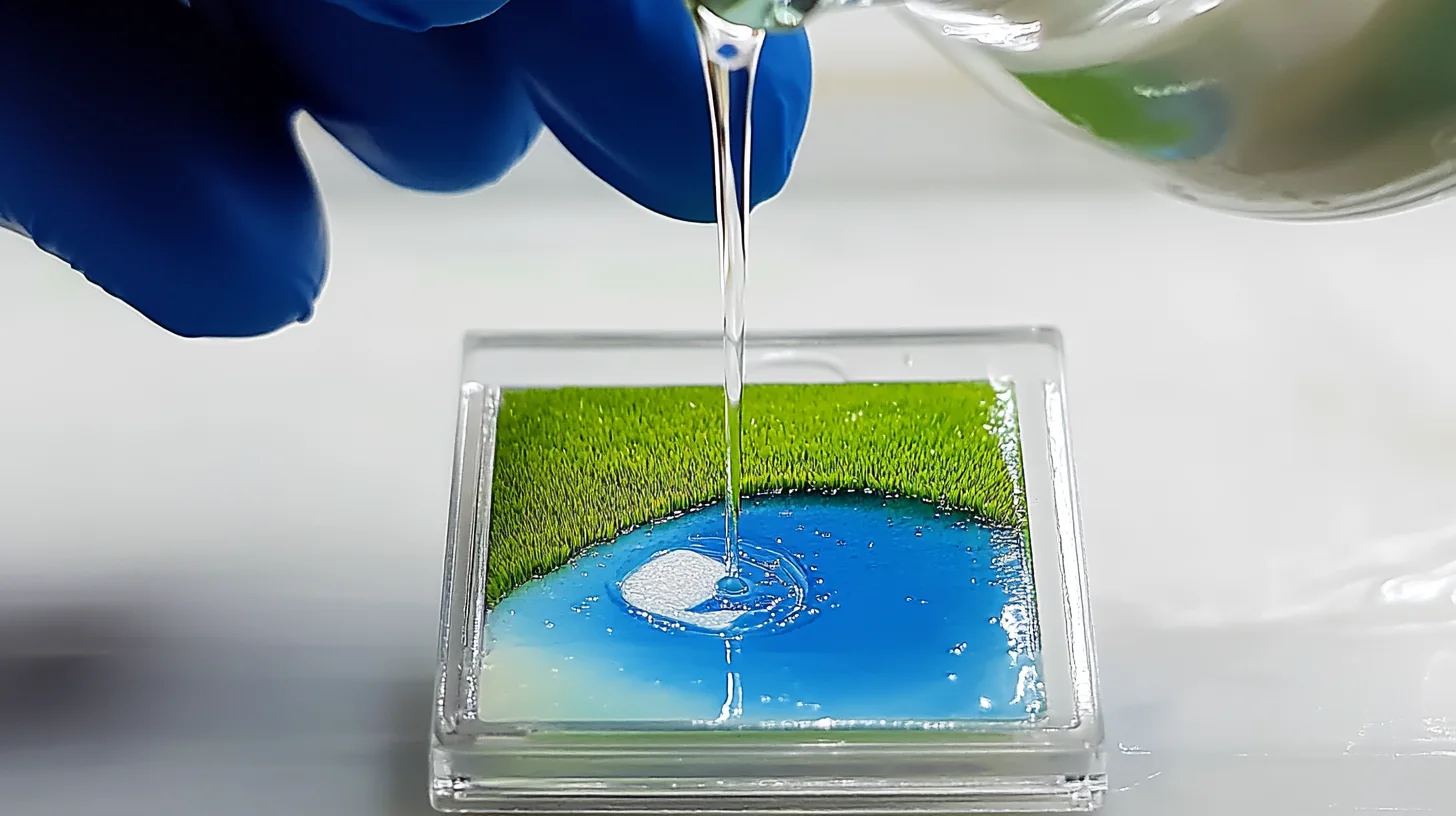
Begin by mixing resin and hardener. Pour a thin layer onto a flat, non-stick surface and allow it to cure partially.
Once it reaches a tacky consistency, arrange your embellishments on top. Pour another thin layer of resin over the embellishments and let it set. Continue layering in this manner until you achieve the desired thickness and design.
Once fully cured, carefully cut or break the resin into your preferred shapes, smoothing any edges to complete your unique jewelry pieces.
Method 5: Use Household Items
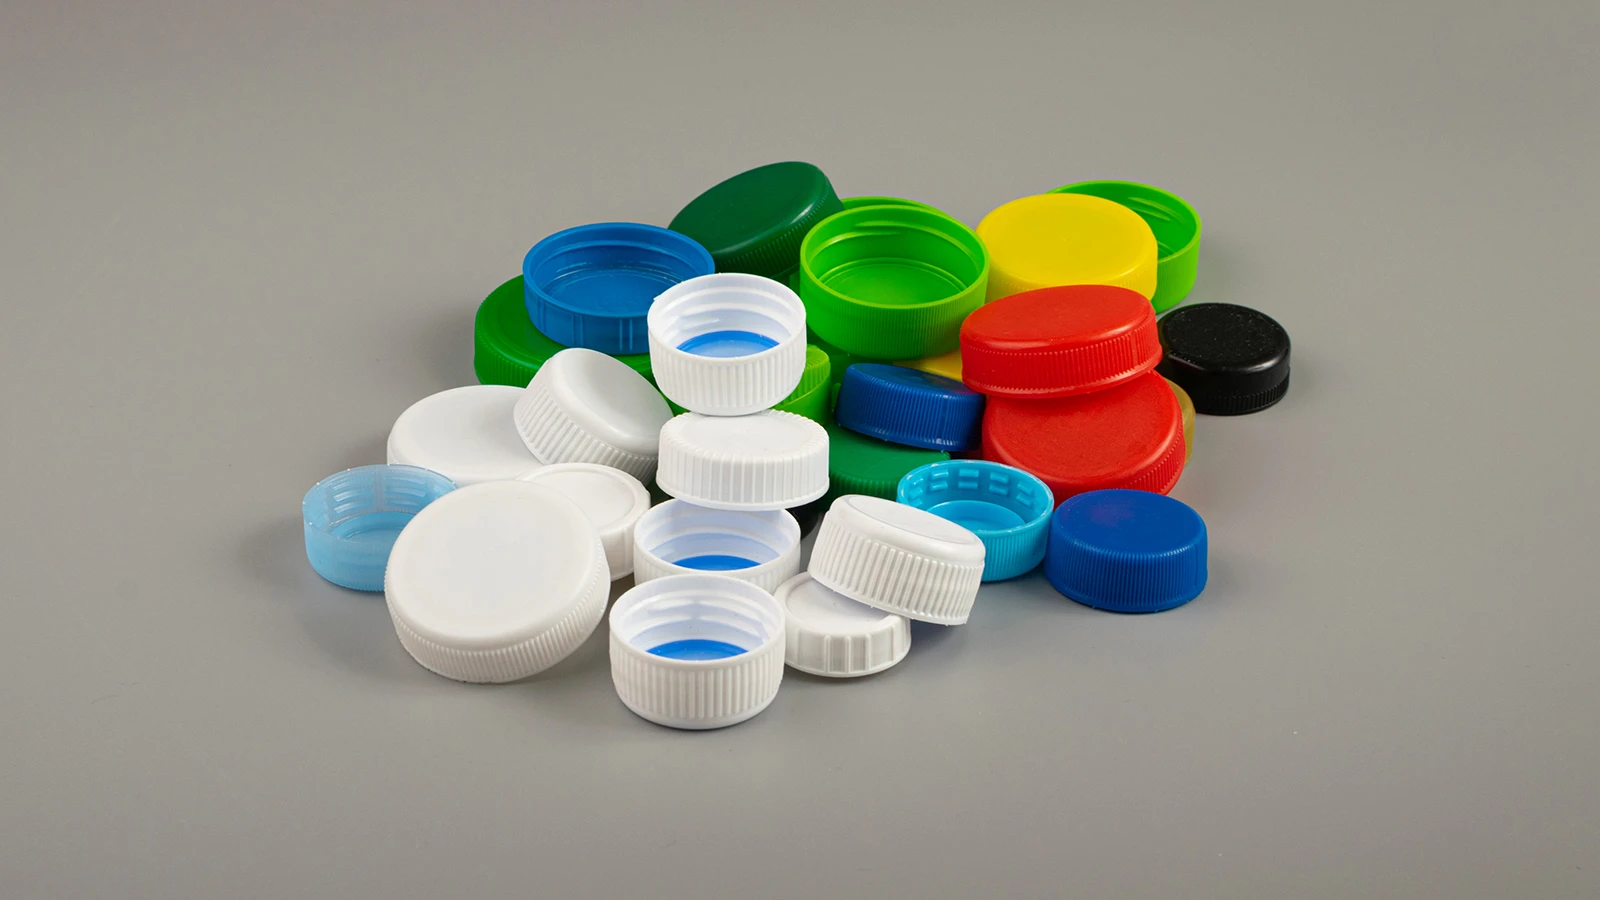
Many household items can double as creative tools for casting resin jewelry without traditional molds.
To make resin jewelry, simply use plastic containers or bottle caps as makeshift molds. To create customized designs, try cookie cutters or cardboard cutouts.
Add embellishments by embedding buttons or coins directly into the resin. For a layered look, pour the resin into shallow trays, allowing each layer to cure.
Finishing Touches
The art of completing your resin jewelry lies in the delicate balance of aesthetics and functionality.
After curing, gently peel away any tape. Sand edges for a polished look, and inspect your piece for imperfections.
If needed, apply a second layer of resin for a smooth finish. Securely attach findings like jump rings.
These finishing touches ensure your piece is ready to dazzle.
Troubleshooting Common Issues When Making Resin Jewelry
When making resin jewelry, you might encounter bubbles, sticky surfaces, or cloudy finishes.
Bubbles in Resin
Bubbles in resin can be a pesky issue, but tackling them effectively ensures your jewelry pieces come out flawless.
When creating resin jewelry, mix gently to avoid introducing bubbles. During the curing process, use a heat gun to pop surface bubbles.
Pour the resin into thin layers to reduce trapped air. Ensure all decorative items are dry to prevent bubble formation.
Sticky or Tacky Surfaces
Despite your best efforts, you might encounter sticky or tacky surfaces in your resin jewelry projects. This often happens if the resin cure isn’t complete due to improper mixing or thick applications.
Choose high-quality resin and ensure proper environmental conditions, like temperatures between 70°F and 90°F, for optimal curing.
If it’s tacky, apply a second resin layer after 24 hours to fix the issue.
Cloudy Resin
Cloudy resin is a common frustration in resin jewelry-making. It’s often caused by improper mixing ratios or improperly mixing the resin.
Follow the manufacturer’s instructions closely and use high-quality resin to minimize cloudiness. Control humidity during the curing process.
If cloudiness persists, let it cure completely, then sand and apply a clear coat. This restores clarity to your jewelry.
Final Words
Creating mold-free resin jewelry allows you to explore creativity and craft unique pieces. By understanding the properties of resin and gathering suitable materials, you can effectively prepare your workspace for success.
Shape your designs using wireframes or layering techniques, and add personal embellishments. Cure your creations properly, and finish them off with careful sanding and securing findings.
Embrace any challenges as learning opportunities, and soon, you’ll be crafting stunning, one-of-a-kind jewelry.
FAQs
What Can I Use if I Don’t Have Resin Molds?
You can use metal bezels, silicone baking molds, or even cookie cutters as improvised molds. Pour resin onto parchment paper for flat pieces. Cardboard works, too, but apply a release agent to prevent sticking.
What Can I Use for Homemade Resin Mold?
You can create homemade resin molds using silicone caulk or food-grade silicone. Everyday items like plastic containers or aluminum foil also work. Apply a release agent, like petroleum jelly, to ensure easy removal of your resin piece.
Can You Put Wires in Resin?
Yes, you can put wires in resin. Choose a sturdy gauge, like 20, for structure. Ensure wires are clean and dry before embedding. This enhances design and functionality, creating loops or connectors for unique jewelry pieces.

