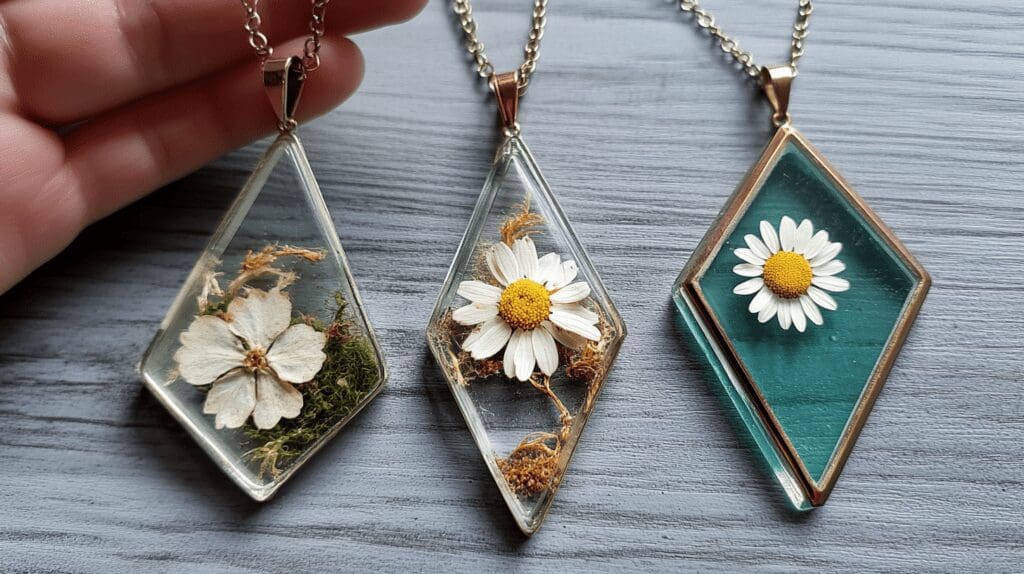
Unlock your creativity and dive into the captivating world of resin jewelry making! This rewarding craft allows you to transform simple materials into stunning, one-of-a-kind pieces that reflect your style.
Whether you’re a seasoned artisan or a curious beginner, creating resin art pieces is both fun and fulfilling.
With this easy tutorial and a sprinkle of imagination, you can craft beautiful DIY accessories that not only showcase your talent but also make perfect gifts for loved ones. Let’s get started on this exciting journey!
Key Takeaways
- Measure and mix equal parts of resin and hardener, stirring slowly to reduce bubbles.
- Use silicone molds for flexible casting and embed decorative items like dried flowers or glitter.
- Cure resin layers for 12-24 hours, maintaining optimal temperature and ventilation.
- Sand and polish cured pieces with progressively finer grit sandpaper for a smooth finish.
- Attach jewelry findings like jump rings or hooks to pre-drilled holes in resin pieces.
Gather Essential Materials
To create resin jewelry, you’ll need to gather some essential materials:
- Epoxy Resin: Choose a high-quality, clear epoxy resin suitable for jewelry making.
- Hardener: Comes as part of the resin kit; mix with resin according to instructions.
- Molds: Silicone molds in desired shapes for easy removal. Bezels are also excellent options.
- Mixing Cups and Sticks: Use disposable cups and sticks to mix resin and hardener.
- Protective Gear: Wear gloves and a mask to avoid skin contact and inhalation of fumes.
- Colorants: Add pigments or dyes specifically made for resin to create colorful pieces.
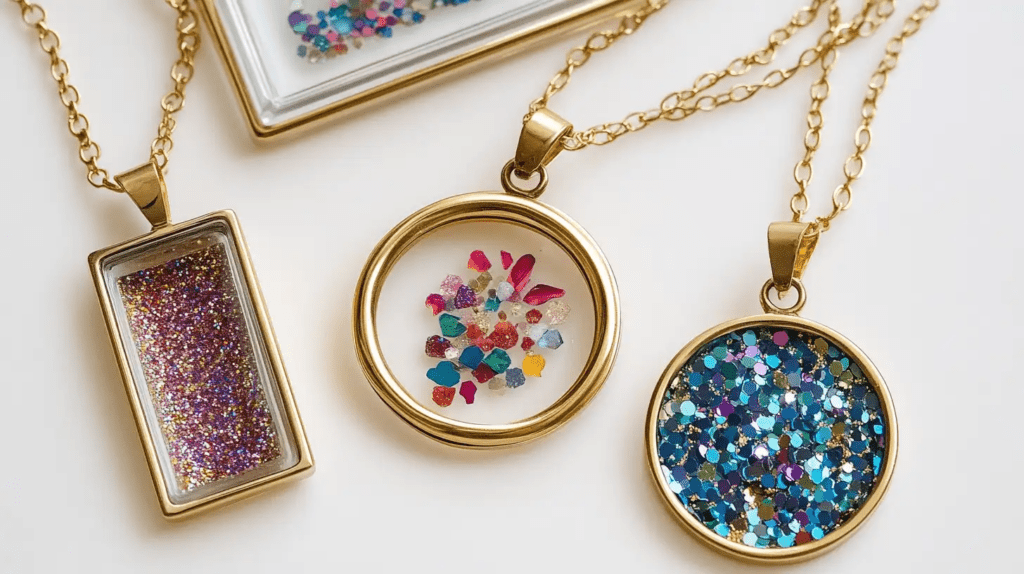
- Inclusions: Add decorative items like glitter, dried flowers, or small charms.
- Sandpaper: Use fine-grit sandpaper to smooth edges after curing.
- Polish: Apply resin polish for a glossy finish.
- Heat Gun or Torch: Use to remove bubbles from the resin surface before it cures.
How to Make Resin Jewelry: A Step-by-Step Tutorial
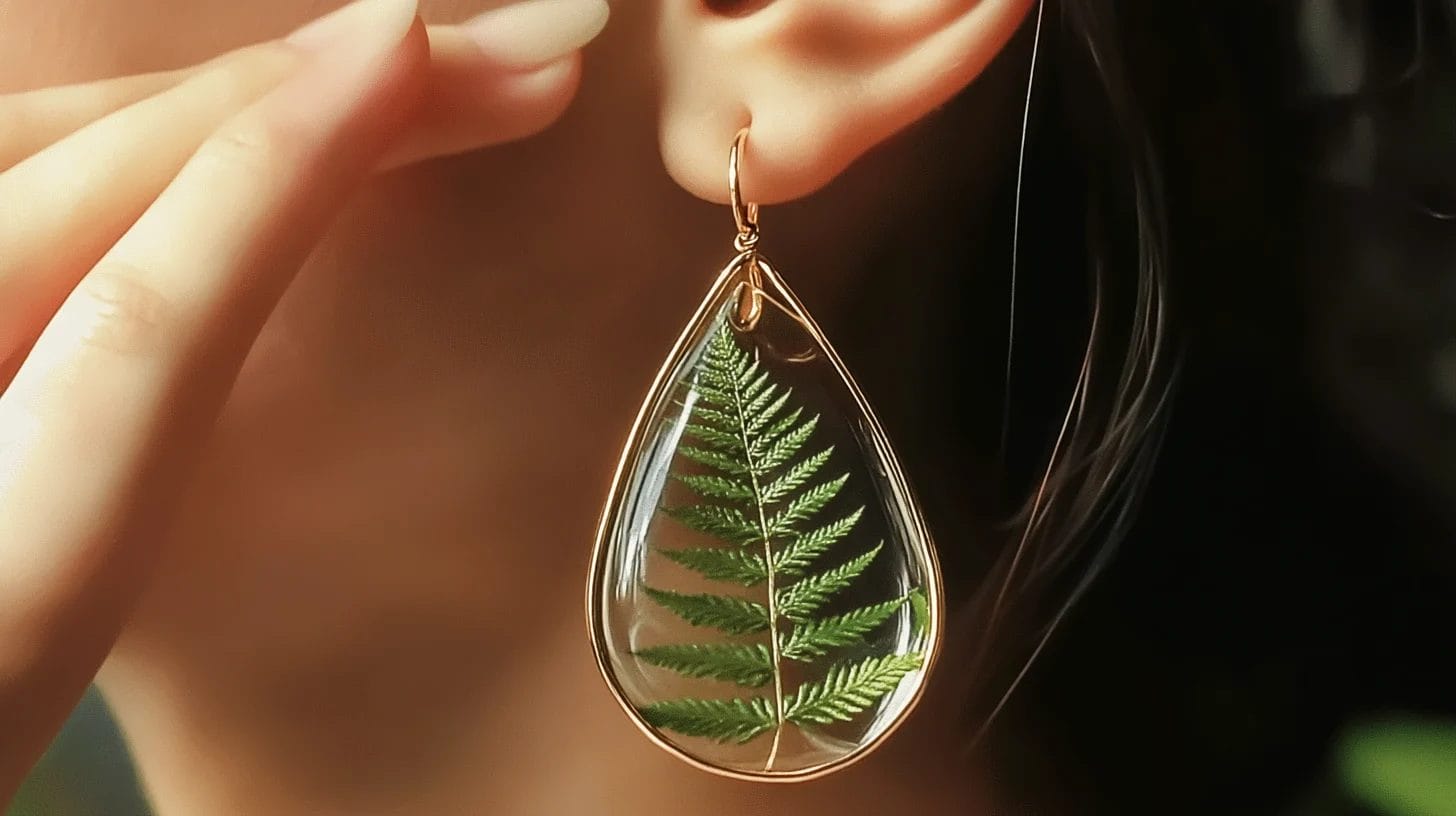
Let’s get started on crafting your resin jewelry by following this step-by-step process.
Step 1: Preparations
Start by setting up your workspace in a climate-controlled area for optimal curing conditions. To maintain a clean work environment, protect your surfaces by covering them with painter’s plastic or a disposable plastic table cover.
Ensure your workspace is free from dust and particles, which can affect the resin’s clarity. Wearing protective gear reduces exposure to fumes, keeping you safe as you craft your unique resin jewelry pieces.
Step 2: Mix the Resin and Hardener
Carefully measure equal parts of resin (part A) and hardener (part B) based on the manufacturer’s specified ratio, like 1:1 or 2:1.
Thoroughly stir the mixture for at least 3-5 minutes. Scrape the sides and bottom of the cup to ensure all material is mixed.
When stirring, mix slowly and gently to minimize air bubbles.
Step 3: Add Color and Embellishments
Mix a few drops of your chosen dye into the resin to achieve the desired hue. Remember that colors often intensify after curing.
Enhance your pieces with embellishments such as glitter, dried flowers, or small gemstones. Make sure they’re evenly distributed in the resin.
Always check that embellishments are resin-compatible to prevent any adverse reactions.
Step 4: Pour the Resin into the Molds
Slowly pour the mixed resin into your resin molds, filling them halfway. This leaves room for any decorative elements you might want to add later.
After pouring the first layer, use a heat gun or torch briefly to eliminate any surface bubbles that appear.
Let this initial layer cure for at least 12-24 hours. Then, add more layers or embellishments.
Step 5: Cure the Resin
To successfully cure your resin jewelry, it’s important to know the key factors that affect the process.
- Start by keeping the temperature between 75°F and 80°F for the best results.
- Follow the manufacturer’s guidelines for your resin. Curing usually takes 24 to 72 hours.
- During curing, keep your space clean and free from dust. This helps prevent blemishes on your jewelry.
- Also, try not to move the pieces. Even small movements can cause imperfections.
Step 6: Demold the Jewelry
With the curing process complete, it’s time to carefully demold your resin jewelry pieces.
Gently flex the mold to loosen the edges of the cured resin, making removal easier. Use a craft knife or silicone spatula to pry the edges away, taking care not to damage the piece.
If the resin is stubbornly stuck, pop the mold in the freezer for 15-30 minutes. The cold will contract the resin, helping it release.
Step 7: Sand and Polish for a Smooth Finish
To achieve a smooth finish on your resin jewelry, start by sanding the cured pieces with 400-grit sandpaper to address imperfections.
Gradually progress to finer grits, up to 1500, using wet sanding to prevent dust and heat buildup.
Once you reach the right smoothness, use a resin-specific polish with a soft cloth or buffing wheel. Move in circular motions to create a glossy shine.
Finally, clean the pieces thoroughly to remove any residue.
Step 8: Add Jewelry Findings
Start by choosing the correct jewelry findings to complement your resin pieces.
To attach earring hooks or necklace chains, thread the jump rings through pre-drilled holes in your resin pieces.
If you’re making earrings, consider using memory wire. It allows easy insertion and removal and helps maintain the shape and structure.
Once everything is in place, finalize your jewelry by ensuring all findings are securely attached.
Caring Tips for Your Resin Jewelry
Jewelry made from resin offers a unique beauty, but it requires proper care to maintain its allure.
- To preserve its clarity and shine, clean your resin pieces with a soft, damp cloth, avoiding harsh chemicals.
- Regularly inspect your jewelry for scratches or wear. If necessary, use a polishing compound to restore its glossy finish.
- To prevent damage, store your pieces in a cool, dry place, ideally in a padded pouch or jewelry box.
- Avoid prolonged exposure to sunlight and extreme temperatures, which can cause yellowing or warping.
- If your jewelry includes embedded items like flowers or glitter, ensure they’re fully dried and preserved to prevent moisture damage.
With these care tips, your resin jewelry will remain stunning for years.
Creative Ideas and Inspiration for Resin Jewelry
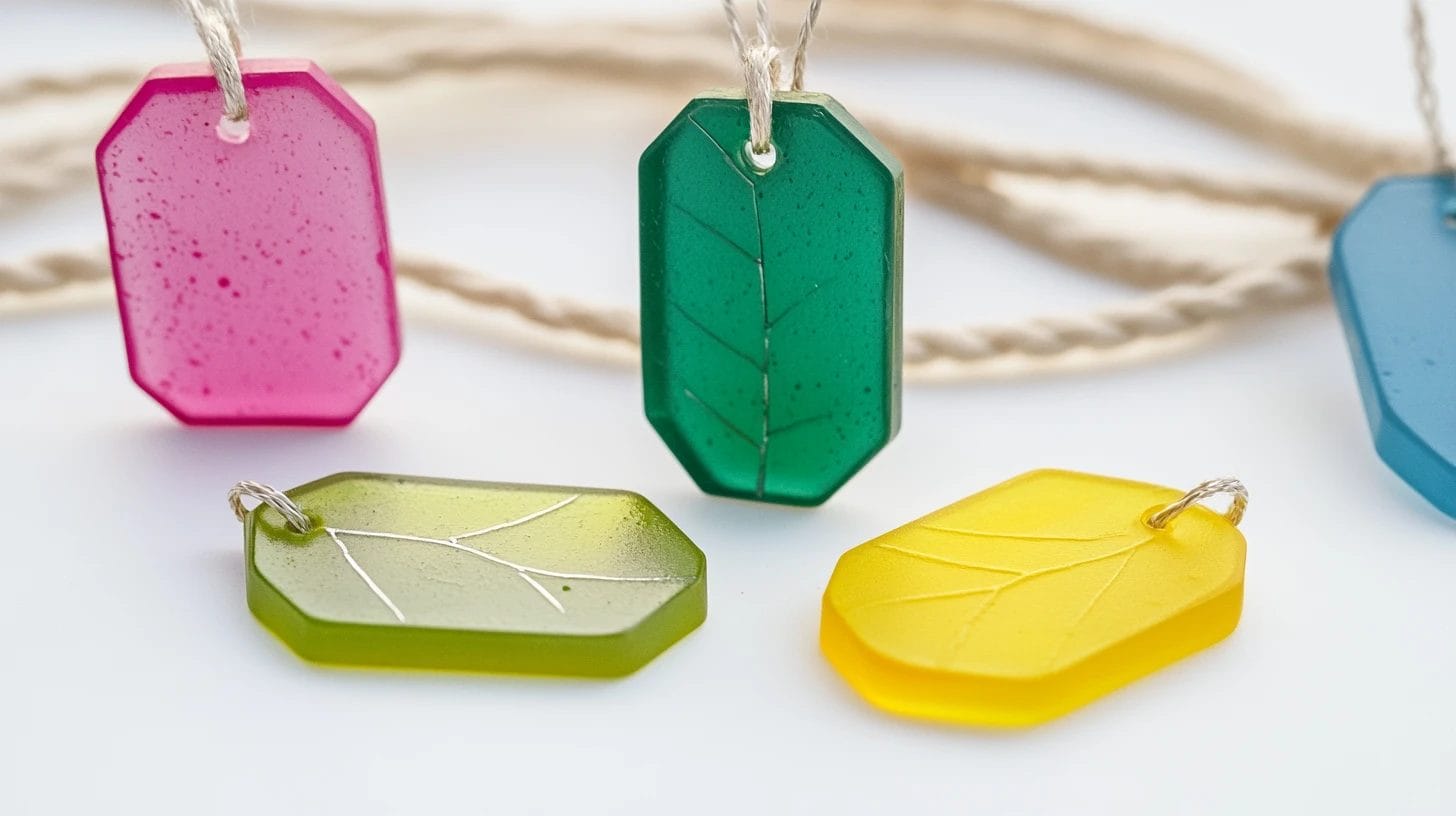
Creating resin jewelry offers endless possibilities for artistic expression and innovation.
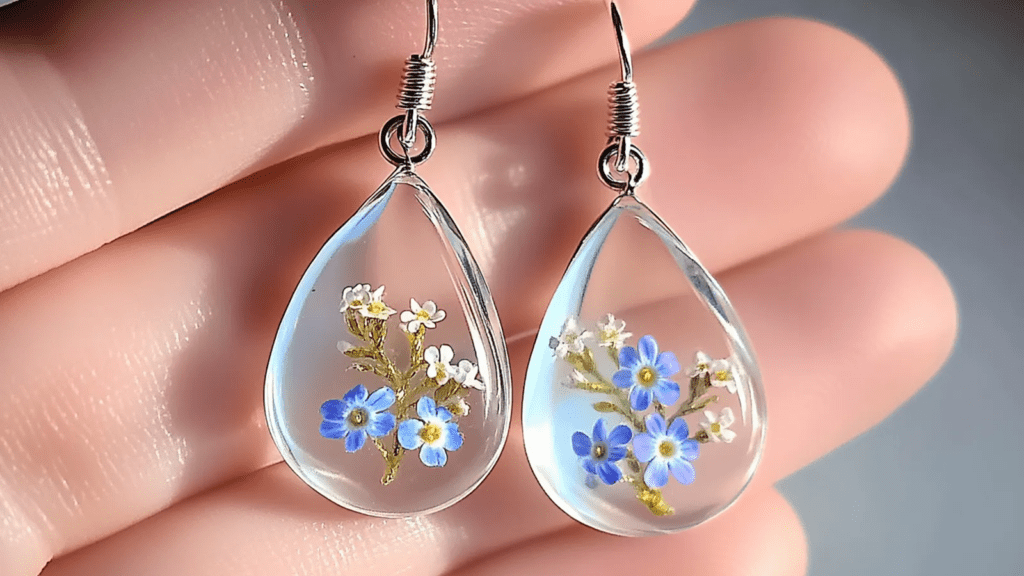
- Nature Themes: Incorporate dried flowers, leaves, or small shells for a natural look.
- Color Mixing: Experiment with different pigments and dyes to create unique color patterns.
- Metallic Touches: Add gold or silver flakes for a luxurious effect.
- Geometric Shapes: Use molds in various shapes like triangles, circles, or hexagons.
- Layering: Create depth by pouring resin into layers and embedding objects between them.
- Glow in the Dark: Use glow powders for pieces that shine in the dark.
- Personalization: Include initials, names, or small photos for personalized pieces.
- Themed Collections: Create sets based on themes like ocean, galaxy, or vintage.
- Textures: Embed lace or fabric to add texture and visual interest.
- Inclusions: Use tiny charms, beads, or crystals as inclusions to enhance the design.
Final Words
Now that you’ve mastered the basics, you’re ready to create stunning resin jewelry. Keep your workspace organized and experiment with different colors and embellishments.
Don’t rush the curing process—patience is key to achieving flawless pieces. Once your jewelry is polished and assembled, wear it with pride or gift it to someone special.
Remember, each piece is unique, and your creations will last for years with care. Enjoy the creative process, and let your imagination shine!
FAQs
What Do You Need for Resin Jewelry Making?
You’ll need a two-part epoxy resin kit, molds, safety gear, and decorative elements. Mix resin and hardener, pour into molds, and remove air bubbles with a heat gun. Cure, then add components to complete your jewelry.
Is Making Resin Jewelry Hard?
No, it isn’t hard, but it requires precision and patience. You’ll need to measure carefully, mix thoroughly, and address air bubbles. You’ll create beautiful pieces with practice and the right tools in no time.
Do You Need a UV Light to Make Resin Jewelry?
You don’t need a UV light for traditional epoxy resin jewelry because it cures through a chemical reaction. However, if you’re using UV resin, UV light is essential as it significantly speeds up the curing process.

