Creating a charm bracelet is not just about crafting a beautiful accessory; it’s a journey of self-expression and creativity! Each charm tells a story, representing cherished memories, dreams, or passions.
Whether you’re a seasoned jewelry maker or a curious beginner, the process is as rewarding as the final piece. Dive into the world of charm bracelets and discover how to mix colors, shapes, and themes to create a unique statement that reflects who you are.
Let’s unleash your imagination and get started on this delightful project!
Key Takeaways
- Select a sterling silver charm bracelet and gather the necessary materials.
- Choose a theme that reflects personal stories, milestones, or interests for your charm bracelet design.
- Arrange and securely attach charms and extra decorative elements.
- Consider making resin charms by mixing resin, hardener, and decorative items, then cure and attach.
- Ensure a polished finish by cleaning the bracelet and securing all attachments for durability and comfort.
Reasons for Making a Charm Bracelet
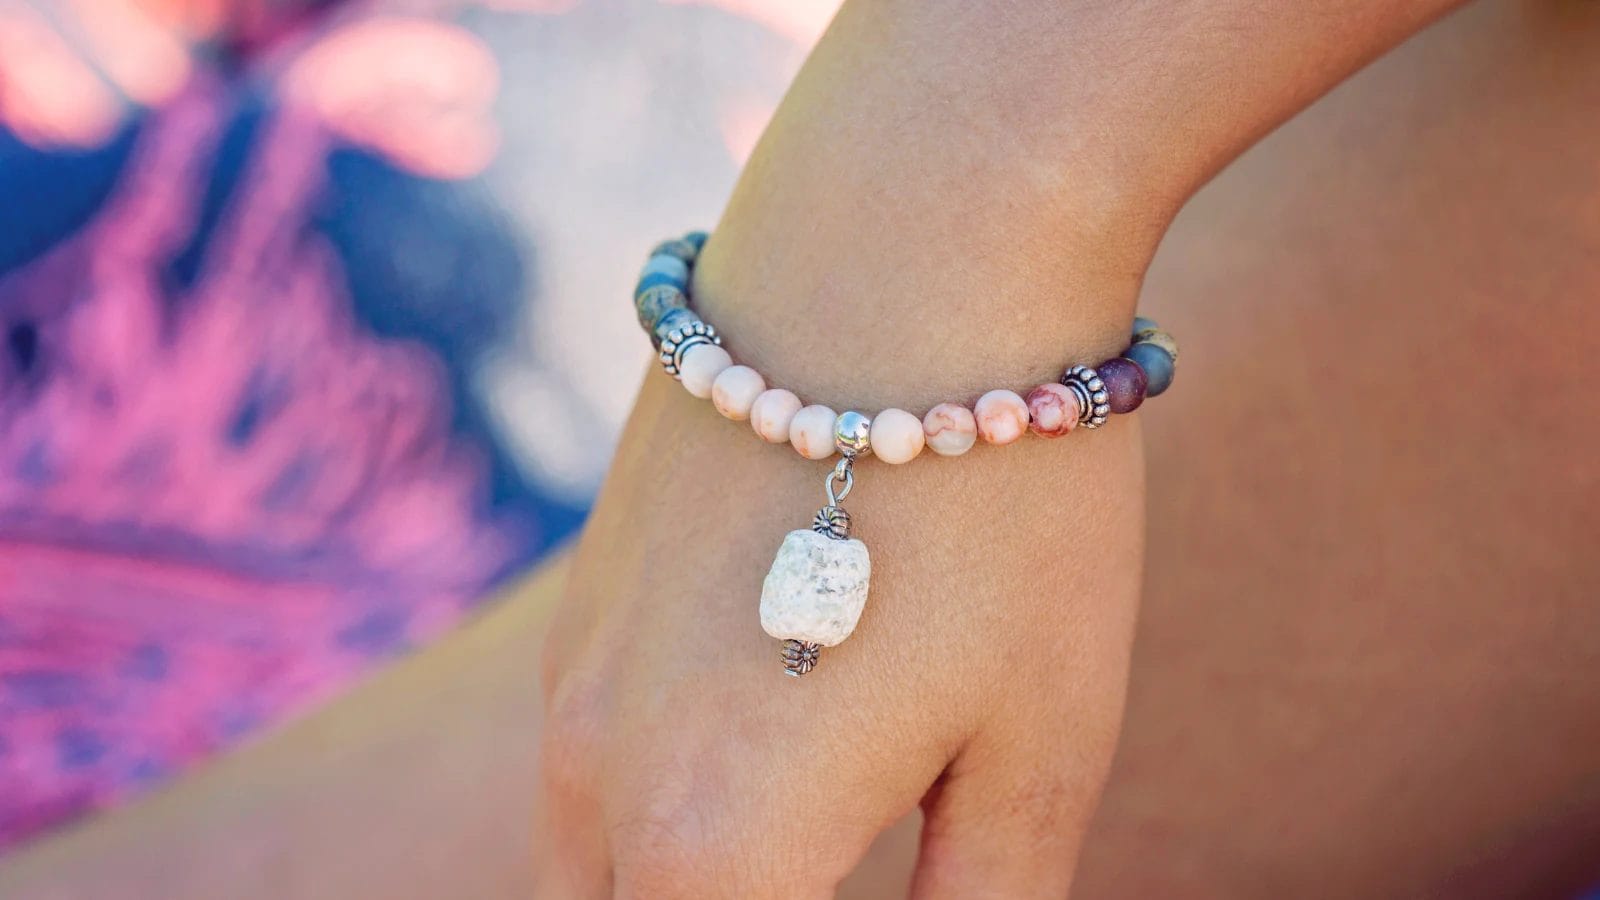
Building your own charm bracelet is a beautiful way to express yourself. Each charm you choose can represent personal milestones, telling your unique story.
A charm bracelet lets you choose charms representing important life events or precious memories, making it a great keepsake.
It’s not just jewelry; it’s a canvas for self-expression and a reflection of your journey.
Gather Materials Needed
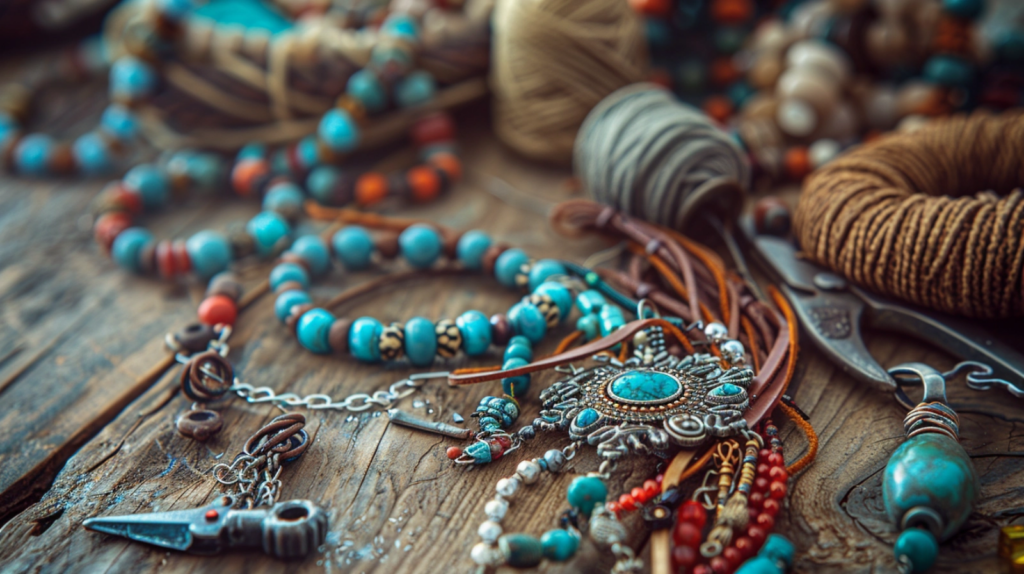
When diving into creating a DIY charm bracelet, you’ll need to gather a few essential materials.
- Chain: Choose one that comfortably fits your wrist.
- Charms: Select charms that reflect your style or interests.
- Jump Rings: Small rings are used to attach charms to the bracelet.
- Clasp: A clasp is necessary to open and close the bracelet securely.
- Pliers: Round-nose pliers for shaping and bending wire; flat-nose pliers for holding components steady.
- Wire Cutters: To cut the excess chains or wire if needed.
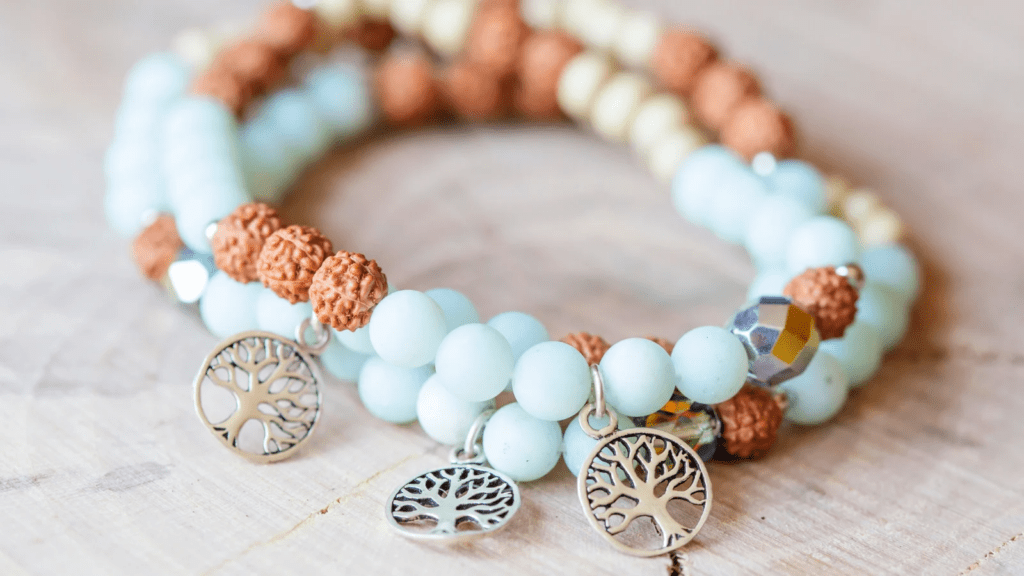
- Beads (Optional): Add beads for extra decoration between charms.
Designing Your Charm Bracelet
When designing your charm bracelet, choose a theme or style that reflects your personality and interests.
Then, arrange the charms and consider making resin charms for a personal touch.
Choose a Theme or Style
Inspiration fuels the creative process when choosing a theme or style for your charm bracelet.
Let your charms tell personal stories by selecting themes that resonate with your life events and interests.
Consider your aesthetic preferences to create a unique look that complements your style.
Mix symbols, letters, and decorative elements to infuse depth, ensuring your bracelet is both meaningful and visually appealing.
Arrange Charms Thoughtfully
To create an eye-catching charm bracelet, start by laying out your selected charms in the order you envision them on the bracelet, linking them with your narrative.
While arranging charms, alternate them with other elements like pearls or beads for visual interest.
Focus on a cohesive theme that tells your story, ensuring each charm reflects your narrative and style.
Make Resin Charms
Creating a charm bracelet that reflects your style can be elevated by crafting resin charms.
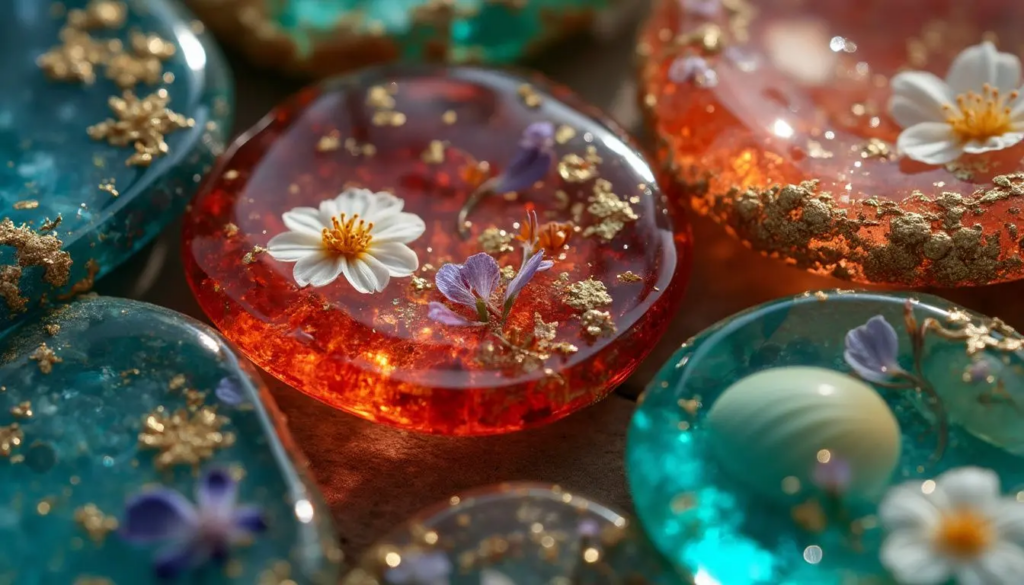
Mix resin and hardener, then pour it into your chosen mold. Add decorative items like glitter or dried flowers.
Allow it to cure fully. Once cured, drill a small loop to attach to your bracelet.
Finish with a clear coat for durability and shine.
How to Make a Charm Bracelet: Step-by-Step Instructions
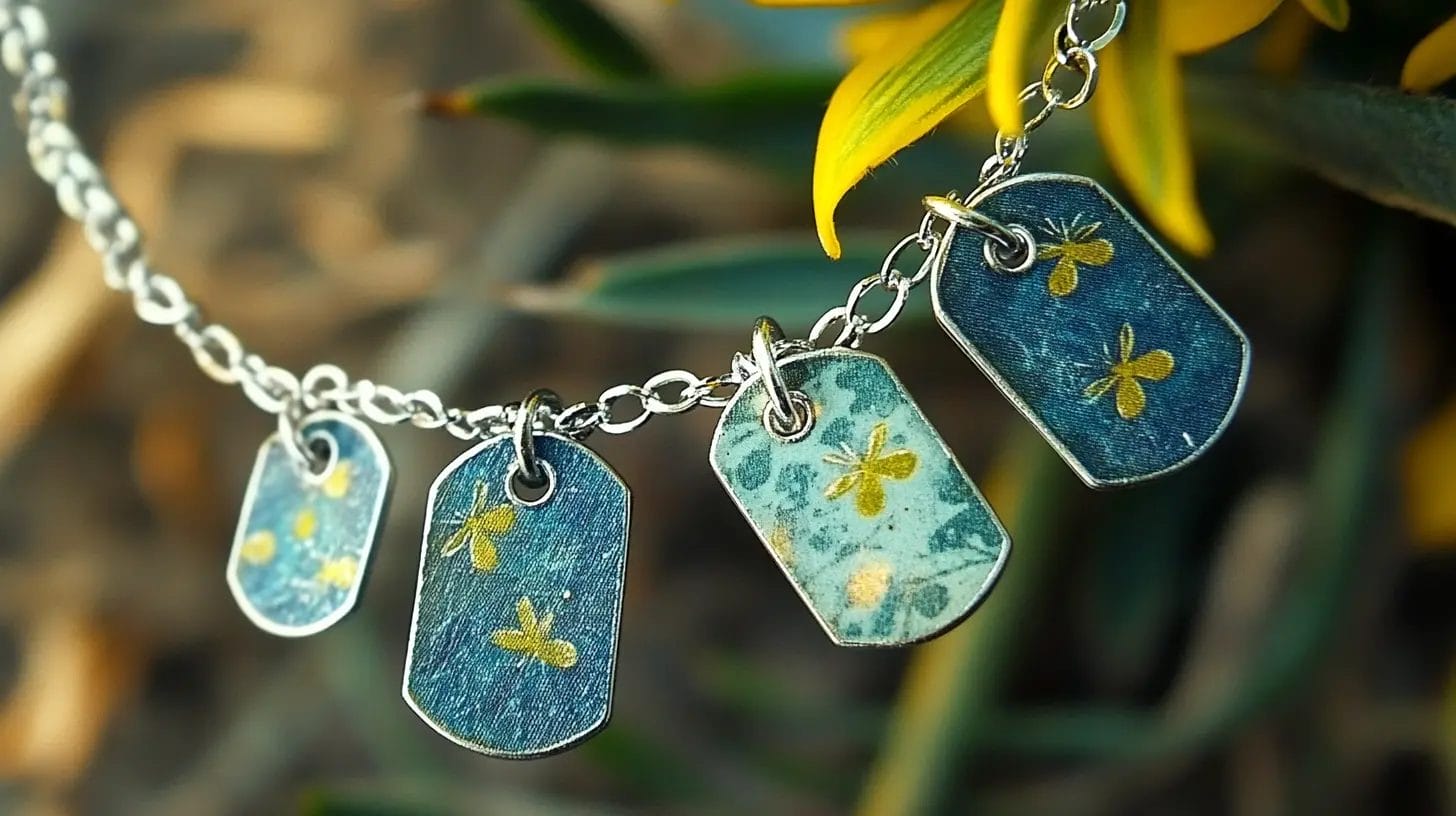
Let’s start making charm bracelets by following these step-by-step instructions. By learning this tutorial, you can also make charm necklaces.
Step 1: Prepare the Bracelet Base
Start by choosing a sterling silver chain bracelet that fits your wrist comfortably. Ensure it has an adjustable extender for added flexibility.
Use a Chain Sta to keep your base bracelet steady while you work.
Lay out your charms to plan the design, ensuring everything aligns perfectly before assembly.
Step 2: Attach the Charms
With your bracelet base prepared, it’s time to bring your charm bracelet to life by attaching the chosen charms.
Lay out your multiple charms in a pleasing order. Use round nose pliers to open a jump ring, thread it through the charm’s loop, and attach it to the bracelet.
Step 3: Add Extra Elements (Optional)
Enhancing your charm bracelet with more elements can elevate its visual appeal and personal touch.
Add colorful beads or vintage charms for a personalized look. Use jump rings to attach these elements securely and evenly.
Consider mixing whimsical or nature-themed charms for a unique design.
Don’t hesitate to incorporate larger elements, like pendants, to make your charm bracelets stand out.
Step 4: Finishing Touches
You’ve worked hard to create a beautiful charm bracelet, and now it’s time to focus on the finishing touches.
Ensure every charm is securely closed using chain nose pliers. Trim any excess wire carefully.
For a polished finish, clean the sterling silver with a polishing cloth.
Finally, try on your bracelet to check its fit and comfort.
Tips for Maintaining Your Charm Bracelet
Keeping your charm bracelet in top condition involves a few simple maintenance steps.
Clean it regularly with a soft cloth to prevent tarnish.
Store it in a dry, anti-tarnish pouch to minimize scratches.
Check that jump rings and clasps are secure to avoid losing charms.
For bracelets with pearls, gently wipe them with a damp cloth after use to maintain their luster.
Tips for Personalization
Personalizing a charm bracelet is a wonderful way to tell your story and keep cherished memories close.
- Initial Charms: Add charms with the initials of loved ones or yourself.
- Birthstones: Include birthstone charms for each family member or significant person.
- Hobby Charms: Choose charms representing hobbies or interests, like a guitar or book.
- Travel Souvenirs: Add charms from places you’ve visited to capture memories.
- Animal Charms: Include charms of your favorite animals or pets.
- Color Themes: Select charms in your favorite colors or that match your wardrobe.
- Seasonal Charms: Rotate charms based on the season or upcoming holidays.
Final Words
Creating a charm bracelet is a delightful way to express your personality and commemorate cherished memories.
You’ve gathered your materials, designed your layout, and followed the steps to assemble your unique piece. Now, enjoy wearing your creation or gifting it to someone special, knowing it holds a personal story.
Keep it shining and secure with regular maintenance. Remember, each charm reflects you, so continue adding to your bracelet as your story unfolds.
FAQs
How Do You Make Homemade Bracelet Charms?
You can make homemade bracelet charms by repurposing broken jewelry, sculpting oven-bake clay, or using recycled materials. Attach eye pins to beads, secure them with loops, or encase printed images in resin for personalized, durable charms.
How to Start a Charm Bracelet for Beginners?
Pick a sturdy chain or string, then choose charms that reflect your personality. Secure charms evenly along the bracelet, ensuring a balanced design. Enjoy creating your unique accessory!
How Do You Attach Charms to a Bracelet?
You attach charms by opening a sterling silver jump ring, sliding the charm onto it, and then closing it securely. Use a Chain Sta to keep the bracelet steady and ensure all charms face the same direction.

