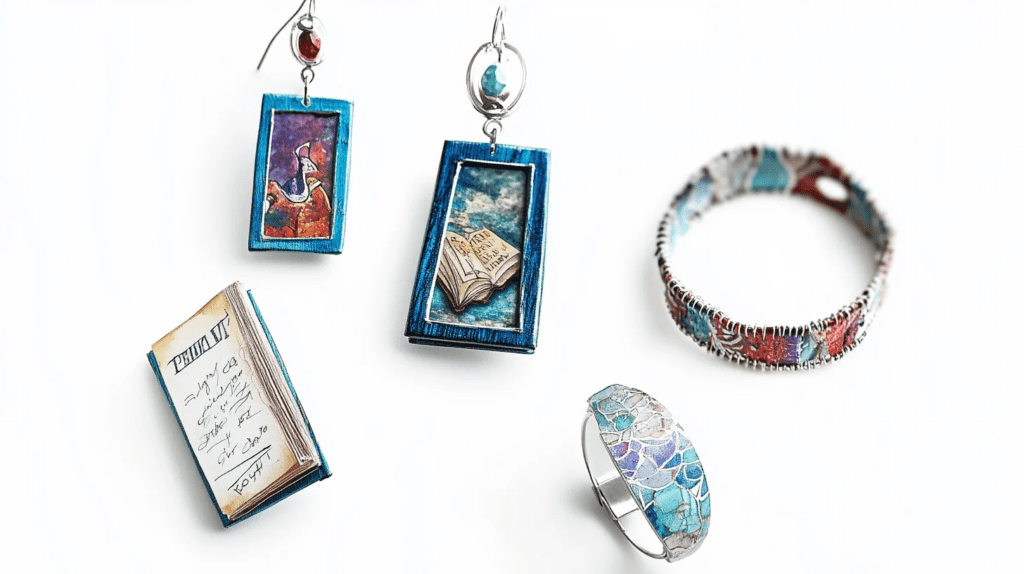
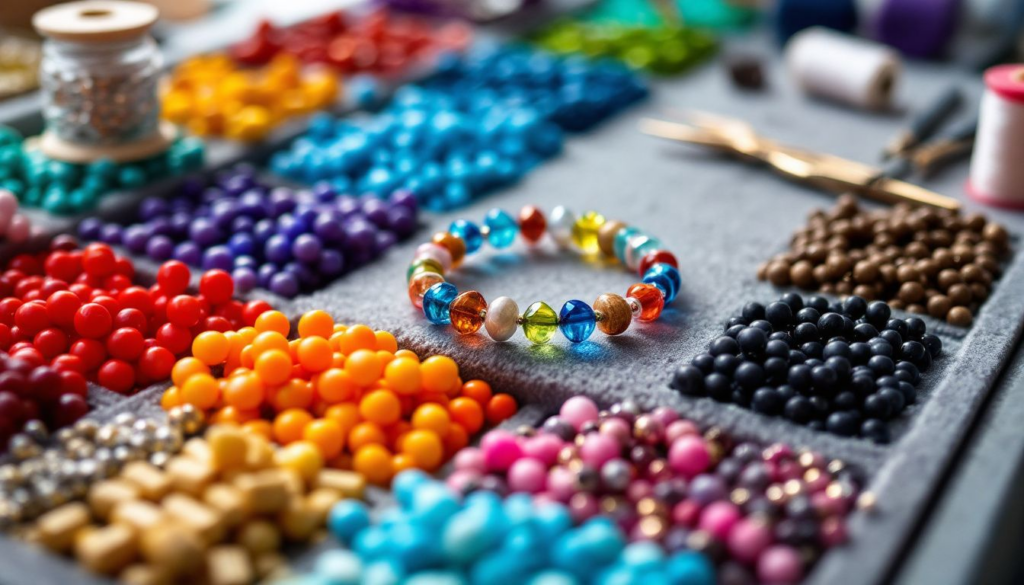
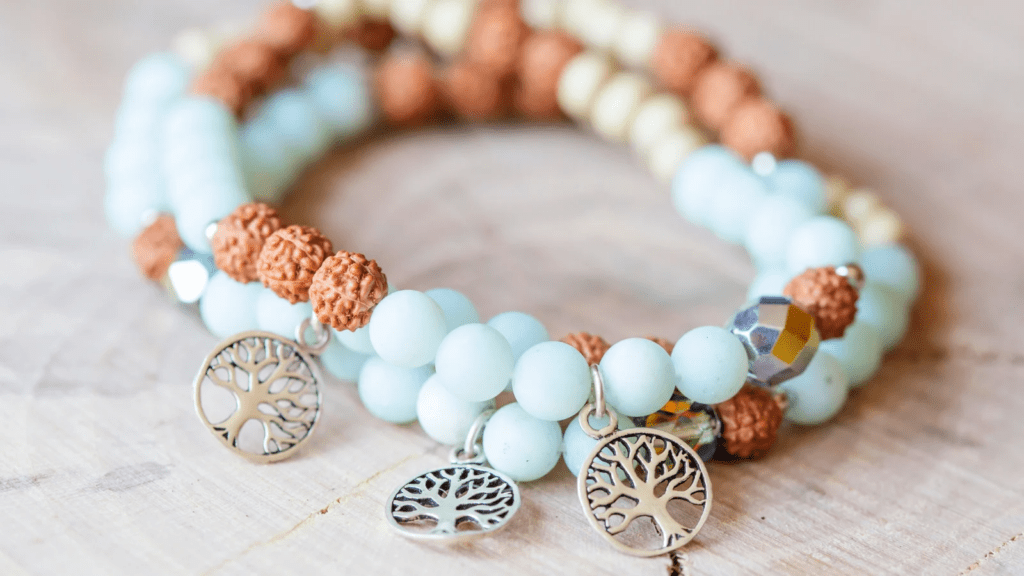
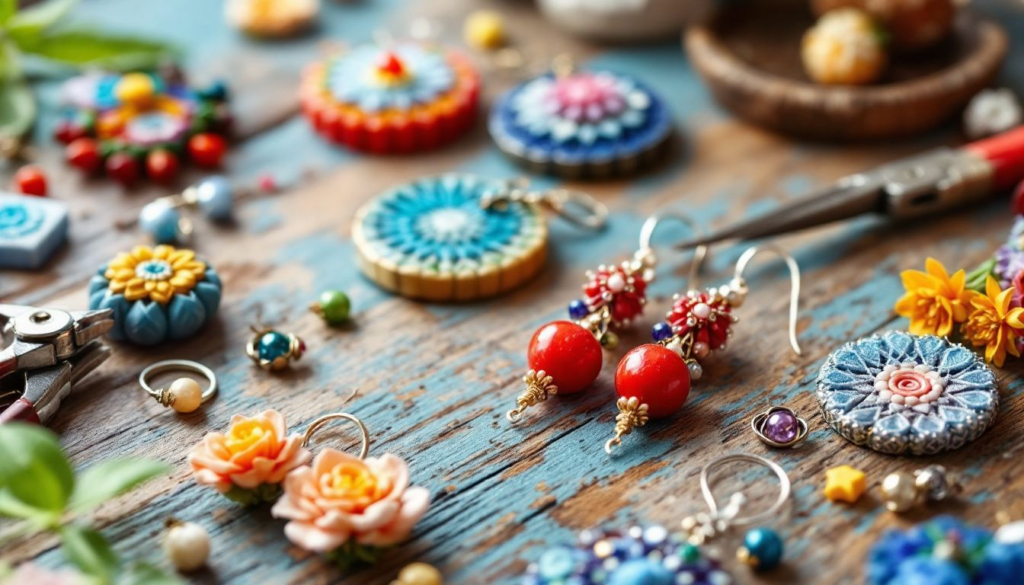
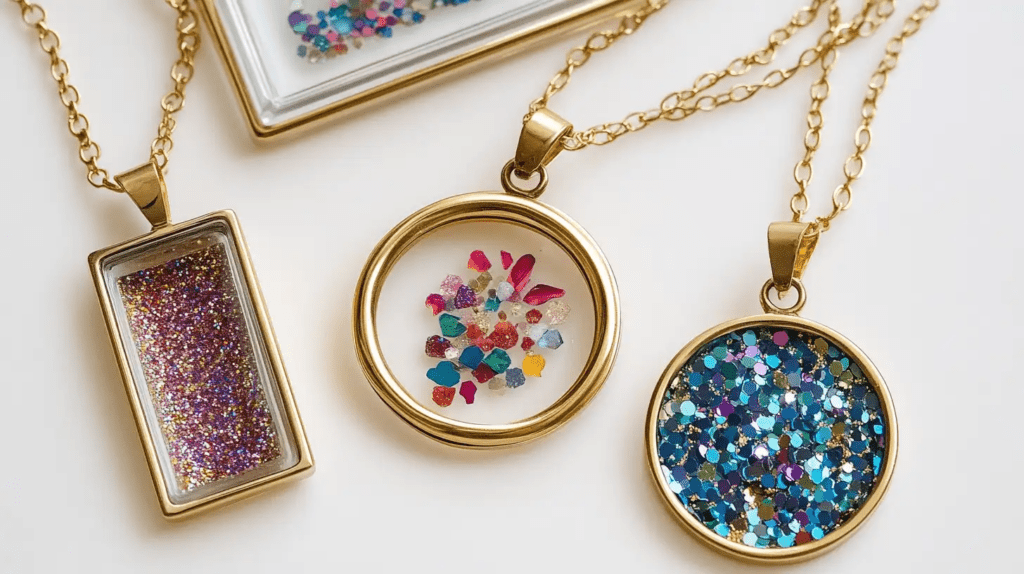
Dive into the exciting world of DIY jewelry making, where creativity knows no bounds. Imagine crafting unique pieces that truly reflect your personal style. With the rise in popularity of DIY projects, especially in jewelry, you’re not alone in this creative journey. Many enthusiasts find joy in creating something personal and beautiful.
DIY jewelry ideas offer endless possibilities, allowing you to experiment and express yourself. So, why wait? Unleash your creativity and start your handmade jewelry journey today. You’ll discover a rewarding hobby that not only enhances your skills but also brings immense satisfaction.
Gathering Essential Supplies and Tools
Embarking on making jewelry pieces requires the right supplies and tools. Here are a few essentials:
- Flat-nose pliers are perfect for gripping and bending wire. They’re indispensable for many projects.
- Wire-wrapping tools help you create loops and secure beads, which are crucial for making intricate designs.
- Round Nose Pliers form loops and curves in your wire. They’re great for creating elegant shapes.
- Cutting Pliers allow you to cut wire cleanly. A precise cut is important for a polished finish.
You might also consider investing in a jewelry-making kit. These kits cater to various styles, inspiring your creativity and helping you explore different designs.
Simple DIY Jewelry Ideas
Creating your jewelry at home can be a fun and rewarding experience. You don’t need to be an expert to start. With some easy DIY ideas, you can craft beautiful pieces that reflect your style.
1. Beaded Bracelets
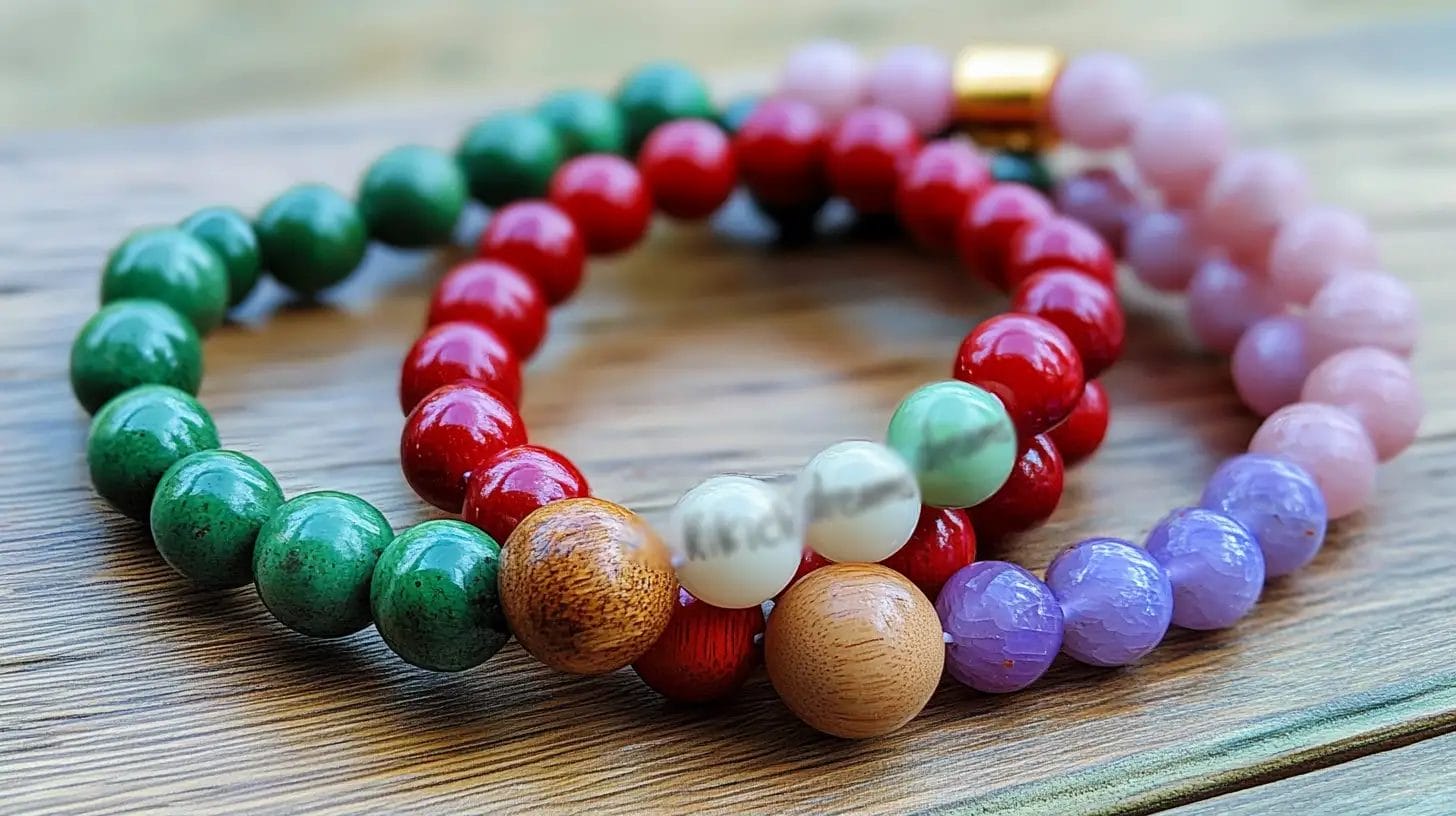
Beaded jewelry, such as friendship bracelets, is a fantastic starting point for any enthusiast. It offers endless possibilities with colors, shapes, and sizes.
- Choose Your Beads: Select beads that speak to your style. Mix and match colors for a vibrant look, or stick to a monochrome palette for elegance.
- Stringing: Use a strong thread or elastic cord. String the beads in your desired pattern. Secure the ends with a knot or clasp.
- Personal Touch: Add charms or pendants to make your bracelet unique.
2. Wire-Wrapped Rings
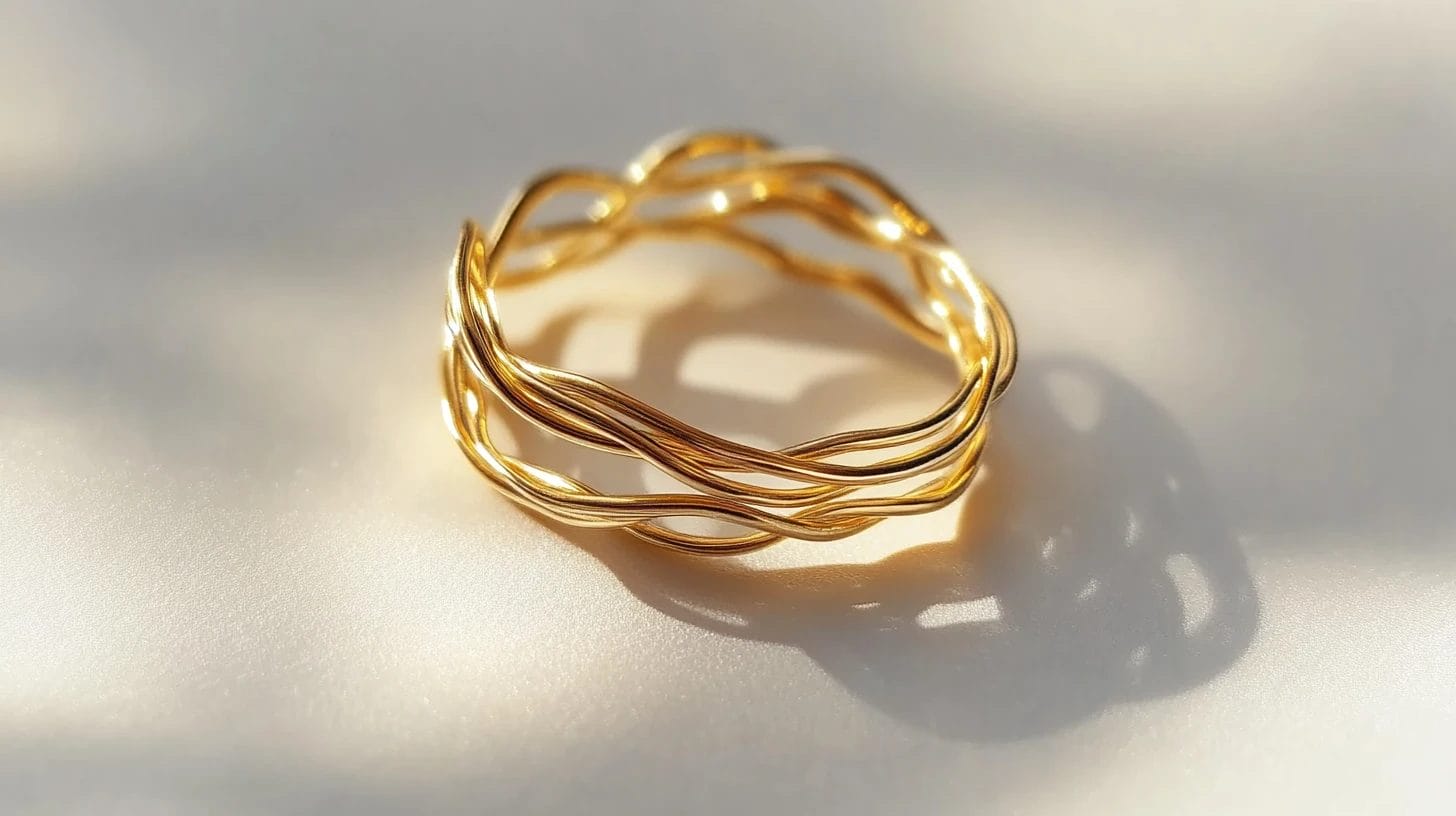
Wire-wrapped rings belong to wire jewelry crafts and bring a touch of sophistication. This tutorial involves wrapping wire around a stone or bead to create a stunning centerpiece.
- Select Your Stone: Choose a stone or bead that you love. It’ll be the focal point of your ring.
- Wrap the Wire: Secure the stone using wire-wrapping tools. Create loops and twists to hold it in place.
- Adjust the Size: Ensure the ring fits comfortably on your finger. Adjust the wire as needed.
3. Charm Necklaces
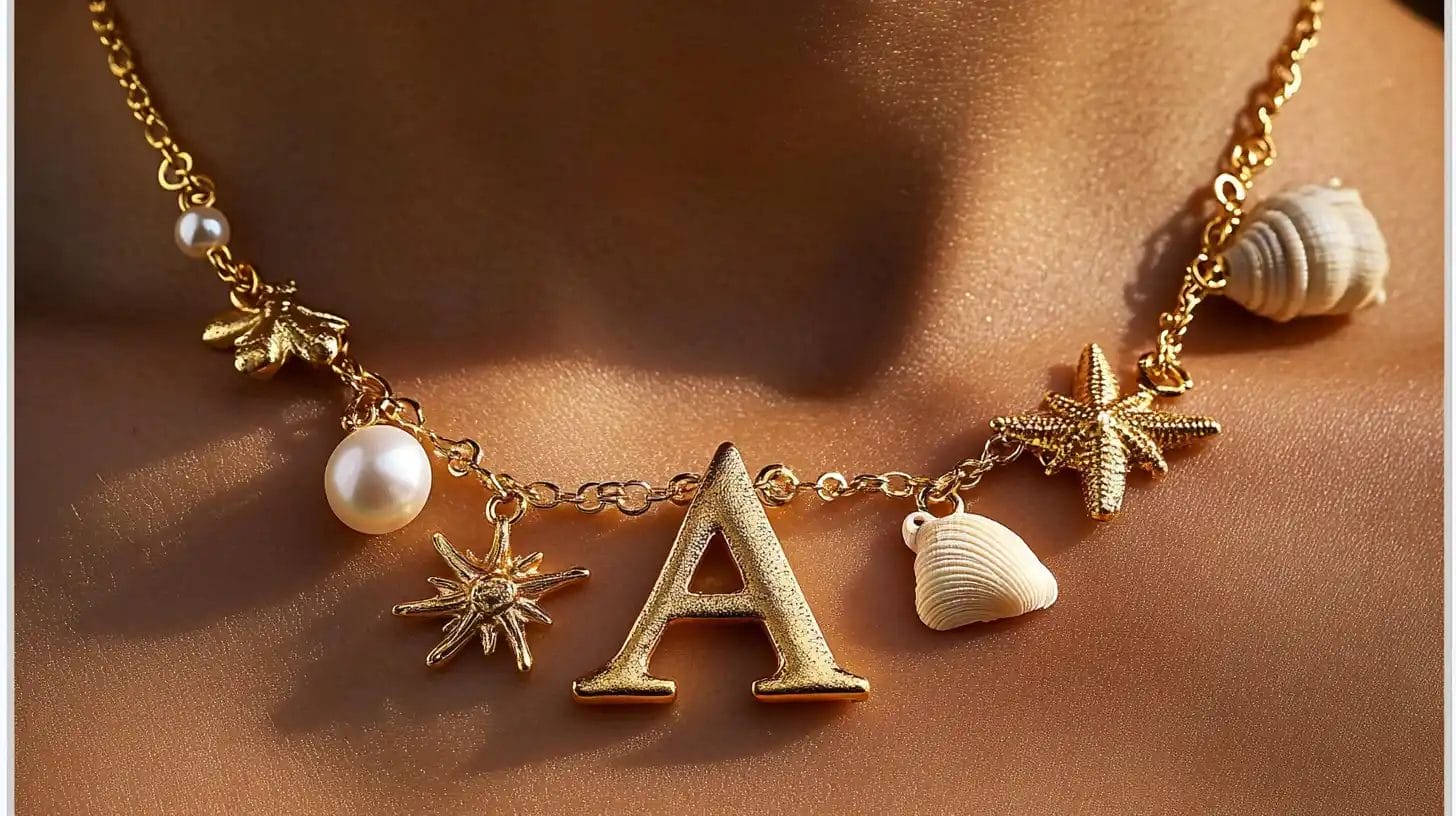
Charm necklaces are a delightful way to express your personality. These necklaces allow you to showcase charms that hold special meaning or simply appeal to your aesthetic sense.
- Gather Charms: Collect charms that resonate with you. They could be symbols, initials, or small pendants.
- Choose a Chain: Choose a chain that complements your charms. Depending on your style, it could be delicate or bold.
- Assemble: Attach the charms to the chain using jump rings. Arrange them in a way that tells your story.
Intermediate DIY Jewelry Ideas
As you gain confidence in your jewelry-making skills, you might want to explore more complex projects. Intermediate ideas offer a perfect opportunity to challenge yourself and create stunning pieces.
4. Resin Pendants
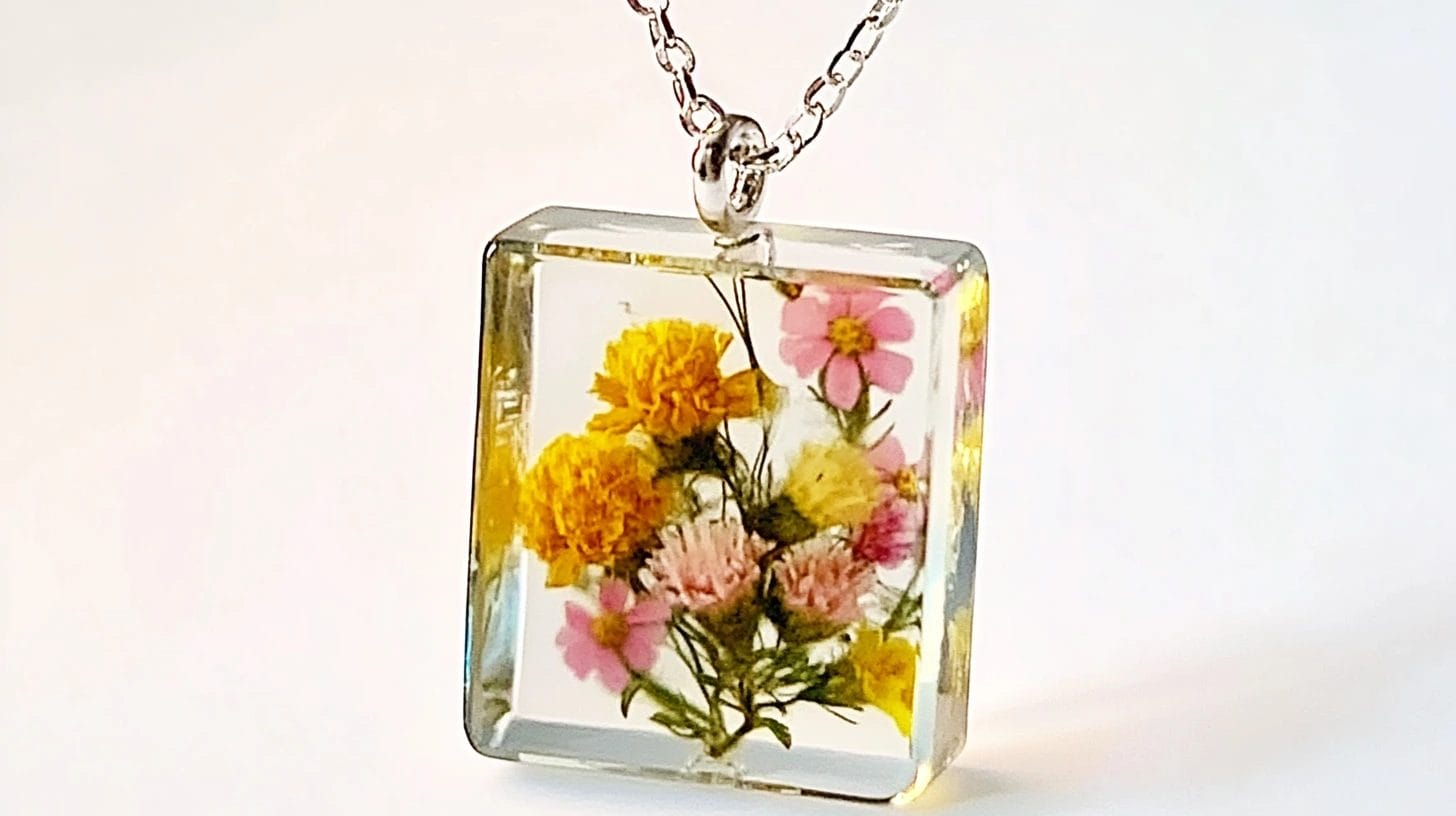
Resin pendants are a fantastic way to encapsulate small objects or create colorful designs. The process involves pouring resin into a mold and allowing it to harden. This technique opens up endless possibilities for creativity.
- Gather Materials: You’ll need resin, a mold, and any items you want to embed, like dried flowers or glitter.
- Mix the Resin: Follow the instructions on your resin kit. Mix it thoroughly to avoid bubbles.
- Pour and Set: Pour the resin into the mold, add your chosen items, and let it cure for the recommended time.
5. Polymer Clay Earrings
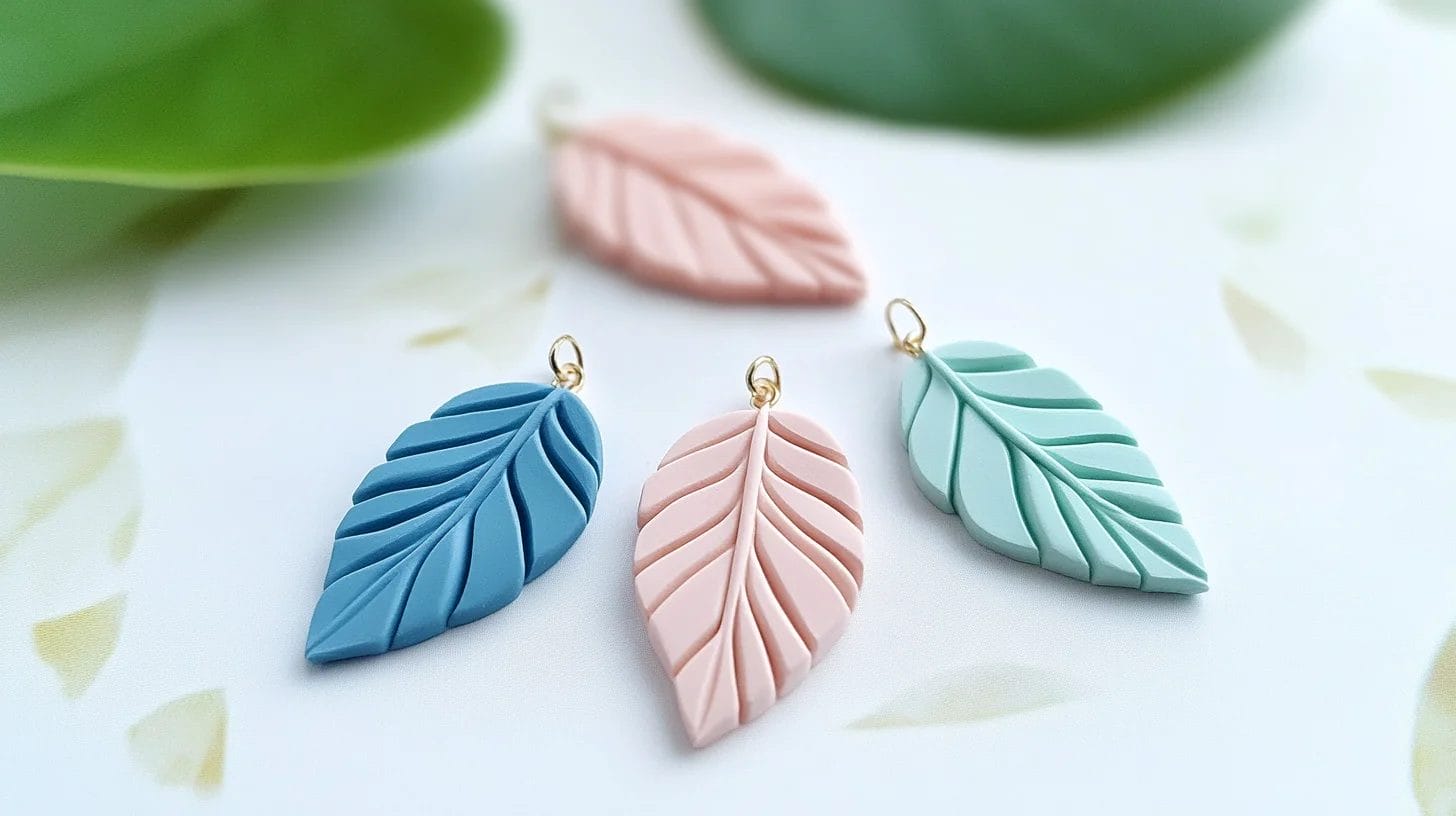
Polymer clay earrings allow you to experiment with shapes and colors. This versatile material is easy to work with and can be baked in a regular oven.
- Choose Your Colors: Select clay colors that complement each other. You can mix them to create marbled effects.
- Shape the Clay: Roll out the clay and cut it into your desired shapes. You can use cookie cutters or freehand designs.
- Bake and Assemble: Follow the baking instructions on the clay package. Once cooled, attach earring hooks.
6. Braided Leather Bracelets
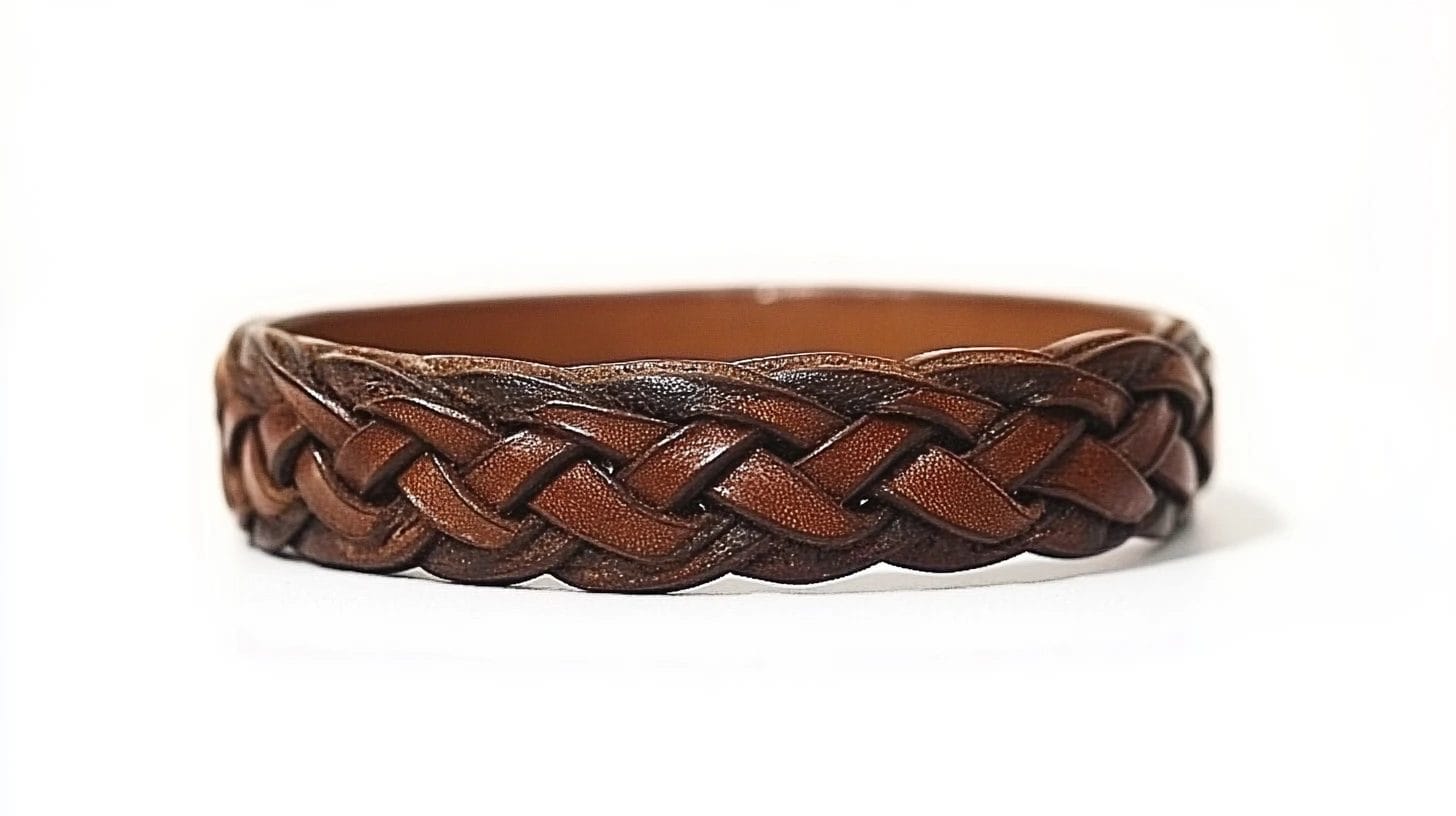
Braided leather bracelets offer a rustic and stylish look. They are simple to make and can be customized with beads or charms.
- Select Leather Strips: Choose leather in your preferred color and thickness.
- Braid the Strips: Secure the ends and braid the strips tightly. Add charms if desired.
- Finish with a Clasp: Attach a clasp to secure the bracelet.
7. Tassel Earrings
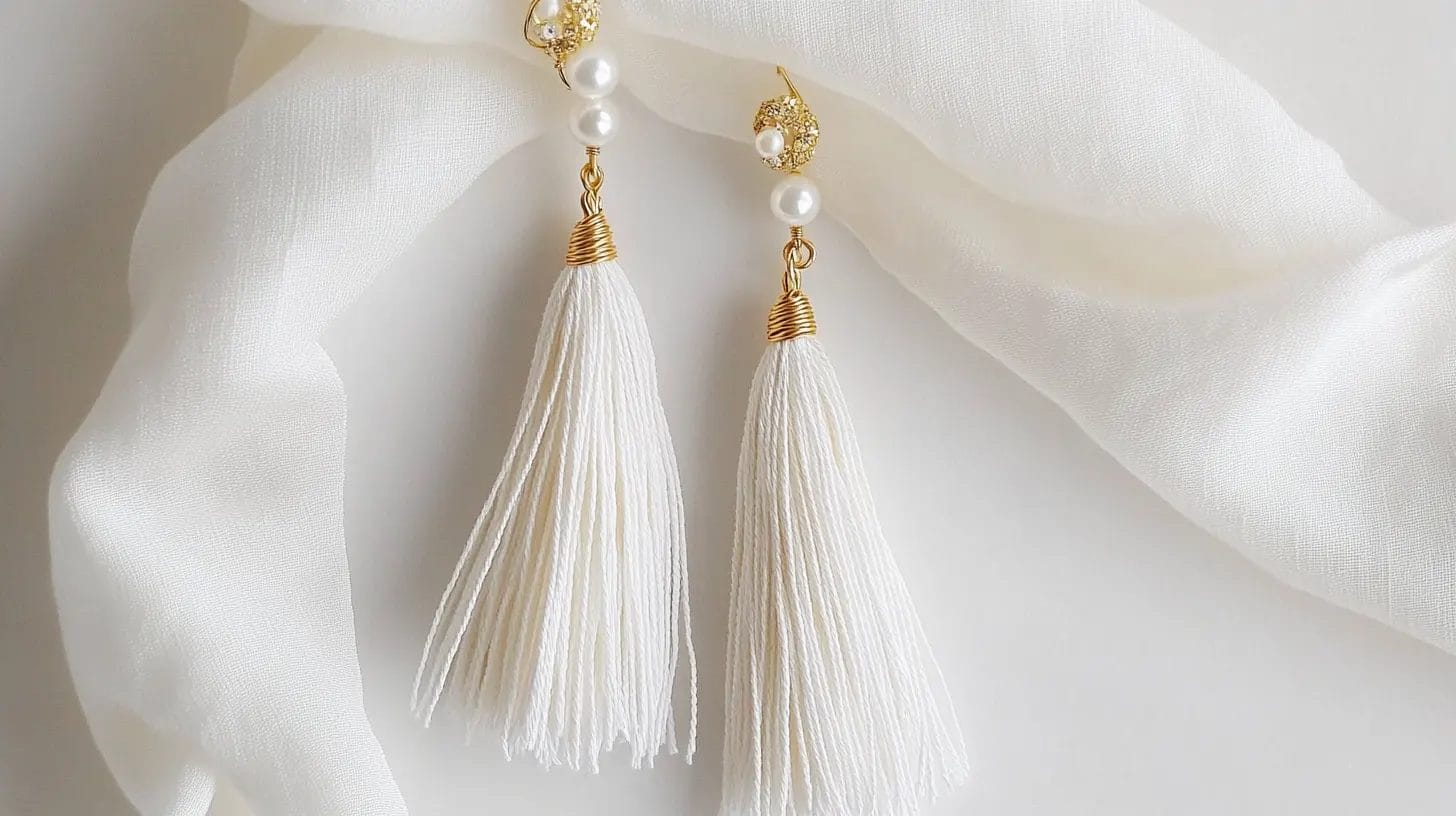
Tassel earrings bring a playful and trendy vibe to your jewelry collection. They are perfect for adding a pop of color and movement to any outfit.
Gather Your Materials: You’ll need embroidery thread, earring hooks, jump rings, and scissors. Choose thread colors that match your style or the season.
Create the Tassels: Cut several strands of thread to your desired length. Fold them in half and tie a small piece of thread around the top to secure them. Trim the ends for a neat finish.
Attach to Earring Hooks: A jump ring connects the tassel to the earring hook.
8. Button Earrings
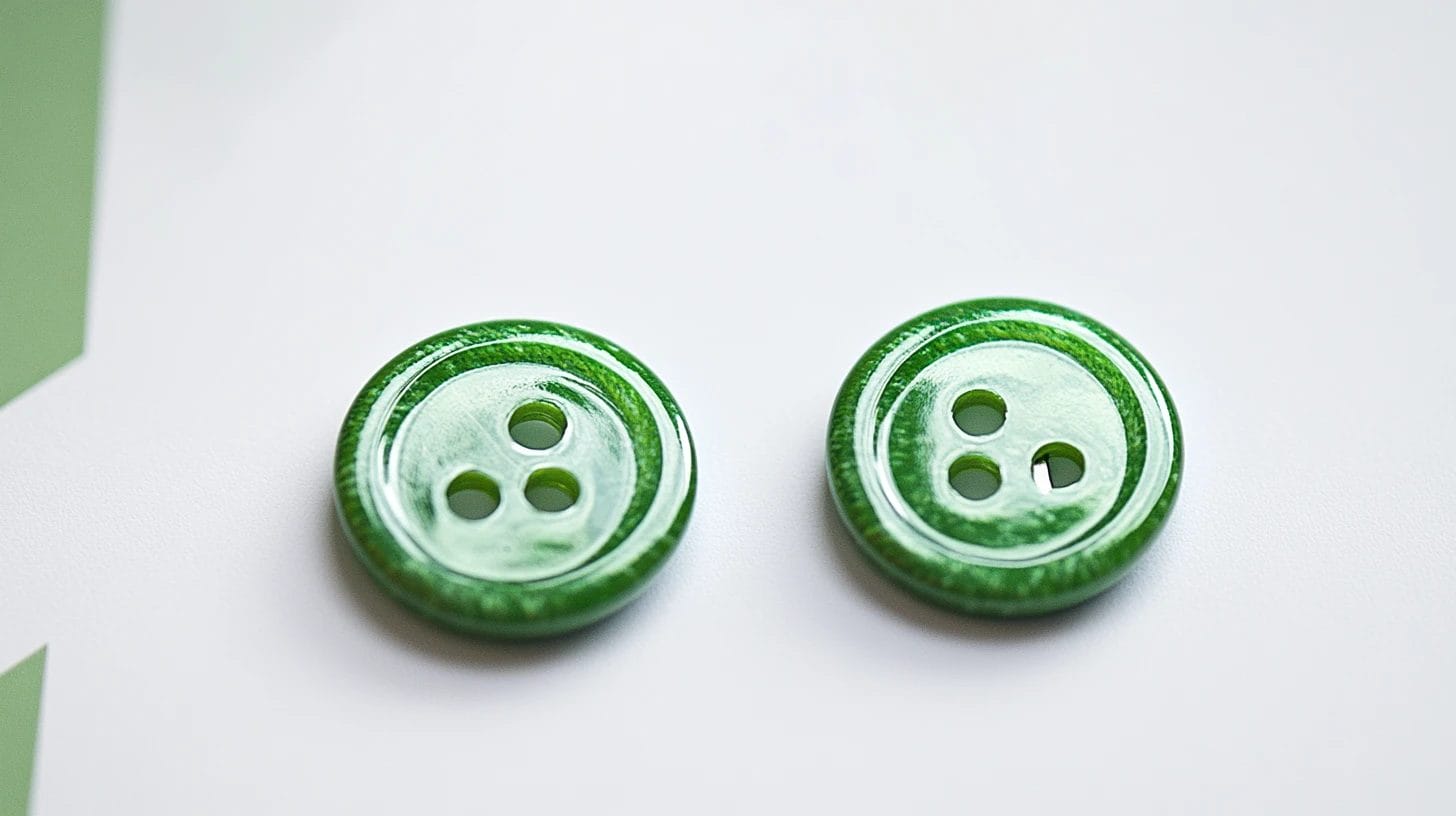
Button earrings offer a charming and vintage-inspired look. They’re an excellent way to repurpose and turn old buttons into stylish accessories. This jewelry project is not only fun but also eco-friendly, as it encourages upcycling.
- Select Your Buttons: Choose buttons that catch your eye. They can be mismatched for a quirky look or identical for a classic style.
- Prepare the Buttons: If the buttons have shanks, remove them with pliers. Ensure the back is flat for easy attachment.
- Attach Earring Posts: Use strong adhesive to secure earring posts to the back of the buttons. Let them dry completely before wearing them.
Advanced DIY Jewelry Ideas
As you advance in your jewelry-making journey, you might want to tackle more intricate projects. These advanced ideas will challenge your skills and creativity, allowing you to craft truly unique pieces.
9. Metal Stamping
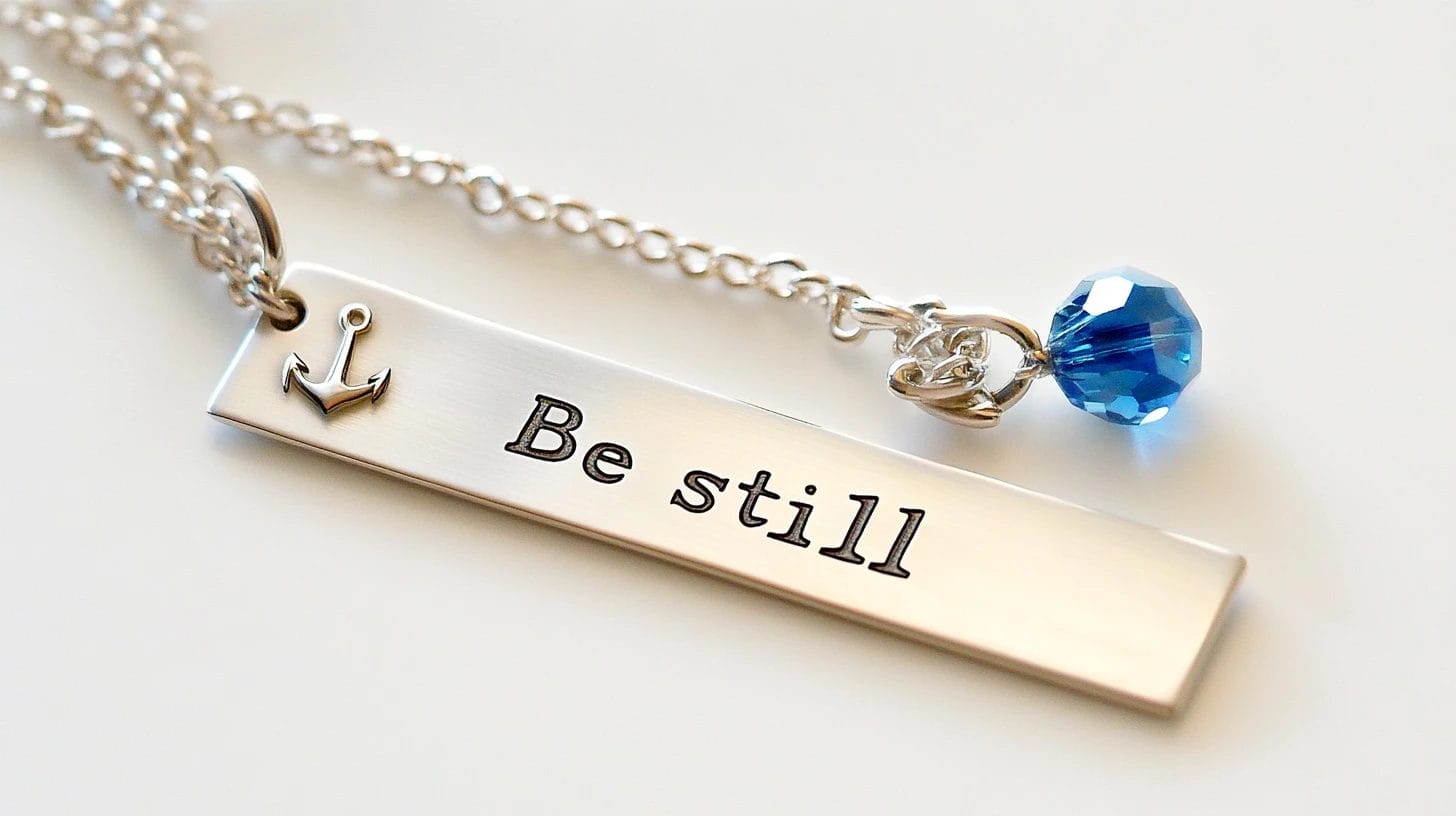
Metal stamping offers a fantastic way to personalize your jewelry. You can create custom designs, initials, or meaningful quotes on metal blanks.
- Gather Your Tools: You’ll need metal blanks, a stamping hammer, and letter or design stamps. A steel block provides a sturdy surface for stamping.
- Position the Stamp: Place the metal blank on the steel block. Hold the stamp firmly and position it where you want the impression.
- Strike with Confidence: Use the hammer to strike the stamp with a firm, even blow. Practice on scrap metal to perfect your technique.
- Add Finishing Touches: Polish the metal to enhance the stamped design. You can also add color with enamel paint or patina.
10. Bead Weaving
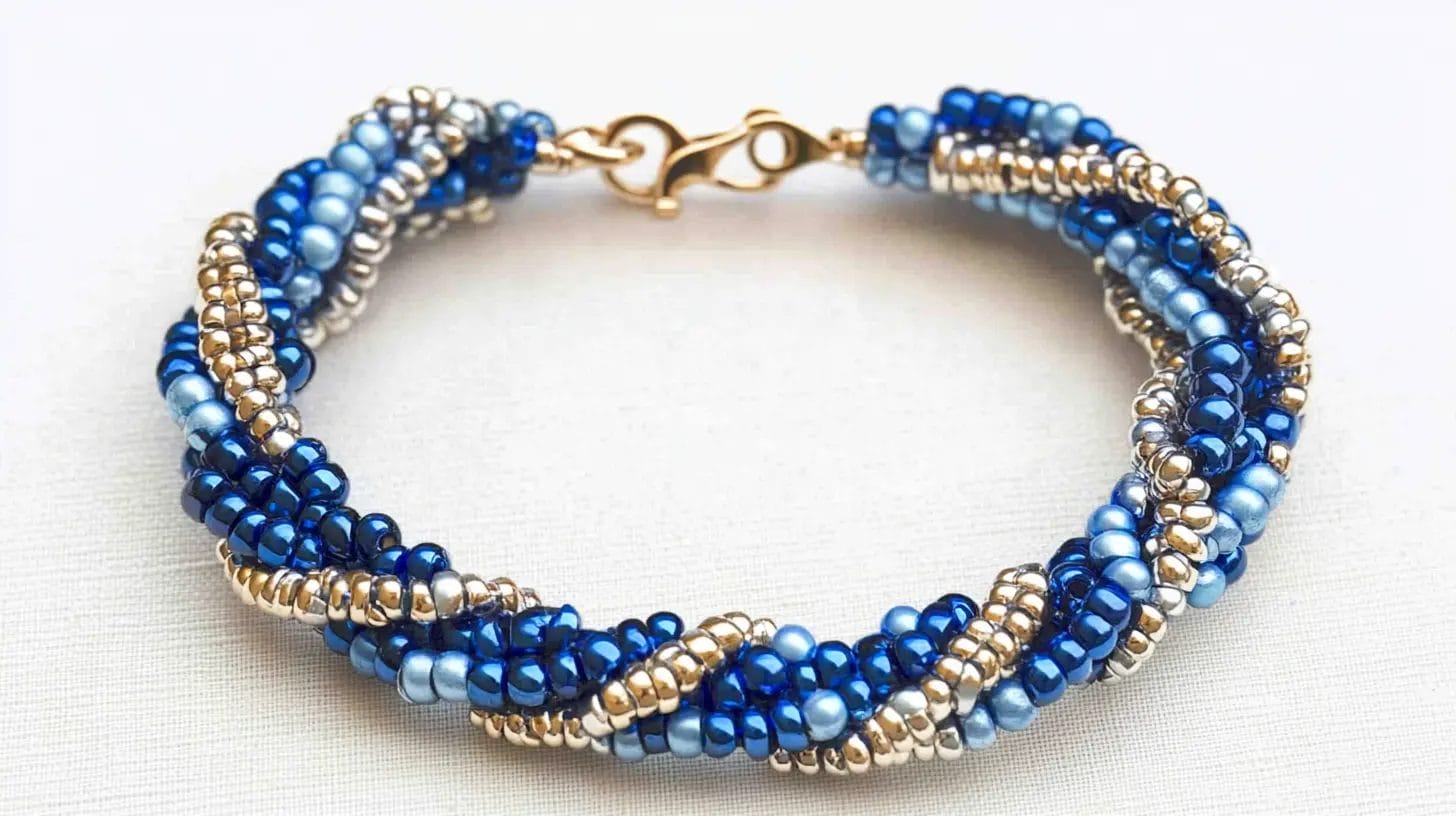
Bead weaving involves threading beads together to create intricate patterns and designs. This technique requires patience and precision but results in stunning jewelry pieces.
- Choose Your Beads: Select beads in various colors and sizes. Seed beads work well for detailed patterns.
- Select a Pattern: Decide on a design or pattern. You can find inspiration online or create your own.
- Weave the Beads: Use a needle and thread to weave the beads according to your pattern. Secure each row tightly.
- Finish with a Clasp: Attach a clasp to complete your piece. Ensure it’s secure for durability.
11. Enamel Work
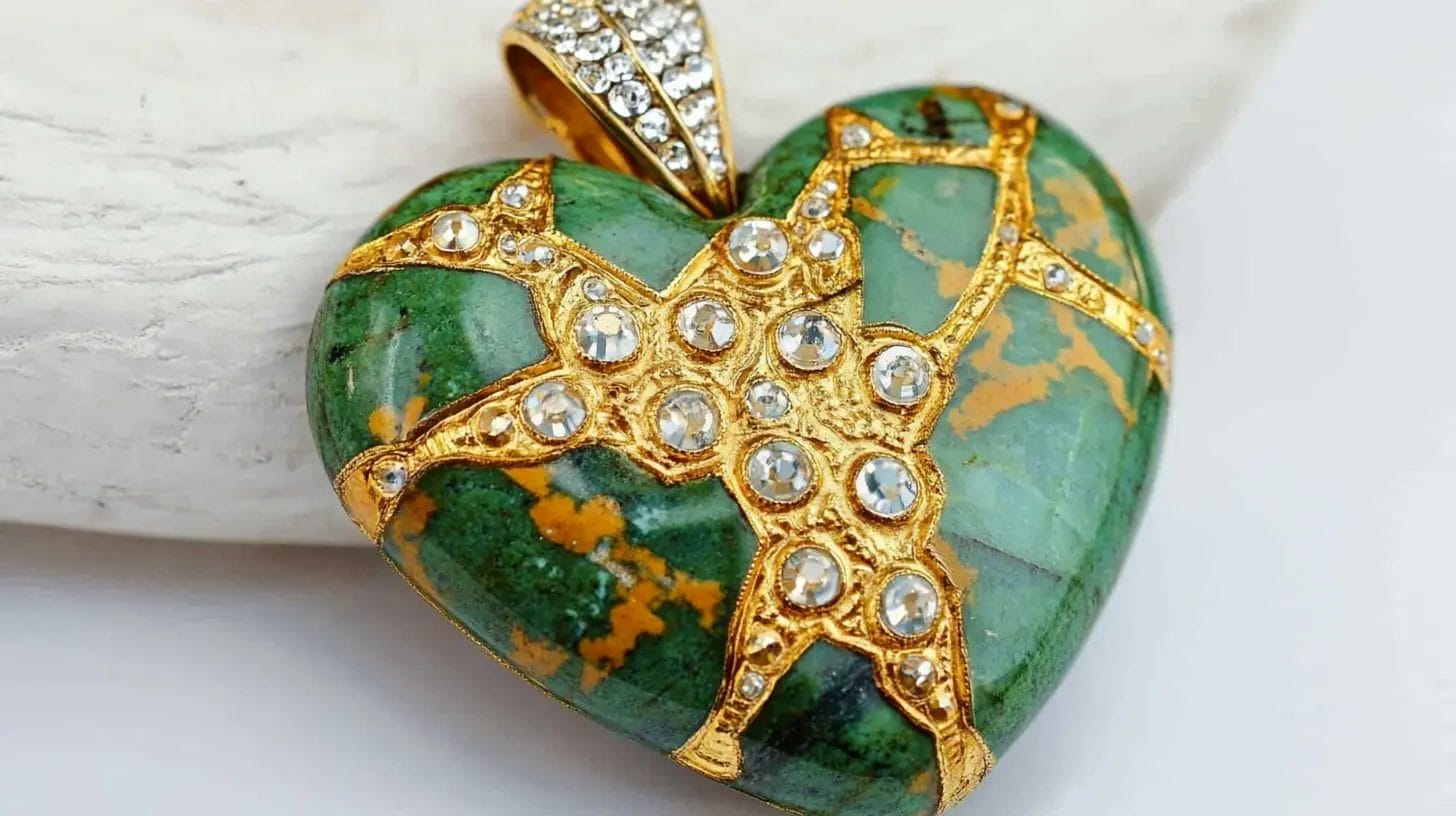
Enamel work involves fusing powdered glass into metal, creating vibrant and colorful designs. This technique adds a unique flair to your jewelry collection.
- Prepare Your Metal: Clean the metal surface thoroughly. Apply a layer of enamel powder evenly.
- Fire the Enamel: Heat the enamel in a kiln or torch until it melts and fuses to the metal. Follow safety precautions during this process.
- Add Layers: Apply additional layers of enamel for depth and color variation. Fire each layer separately.
- Polish and Finish: Once cooled, polish the enamel to a smooth finish. Add findings to complete your piece.
12. Chainmail Jewelry
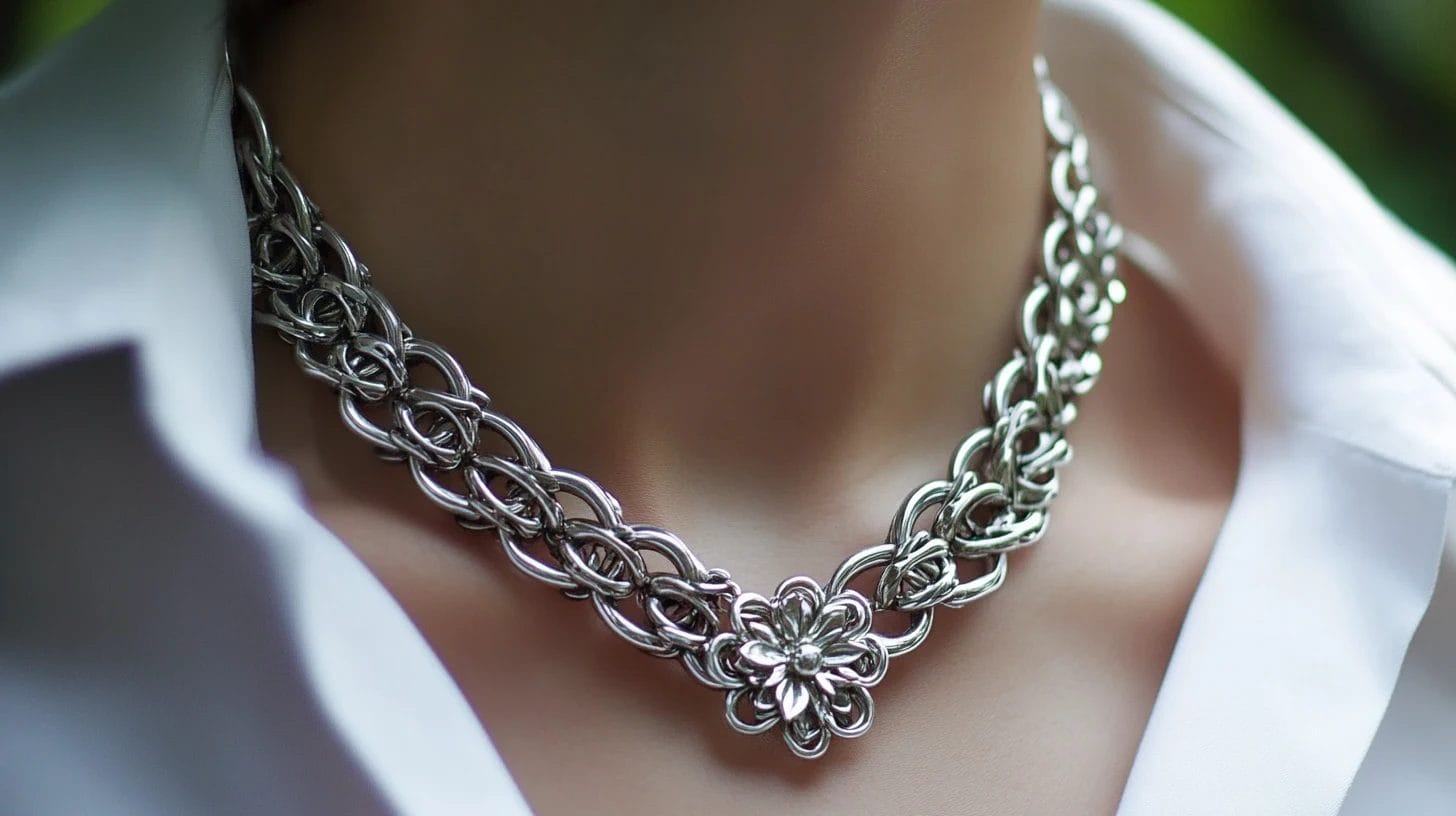
Chainmail jewelry offers a unique blend of history and artistry. This technique involves linking metal rings to create intricate patterns reminiscent of medieval armor.
- Gather Your Rings: Choose metal rings in your preferred size and material. Aluminum and stainless steel are popular for beginners due to their lightweight and durable nature.
- Select a Pattern: Decide on a chainmail pattern. The European 4-in-1 weave is a great starting point for newcomers. It provides a classic look and is relatively easy to master.
- Link the Rings: Use pliers to open and close the rings. Connect them according to your chosen pattern. Ensure each link is secure to maintain the integrity of the design.
- Finish with a Clasp: Attach a clasp to complete your piece. This step ensures your jewelry is wearable and functional.
13. Gemstone Jewelry
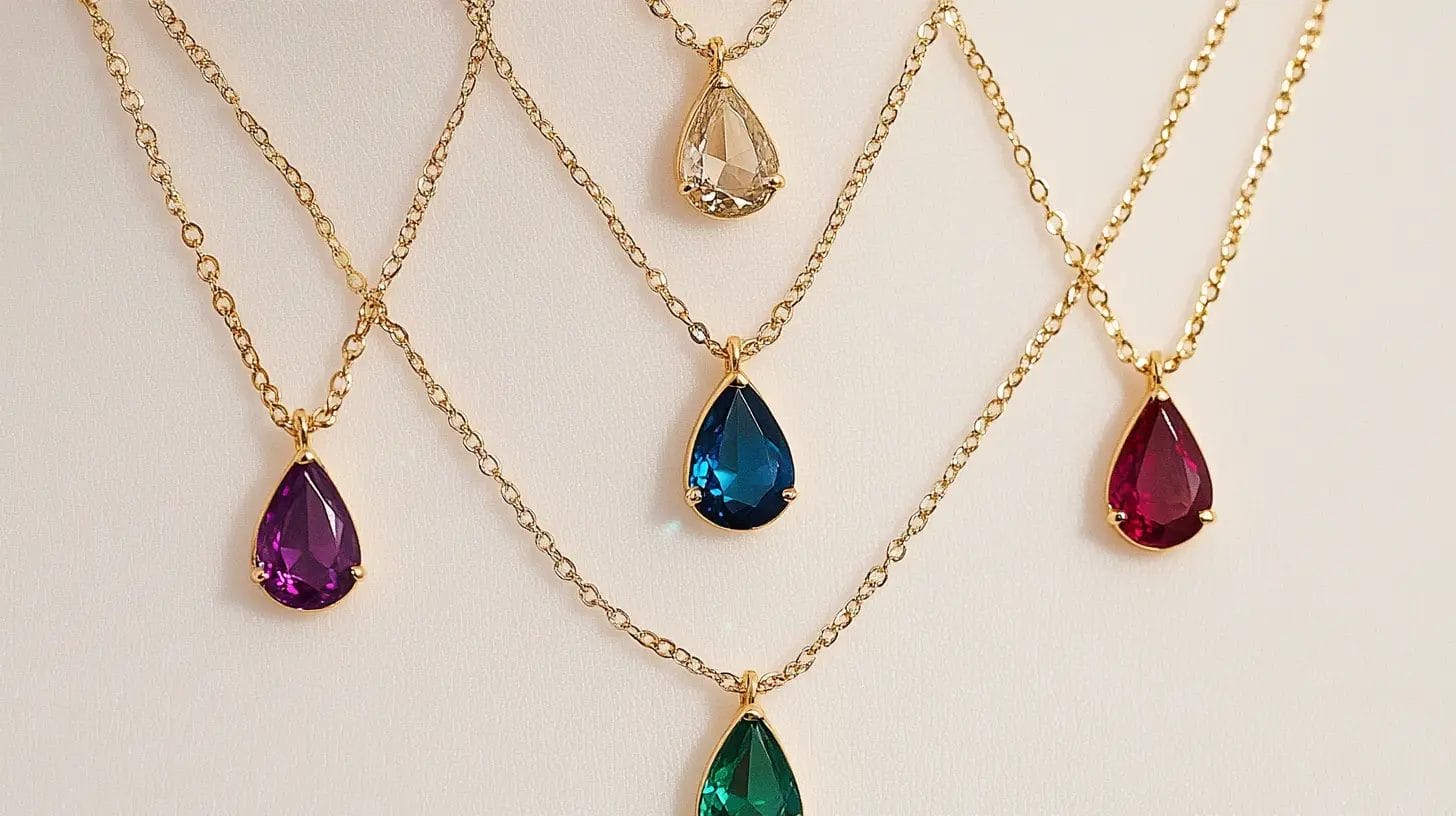
Gemstone jewelry adds a touch of elegance and color to your collection. Working with gemstones lets you incorporate natural beauty into your designs.
- Choose Your Gemstones: Select gemstones that resonate with you. Consider their colors, shapes, and meanings. Popular choices include amethyst, turquoise, and quartz.
- Design Your Piece: Plan your design around the gemstones. You might create a simple pendant or an elaborate necklace. Sketch your ideas to visualize the final product.
- Set the Stones: Secure the gemstones using wire wrapping or bezel settings. Ensure they are held firmly in place to prevent movement.
- Add Finishing Touches: Incorporate additional elements like beads or charms to enhance your design. Attach a chain or cord to complete your jewelry.
Tips for Customization and Personalization
DIY jewelry projects offer you the chance to express your unique style. Customizing and personalizing your pieces can make them truly one-of-a-kind:
- Choose Quality Materials: Select high-quality beads, stones, and metals to ensure durability and a professional finish.
- Incorporate Personal Elements: Use birthstones, initials, or charms that reflect personal interests or memories.
- Experiment with Colors: Play with color schemes to match personal style or seasonal trends.
- Mix and Match Styles: Combine various styles like boho, modern, or vintage to create a unique look.
- Adjust Lengths and Sizes: Personalize fit by adjusting the length of necklaces or the size of rings and bracelets.
- Use Unique Clasps and Closures: Opt for distinctive clasps to add a special touch and enhance functionality.
- Engrave Messages: Add a personal message or date through engraving for a sentimental touch.
- Layering: Design pieces that can be layered together for a versatile look.
- Texture Variation: Mix different textures (smooth, rough, matte, shiny) for visual interest.
- Stay Updated with Trends: Incorporate trending elements like geometric shapes or sustainable materials while keeping it personal.
Final Words
Share your creations with others. Showcasing your unique designs inspires fellow enthusiasts. Keep learning and experimenting with new ideas.
Whether it’s mastering stone setting techniques or trying out new materials, the world of DIY jewelry offers endless possibilities. Dive in and let your imagination shine!

