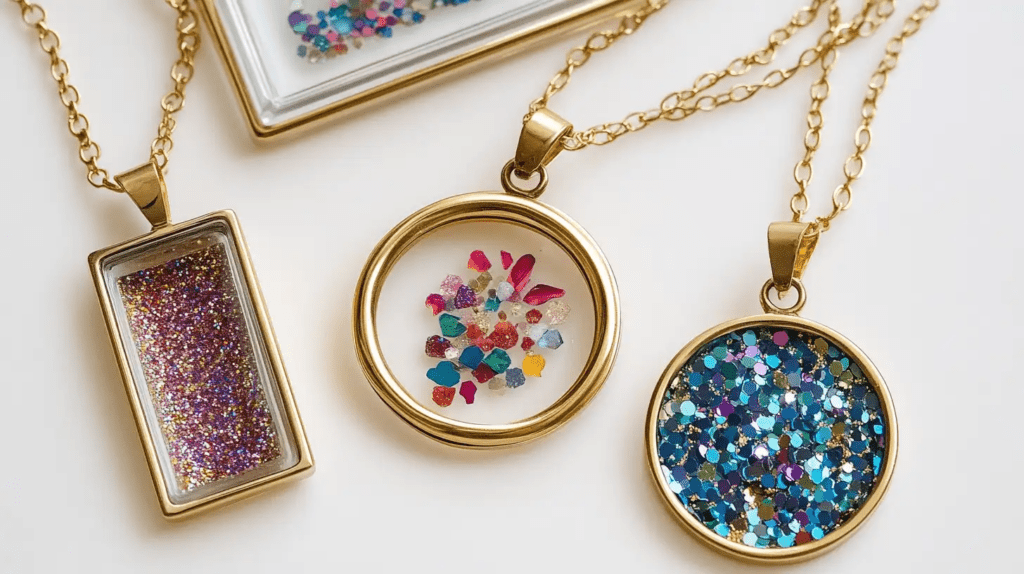
Unlock your creativity and express your unique style by making your own charm necklace! This delightful project is not only a fantastic way to showcase your personality, but it also serves as a wonderful opportunity to unleash your artistic talents.
Whether you’re crafting a ‘ thank you ‘ gift or treating yourself to a beautiful accessory, designing a charm necklace is fun and fulfilling. Get ready to dive into a world of colors, shapes, and meaningful symbols that will make your necklace truly one-of-a-kind!
Gather Materials and Tools
Before crafting your charm necklace, you’ll need to gather some essential supplies:
- Chain: Options include paperclip, box, or traditional link chains. Consider the length and material, such as gold or silver.
- Charms: Select charms that resonate with you or make DIY charms yourself.
- Jump Rings: These small rings connect your charms to the chain.
- Pliers: A set of jewelry pliers, including flat and round nose pliers, will help you open and close jump rings easily.
- Clasp: A clasp is necessary to fasten your necklace.
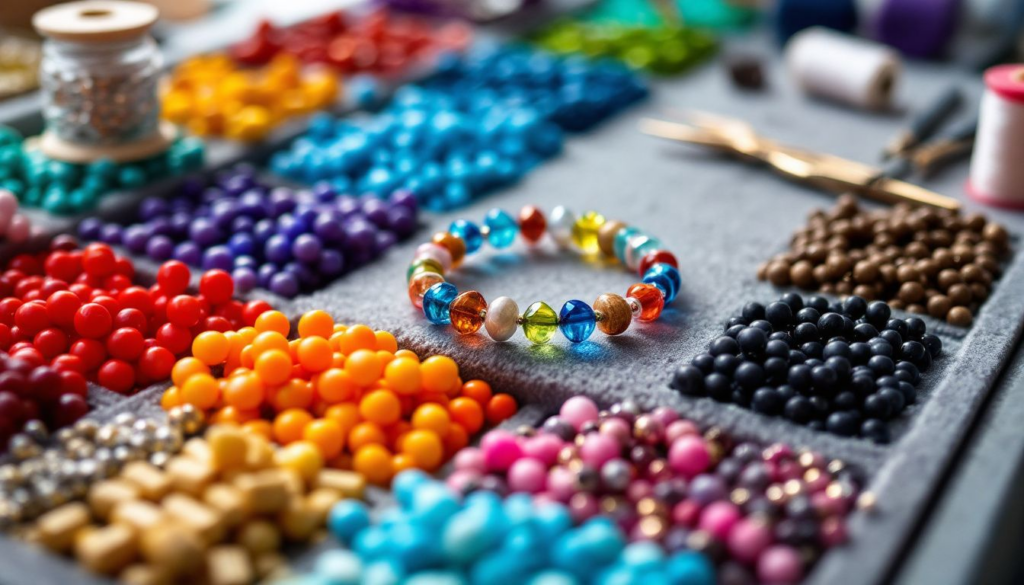
- Beads and Additional Elements: To add extra flair, consider incorporating beads or other decorative elements.
- Wire Cutter: Use it to shorten the chain if it’s too long.
- Velour Mat or Cloth: Use this as a base to prevent beads and charms from rolling away while you work.
- Jewelry Cleaner: Clean your charms and chain before assembly to ensure they shine brightly.
How to Make a Charm Necklace: A Step-by-Step Tutorial
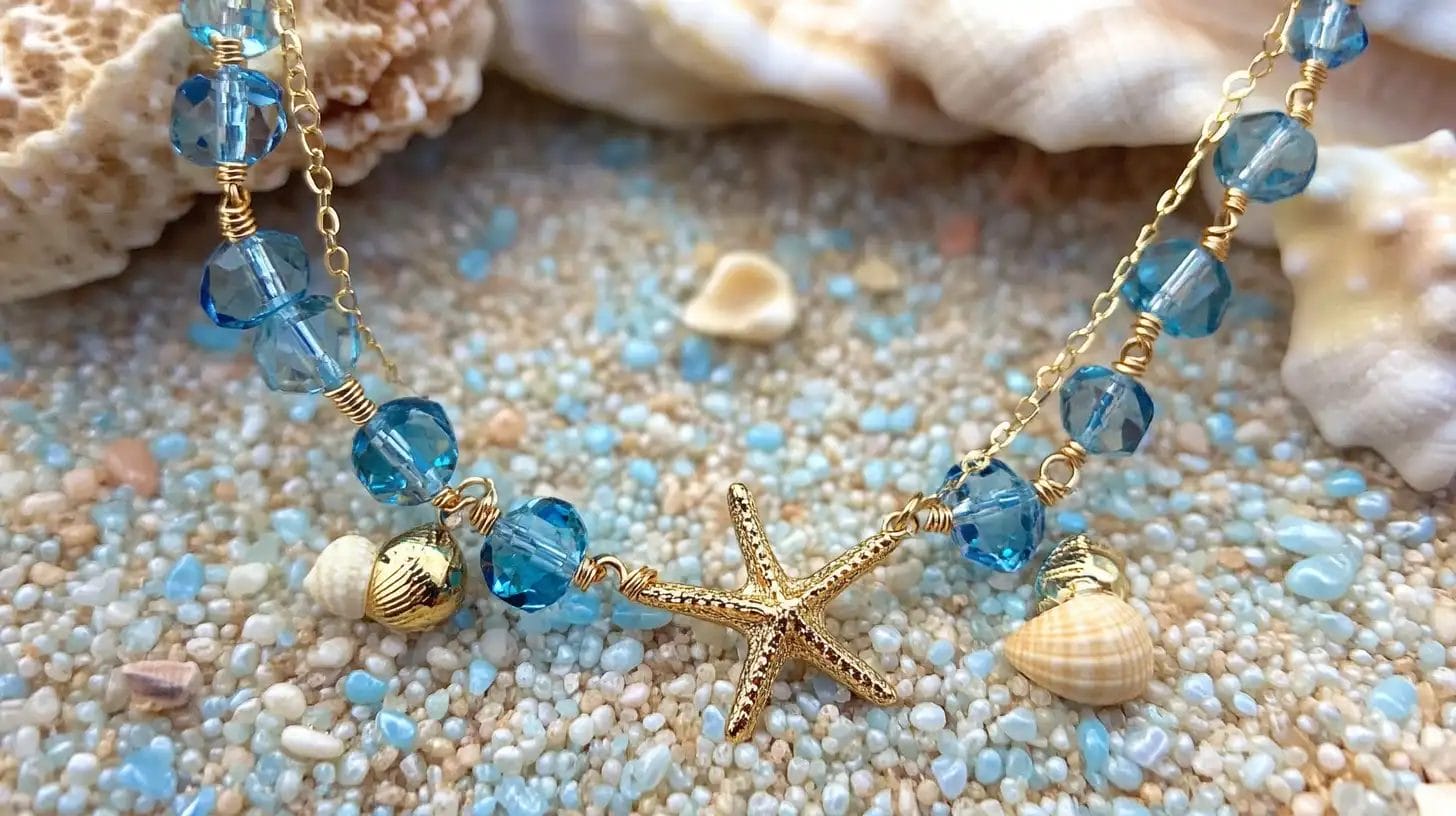
Creating your DIY charm necklace is an exciting journey. Let’s break it down into details so you can enjoy every moment of this creative process.
Step 1: Plan Your Design
Start by envisioning the charm necklace you want to make. Think about the story you want your necklace to tell. Do you want it to reflect a theme, like nature or travel? Or perhaps you want it to hold personal mementos that remind you of special moments.
Sketch your ideas on paper or use a digital tool to visualize your design. This step helps you organize your thoughts and ensures you have a clear plan before you begin crafting.
Step 2: Prepare the Chain
It’s time to prepare the chain once you have your design in mind. Choose one that complements your design. Consider the length and style that best suit your vision.
If necessary, use pliers to cut the chain to your desired length. Make sure the chain is clean and free of tangles. This step sets the foundation for your charm necklace, so take your time to get it just right.
Step 3: Choose or Create Charms
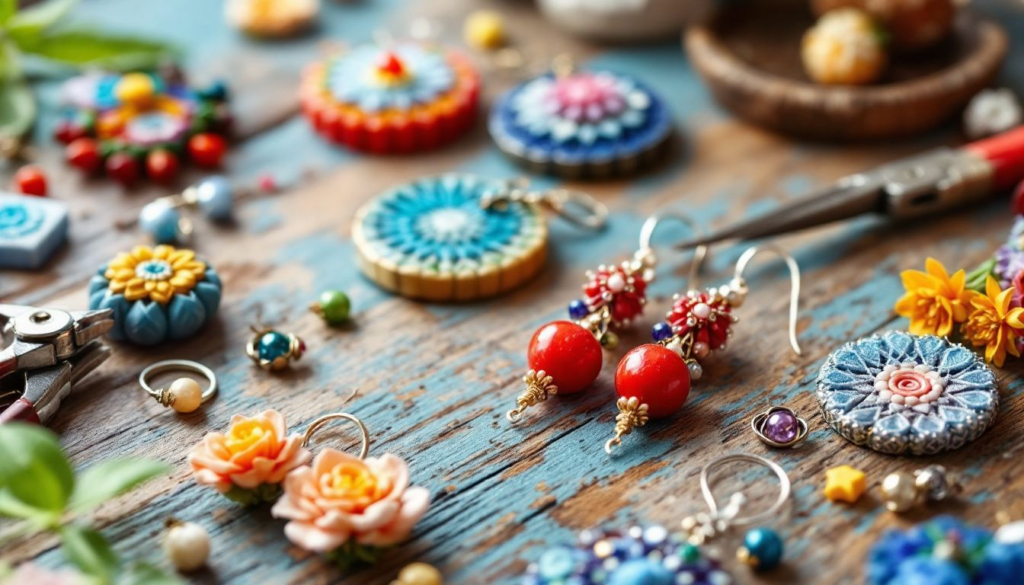
Now comes the fun part—selecting or making your charms. You can purchase charms that resonate with you or make your own using materials like clay or metal. If you’re making your own, ensure they are durable and have a small loop or hole for attaching to the chain. Mix and match different styles to add variety and interest to your necklace.
Remember, the beauty of a charm necklace lies in its personalization, so choose charms that speak to you.
More info: Shop Shelovecrafts for more unique and intricate charms in different styles.
Step 4: Attach Charms
It’s time to attach the charms to your chain. This step is where your charm necklace starts to come to life. Begin by laying out your chain on a flat surface. Arrange your charms in the order you want them to appear. This helps you visualize the final look before making any permanent attachments.
To attach a charm, use your flat-nose pliers to open a jump ring. Slide the charm onto the open jump ring, then hook it onto the chain. Carefully close the jump ring using the pliers, ensuring it’s secure.
Repeat this process for each charm. Make sure each charm is evenly spaced along the chain for a balanced appearance.
Step 5: Add Beads and Other Elements
Adding beads or other decorative elements can enhance the beauty of your charm necklace. Choose beads that complement your charms and chain. You might opt for colorful ones to add a pop of color or metallic ones for a sleek look.
Thread beads onto the chain. For a dynamic design, consider alternating between charms and beads.
Step 6: Final Adjustments
Finally, it’s time for the final adjustments. Check the necklace for any loose sections or uneven spacing. Use your pliers to tighten any loose connections. Ensure the clasp functions appropriately and securely fastens the necklace around your neck.
Take a moment to admire your creation. You’ve built your own charm necklace that reflects your style and creativity. Each element you’ve chosen tells a story, making your necklace not just a piece of jewelry but a cherished keepsake.
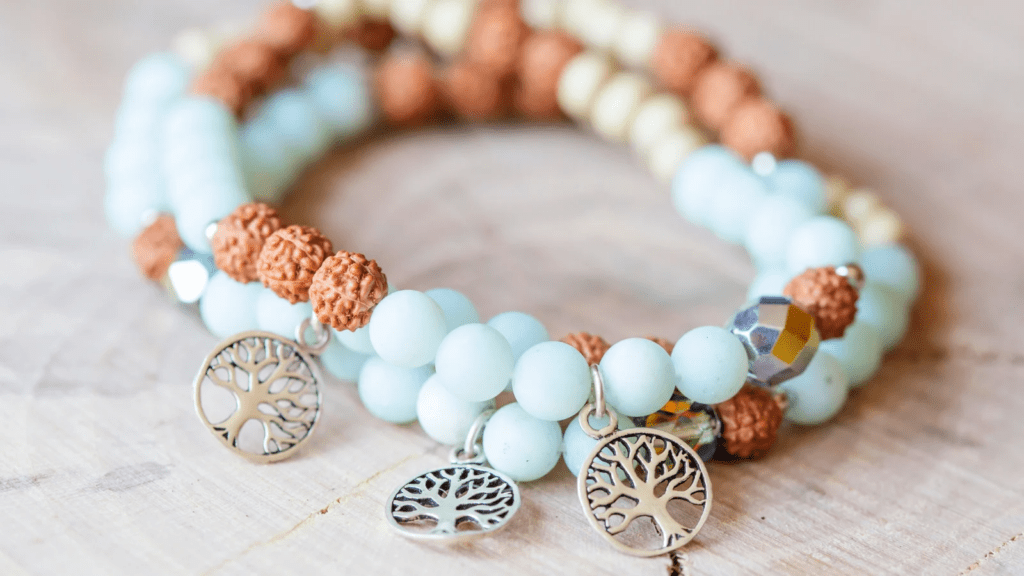
With this easy tutorial, you can also make your own charm bracelets.
Tips for Customization Your Charm Necklace
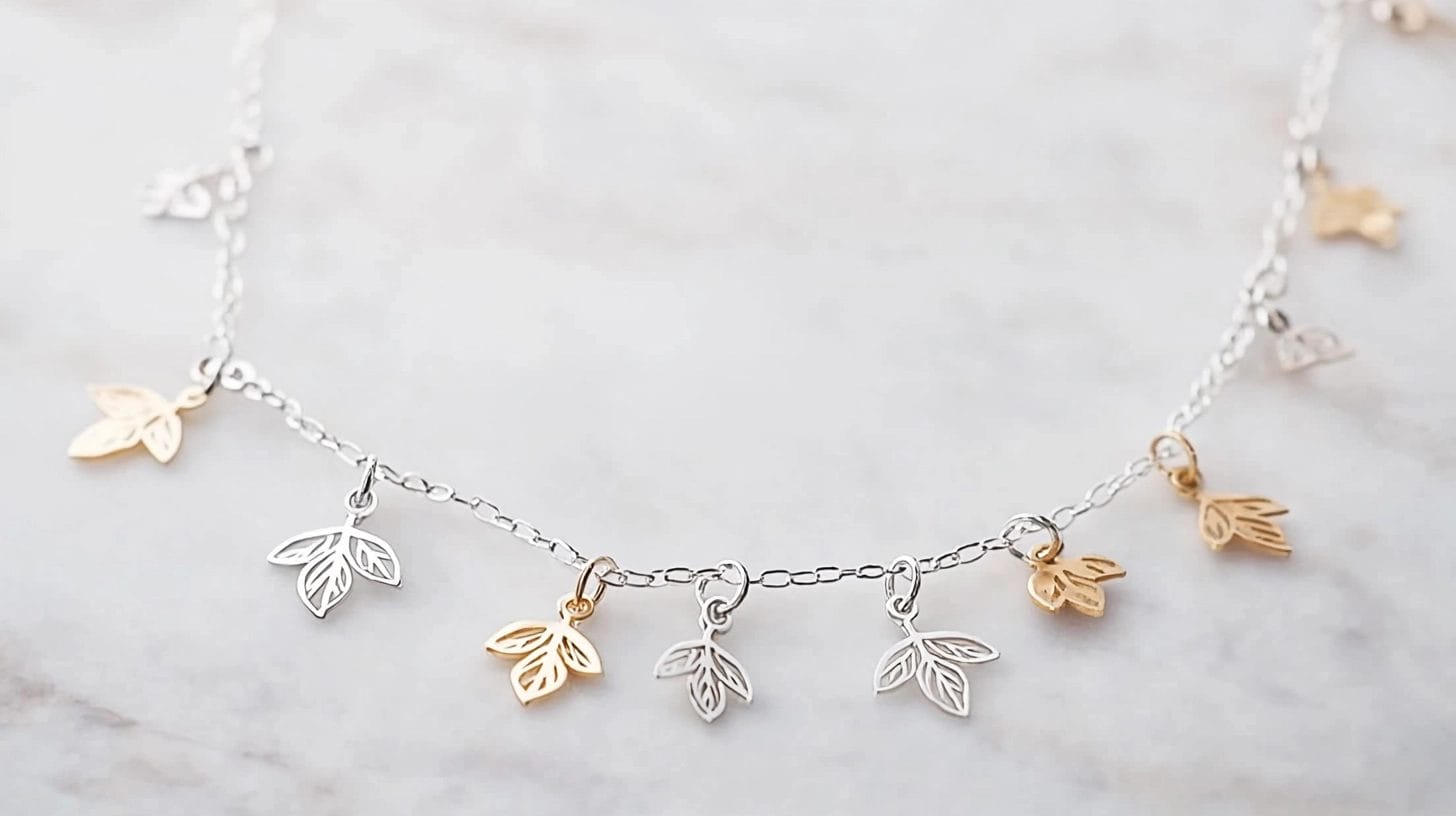
Making a custom charm necklace offers endless possibilities for personalization. Here are some tips to help you customize your necklace and make it truly unique:
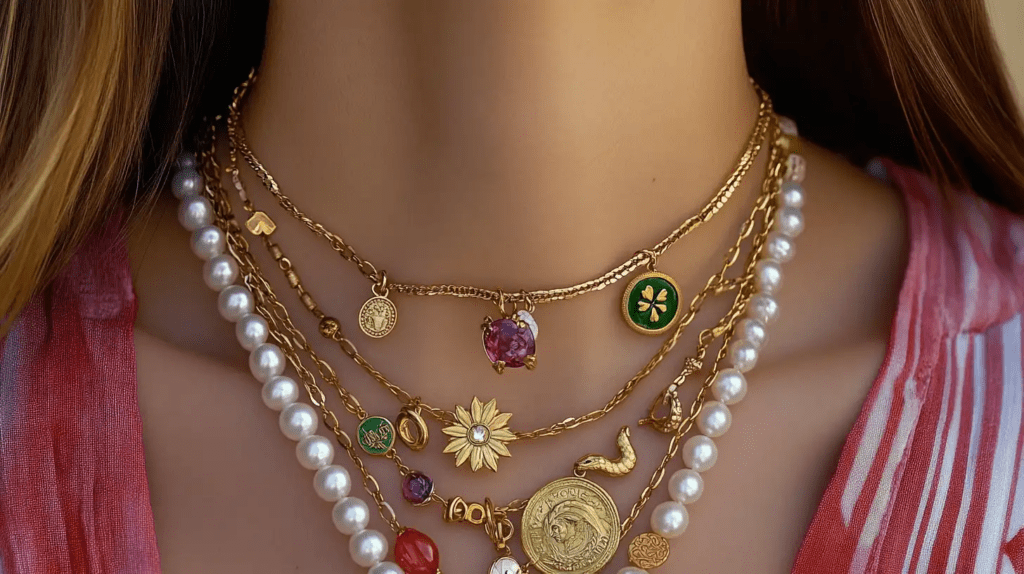
- Mix and Match Charms: Choose charms that hold personal significance. You might select symbols that represent your hobbies, initials of loved ones, or even a constellation with special meaning. Mixing different styles and sizes can add depth and interest to your necklace.
- Layering for Effect: Consider layering your charm necklace with other necklaces. This creates a stylish, layered look. Balance delicate charms with larger statement pieces to avoid tangling and achieve a cohesive appearance.
- Color and Material Choices: Experiment with different materials and colors. You might use gold and silver charms together for a mixed-metal look. Adding colorful beads can also bring a vibrant touch to your necklace.
- Incorporate Personal Mementos: Add personal mementos to your necklace. This could be a small locket with a photo, a charm from a memorable trip, or a piece that reminds you of a special occasion. These elements make your necklace not just an accessory but a keepsake.
- Adjustable Lengths: An adjustable chain allows you to change the length of your necklace to match different outfits and necklines, adding versatility to your jewelry collection.
Following these tips, you can craft a charm necklace that reflects your personality and style. Let your creativity shine, and enjoy making a piece that’s uniquely yours.
Maintenance and Care Tips for Charm Necklaces
Taking care of your charm necklace ensures it remains beautiful and lasts for years. Here are some simple tips to help you maintain your cherished piece:
- Regular Cleaning: Keep your necklace looking its best by cleaning it regularly. Use a soft cloth to gently wipe away dirt or oils. For a deeper clean, use a mild soap and water solution. Avoid harsh chemicals that might damage the metal or charms.
- Proper Storage: When you’re not wearing your necklace, store it in a jewelry box or pouch. This prevents tangling and protects it from dust and scratches. If you have multiple necklaces, consider hanging them separately to avoid knots.
- Avoid Moisture: Keep your necklace dry. Remove it before swimming, showering, or exercising. Moisture can tarnish metals and weaken the chain over time.
- Handle with Care: Be gentle when putting on or removing your necklace. Avoid pulling or tugging on the chain. This helps prevent breakage and keeps the jump rings secure.
- Check for Wear and Tear: Regularly inspect your necklace for any signs of wear. Look for loose jump rings or clasps. If you notice any issues, use your pliers to make necessary adjustments or repairs.
Final Words
Creating a charm necklace is a rewarding journey that unfolds in six simple steps. Each step brings you closer to a unique piece that tells your story. Feel free to experiment with different designs and materials. Let your creativity guide you.
Take photos and videos to share your creations on Instagram, Facebook, Pinterest, or even YouTube. Your charm necklace can inspire and connect with those around you. Happy crafting!

