Anklet DIY: How to Make an Ankle Bracelet Easily and Quickly
Have you ever considered making your own anklets? It’s a process that’s not only simple but allows you to express your style in a unique way.
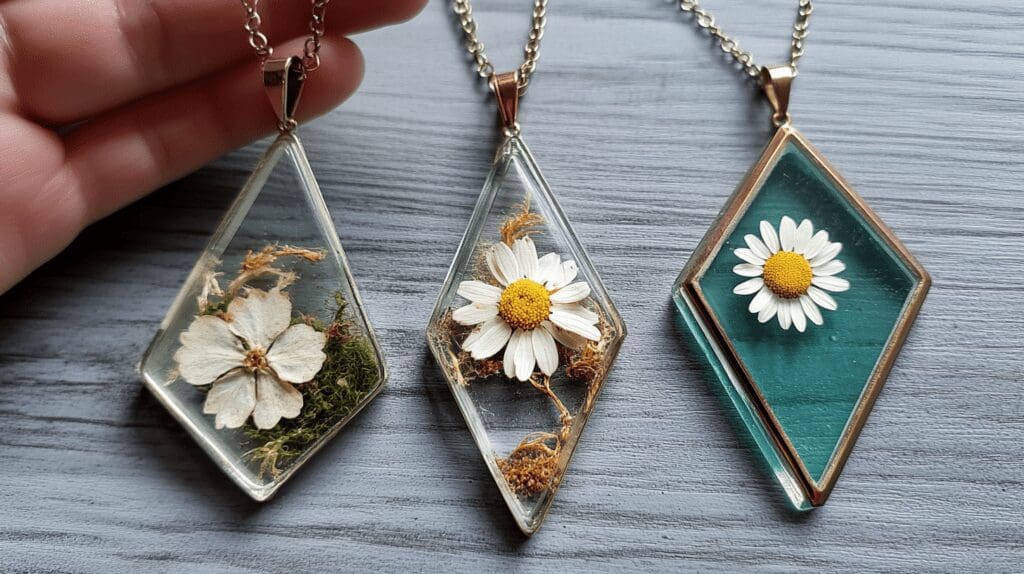
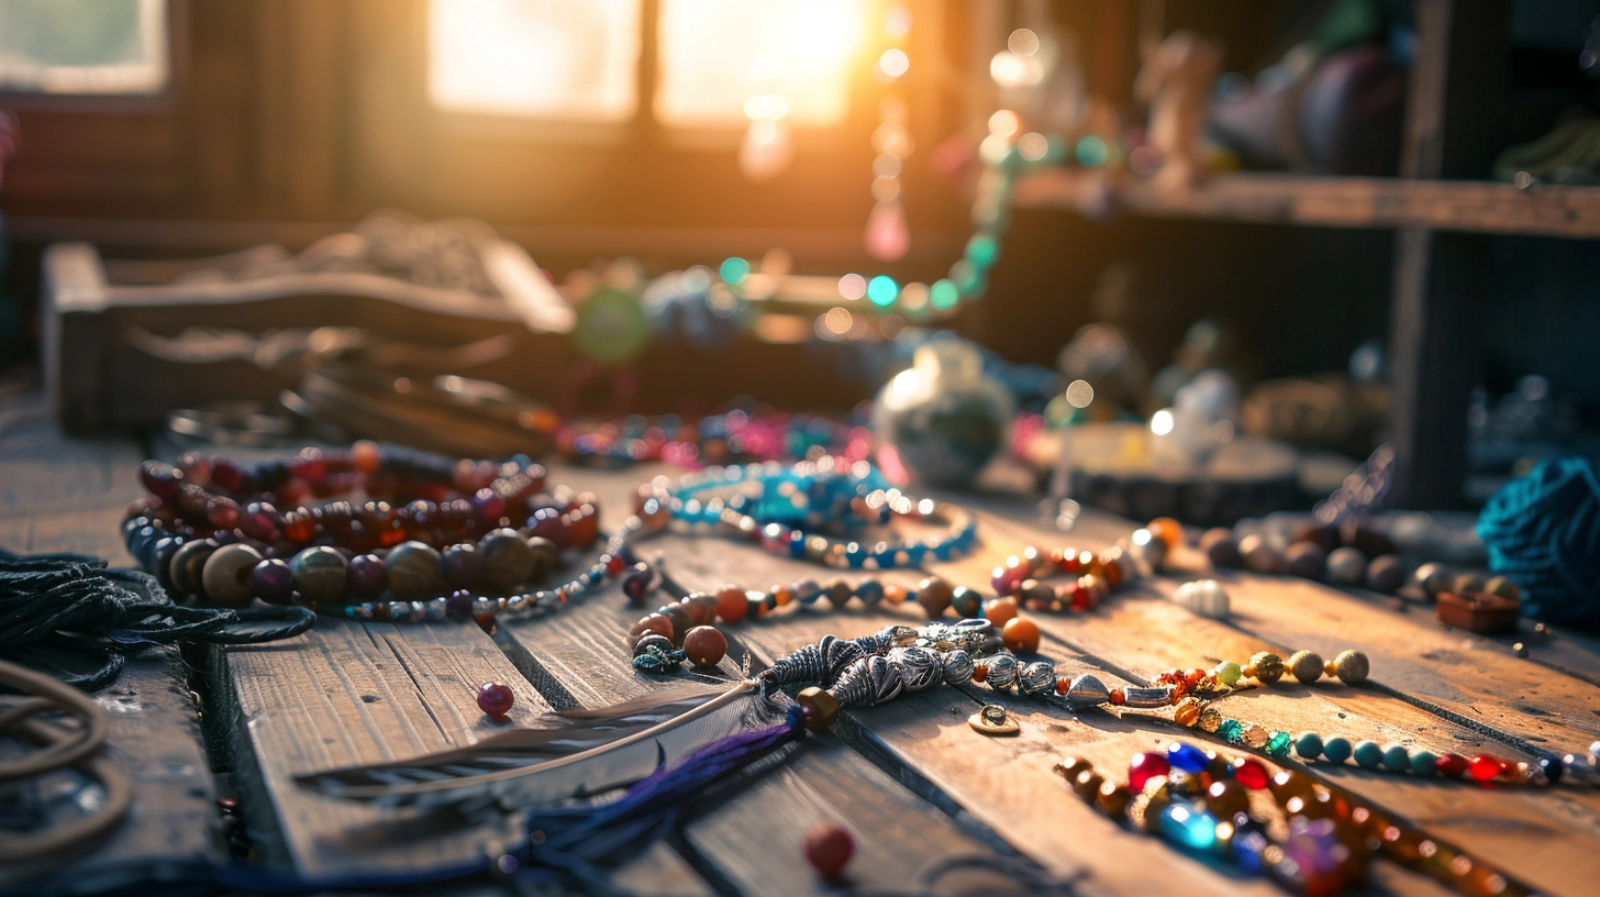
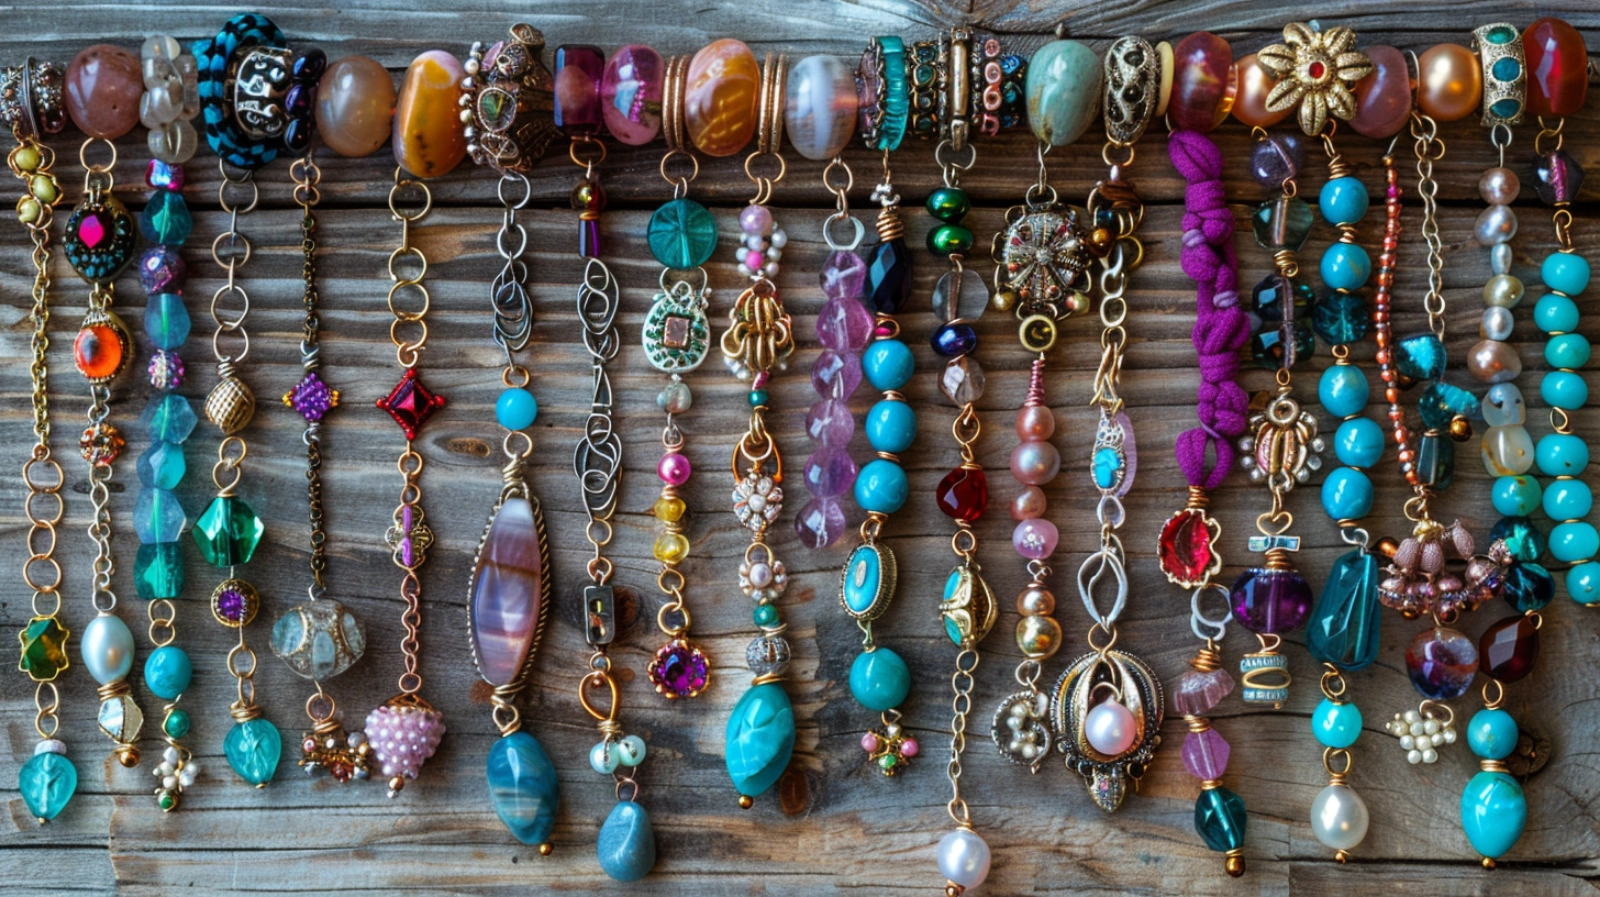
Start by selecting materials that resonate with your aesthetic—be it colorful beads, elegant charms, or rustic leather straps. As you thread each piece, think about the possibilities of mixing textures and hues.
A simple accessory project could evolve into a thoughtful gift for someone special or a potential business idea. Are you curious about how to take the next step? Consider the various techniques that could elevate your initial design.
Key Takeaways
- DIY anklets can be crafted using materials like beads, wire, and clasps to create personalized jewelry.
- To make an anklet, measure the ankle, string beads, secure with crimp beads, and attach a clasp.
- Anklets should be regularly cleaned and stored dry to maintain their appearance and durability.
- Styling DIY anklets involves coordinating with outfits for a cohesive look and can range from casual to formal styles. Check your wardrobe for the best matches.
What Is an Anklet?
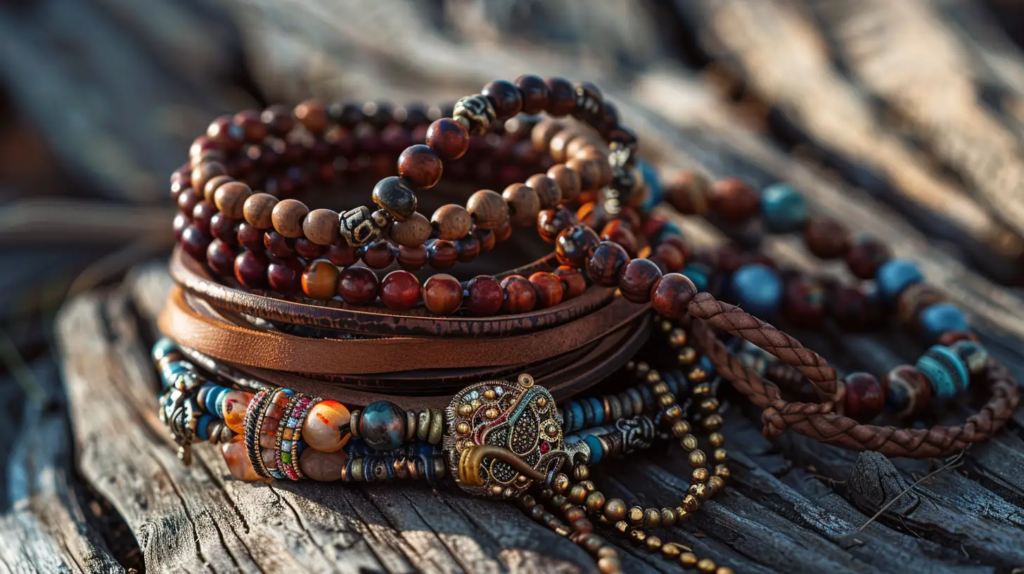
An anklet, often a bracelet-like piece worn around your ankle, has rich roots tracing back centuries in various cultures.
Origin and History of Anklets
While anklets today are often seen as stylish accessories, their origins date back thousands of years. These pieces of jewelry, also known as ankle bracelets, were first worn by ancient Sumerians around 2500 BCE. Over time, anklets became popular across various cultures.
In ancient Egypt, women from all social classes commonly wore them, often made of gold, silver, or beads. They were sometimes decorated with charms or bells that jingled softly as they walked. The tradition carried into Indian culture, where anklets symbolized marital status and heritage.
Even during the Roman Empire, these accessories denoted wealth and status, primarily worn by elite women. The 20th century saw their revival in the West as a symbol of femininity and casual beachwear.
Cultural Significance of Anklets
Anklets’ cultural significance runs deep and varies across different societies. In India, wearing anklets, or “payal,” often symbolizes marital status and prosperity. Each bead threaded might represent a step in a woman’s life or a token of friendship shared.
Ancient Egyptians believed anklets adorned with beads and charms protected them and highlighted their social status. Similarly, in various African cultures, anklets are not just adornments but integral parts of ceremonial attire, marking tribal affiliations and playing roles in dances and rituals.
Every time you clasp an anklet around your ankle, you connect with a rich tapestry of history and identity.
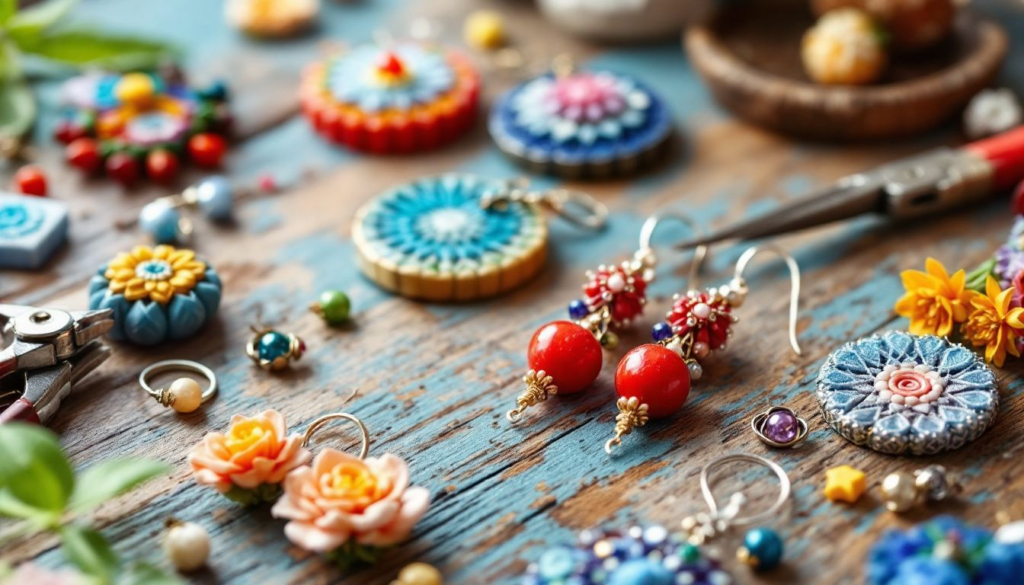
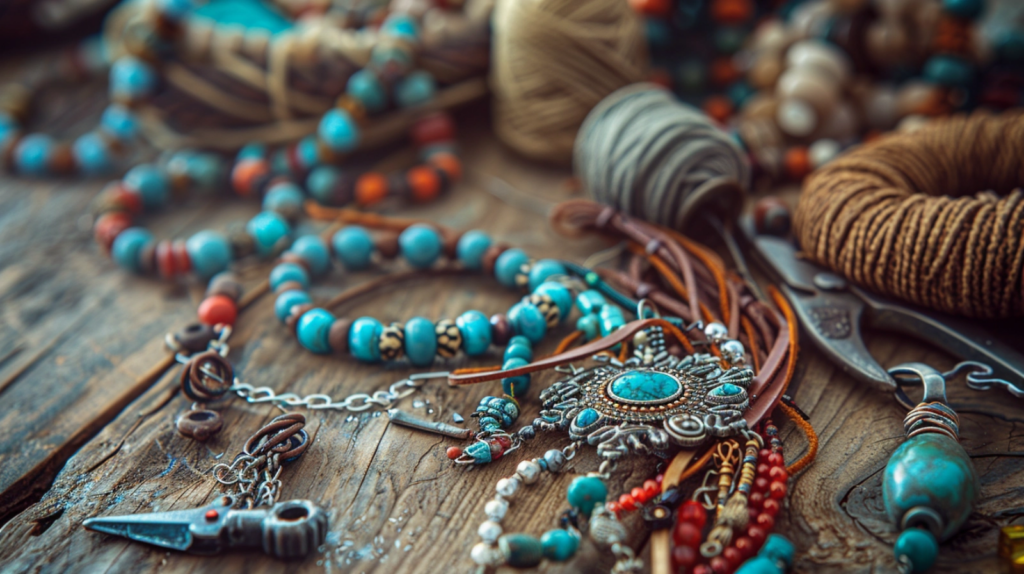
Materials and Tools for DIY Anklets
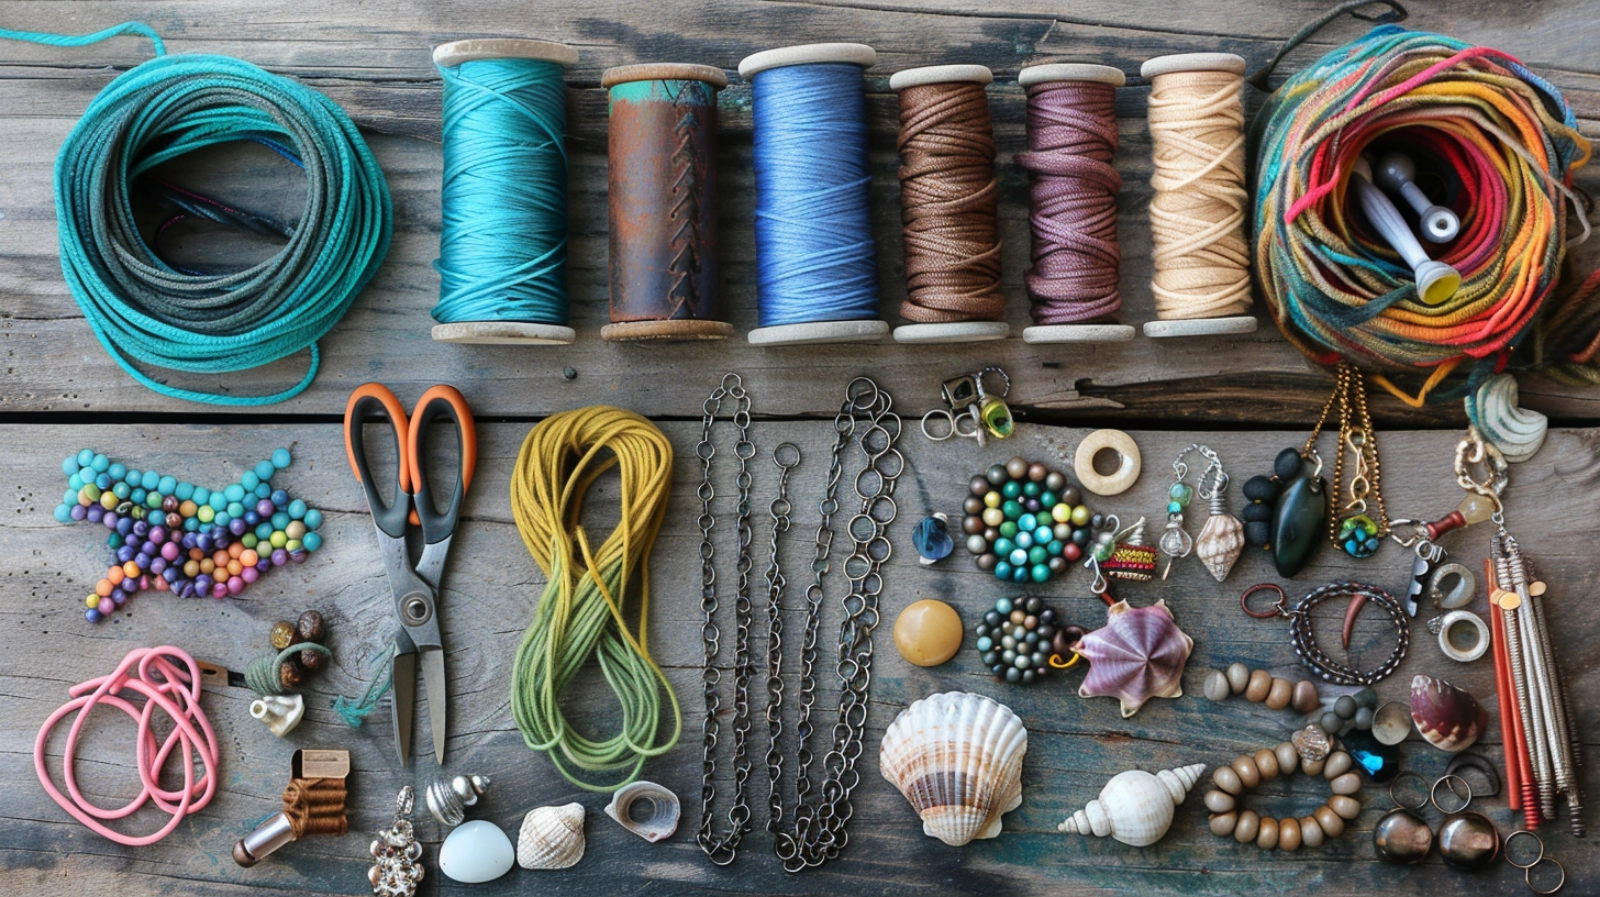
You’ll need a variety of materials and tools to start making your own anklets:
- Beads: Glass, wooden, plastic, or metal beads in various sizes and colors.
- Charms: Small decorative items to add personality.
- Thread or Cord: Options include nylon thread, embroidery floss, leather cord, or elastic cord.
- Clasps: Lobster clasps or toggle clasps to secure the anklet.
- Jump Rings: Small rings used to attach charms or clasps.
- Crimp Beads: Used to secure the ends of stringing material.
- Chains: Metal chains for a different style option.
- Wire: Jewelry wire for stringing beads or creating custom designs.
- Pliers: Round-nose pliers for bending wire and flat-nose pliers for holding pieces in place.
- Wire Cutters: For cutting the wire to the desired length.
- Beading Needle: Useful for threading small beads.
- Scissors: For cutting thread or cord.
- Crimping Tool: To secure crimp beads in place.
Anklet DIY: Steps to Make a DIY Anklet Bracelet
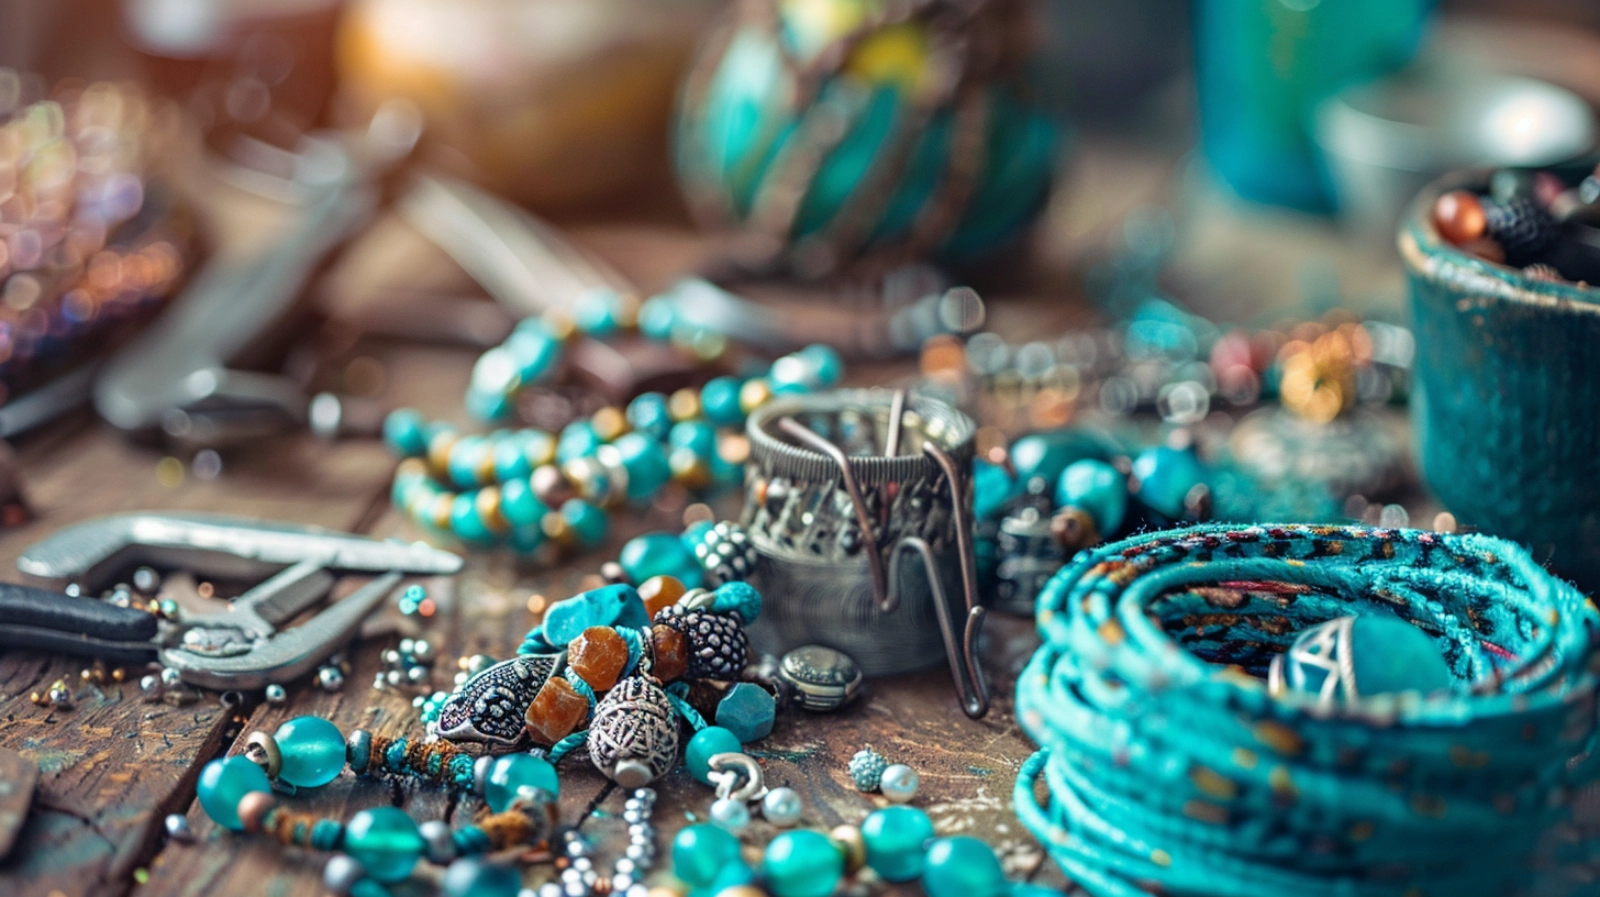
Now that you’ve gathered basic materials and tools, it’s time to make your own anklet. It’s very easy to make an anklet to reflect your style.
Design Your Anklet
Before you craft your own anklet, it’s essential to measure your ankle accurately. Typically, a length between 7.5-8 inches will guarantee a comfortable fit.
Next, choose a bead pattern that reflects your style. For instance, alternating two silver beads with one disc bead creates a simple yet elegant design. This pattern not only adds a cohesive element to your anklet but also allows for personal touches.
Space charms or dangles evenly along the anklet for a playful twist. As you design, consider the overall balance and how each component complements the other. This will ensure a beautifully coordinated piece that’s uniquely yours.
Detailed Making Tips
To simply make a gorgeous anklet, here’s a detailed tutorial:
- Use your tape measure to measure your ankle’s circumference. Add 1-2 inches to guarantee it’s neither too tight nor too loose.
- Next, string beads onto 19-strand bead stringing wire following your chosen pattern, such as two silver beads followed by one disc bead.
- Secure the ends with crimp beads and covers, then attach a lobster clasp and jump ring for closure.
- If you’re creating a charm anklet, evenly space charms along a chain, attaching them every four links with jump rings. Move them around until you find the perfect arrangement.
- For a snug fit, use memory wire, cutting about two inches e. Then, arrange the beads in your preferred repeating pattern.
Care and Maintenance of Your Anklet
Regular cleaning and careful storage are key to keeping your DIY anklet looking its best and lasting longer. Please remember to check for any signs of wear.
How to Keep Your Anklet Shiny and Durable
Regularly clean your anklet with a soft, lint-free cloth to remove any buildup of oils and dirt that could dull its appearance. Be gentle around the clasp to avoid damage and keep it free from grime, which can affect its function.
Avoid harsh chemicals and store your anklet in a dry, airtight place to prevent oxidation. Always put on lotions or perfumes before wearing your anklet to minimize exposure to substances that can tarnish it.
Regular inspections of clasps and beads will help catch any potential issues early, keeping your anklet looking great and functioning well.
Fix Common Issues
Maintaining your DIY anklet involves more than keeping it clean. To extend its lifespan, you also need to address common wear and tear issues.
Regularly inspect the crimp beads and clasps for damage. If you notice any, it’s essential to re-crimp or replace them promptly to prevent your anklet from snapping unexpectedly.
To keep the metal components shiny and tarnish-free, clean them with a soft cloth and mild jewelry cleaner. Store your anklet flat or hang it individually to prevent it from getting tangled or stressed.
Additionally, applying a small dab of clear nail polish to knots or crimp covers can secure them and prevent them from loosening over time.
Creative Styling and Matching Suggestions for Anklets
As you explore anklet styling, consider how different designs can elevate your everyday outfits.
For special occasions, layering various anklet styles adds a touch of elegance and uniqueness to your look.
Everyday Outfit Ideas
If you want to enhance your everyday style, consider integrating a DIY anklet into your wardrobe.
Pair a delicate silver anklet with black skinny jeans and a crisp white blouse for a chic, monochromatic look. This is perfect for both office and outings.
For a bohemian vibe, pair multiple anklets, such as stretchy bead and dangly charm anklets, with a flowy maxi dress.
If you want to add a touch of glam to a casual outfit, pair a memory wire anklet with sparkly beads.
Or, coordinate a floating bead anklet with a neutral-toned jumpsuit or romper for an elegant, minimalist style that shifts seamlessly from day to night.
How to Style for Special Occasions
When dressing for a special occasion, consider adding a stylish anklet to elevate your outfit.
Pair a delicate silver anklet with a black evening gown for a sophisticated, monochromatic look perfect for formal events.
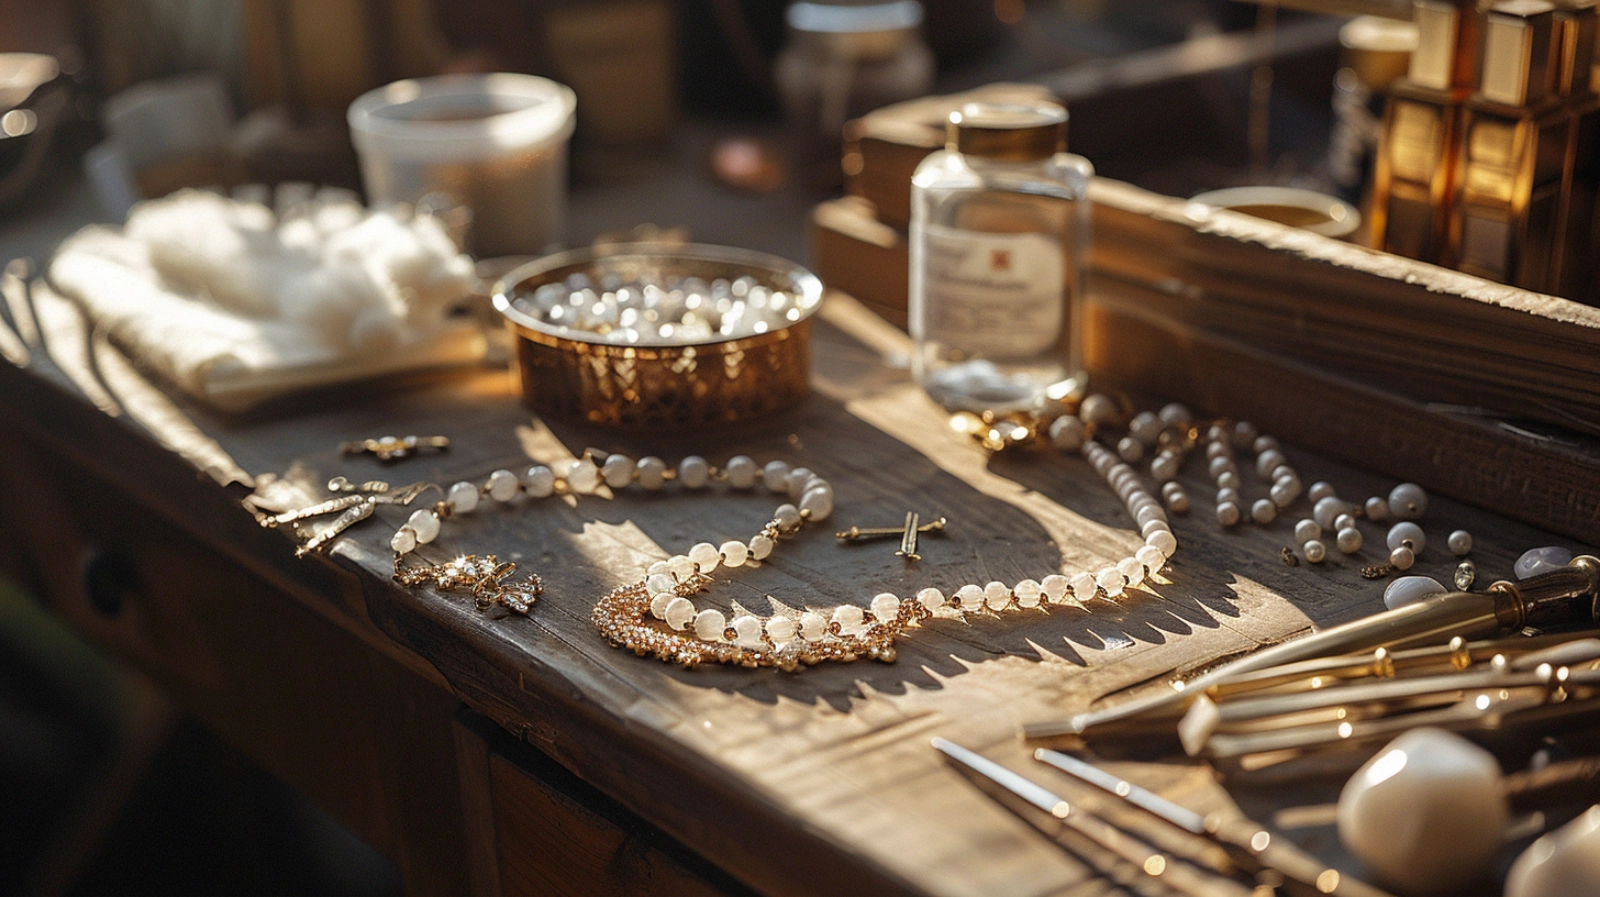
For a more playful, beachy vibe at summer weddings or outdoor celebrations, opt for a charm anklet featuring seashells or pearls.
If you’re heading to a festival or party, layer multiple anklets, like a stretchy beaded design with a memory wire style, to create a bold statement.
Alternatively, match a floating bead anklet with metallic sandals or heels for a minimalist, elegant appeal at cocktail parties or dinners. Your friends will be impressed!
Don’t forget to coordinate your anklet with matching accessories like earrings or a bracelet to maintain a cohesive look.
Conclusion
You’ve now got all the tips and tricks to make your own unique anklets! Whether you’re dressing up for a beach day or adding a personal touch to your everyday style, these DIY anklets are the perfect accessory.
Remember to take care of them, and don’t be afraid to experiment with different beads and charms. Have fun creating something that’s distinctly you, and enjoy the compliments that are sure to come your way. Your friends will love your creativity!
FAQs
What Is the Correct Ankle to Wear an Anklet?
You can wear an anklet on either ankle, depending on your cultural background or personal preference. There’s no strict rule, so choose the side that feels right or has significance for you.
What Does Wearing an Anklet Symbolize?
Wearing an anklet can symbolize various things. In some cultures, it indicates marital status; in others, it might signify protection or good luck. An anklet is often a fashion statement or a mark of individuality.
How to Make an Anklet With Thread and Beads?
To make an anklet, measure your ankle and add extra length for comfort. String beads onto thread, alternating patterns as desired. Tie securely with a surgeon’s knot, then attach a clasp or tie ends.
How Long Should String Be for an Anklet?
For a standard anklet, you’ll need to cut the string about 9-10 inches long, ensuring it fits comfortably around your ankle with extra length for clasps and adjustments. Adjust based on your design preferences.