DIY Resin Jewelry Ideas for Creative Resin Crafts Enthusiasts
Resin jewelry has become a captivating trend, blending creativity with personal expression. This versatile medium allows artisans and hobbyists alike to encapsulate memories, colors, and textures in stunning wearable art.
From vibrant earrings to pendant necklaces, the possibilities are endless. Whether you’re a seasoned crafter or a beginner exploring new artistic avenues, resin jewelry offers an exciting way to create unique pieces that reflect your style. Dive into the world of resin and discover inspiring ideas to elevate your accessory game!
Key Takeaways
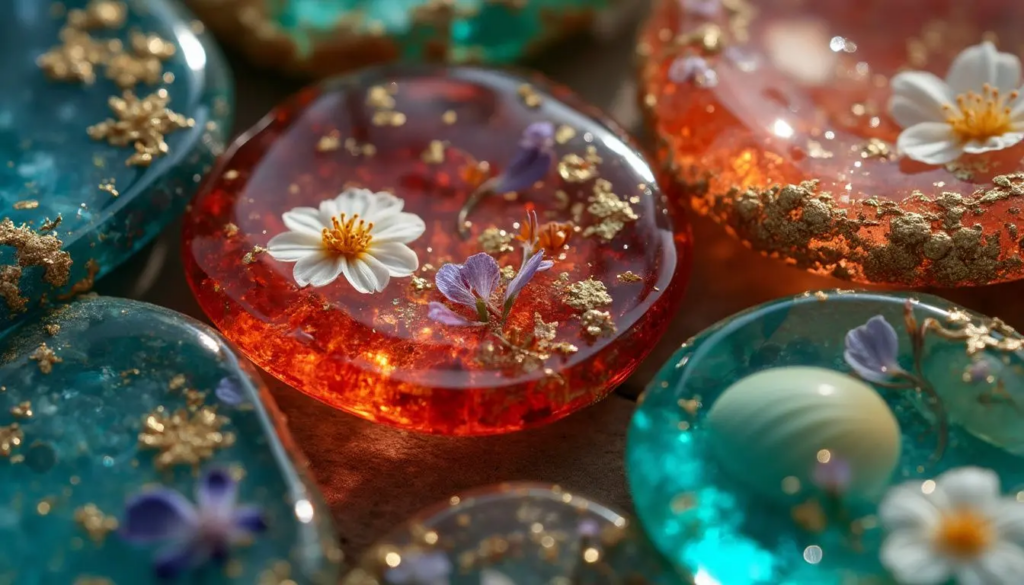
- Incorporate dried flowers or leaves for a natural and elegant touch.
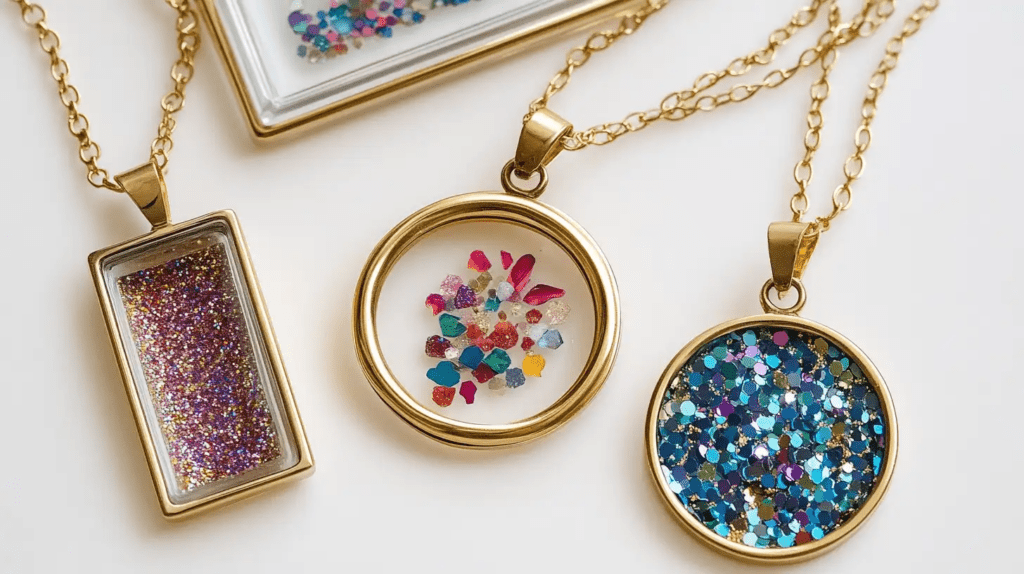
- Use bezels to encapsulate glitter and pigments. This will add visual appeal and uniqueness to the pieces.
- Experiment with whimsical shapes like stars and butterflies to create eye-catching designs.
- Layer colored resin for depth effects, preventing floating charms and enhancing the jewelry’s dimension.
- Consider event themes and seasonal colors to create customized and thematic resin jewelry pieces.
What Are the Best Resin Jewelry Ideas?
The beauty of resin jewelry lies in its versatility and creativity. Here are some of the most captivating ideas to get you started.
1. Simple Resin Pendants to Start With
Start your resin jewelry journey with a simple pendant design. This is a fantastic way to immerse yourself in this vibrant craft.
- Begin by selecting a silicone mold to shape your pendant. Opt for clear resin to showcase your creativity.
- Incorporating dried flowers can infuse a natural charm.
- Experiment with color pigments for a splash of personalization.
- Sealing unique printed images in resin also lets you create custom pendants of your style or memories.
- Try layering your pendant by pouring resin in stages. Practice embedding techniques to achieve a stunning depth effect.
You’ll find endless possibilities in creating eye-catching resin jewelry pieces.
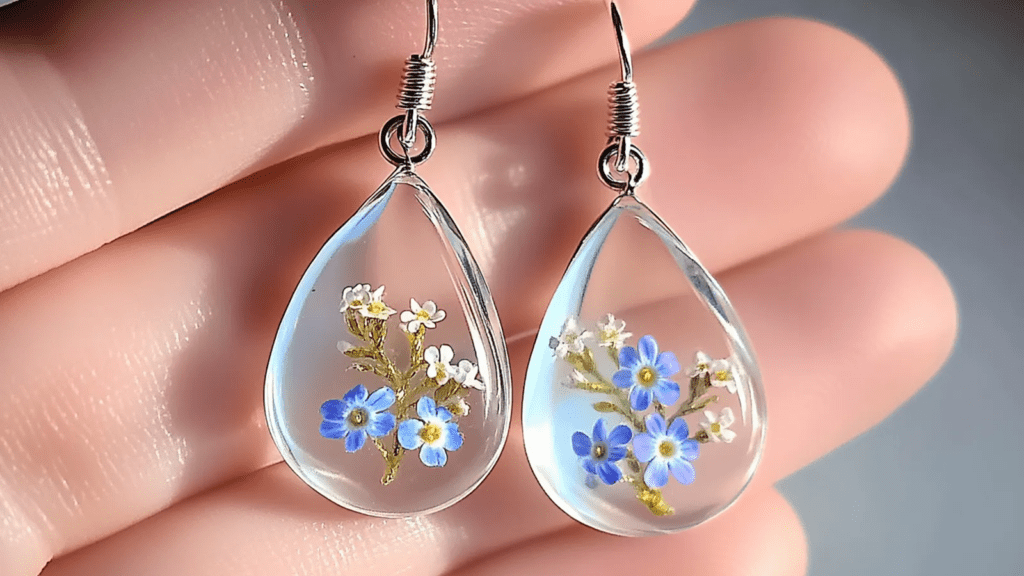
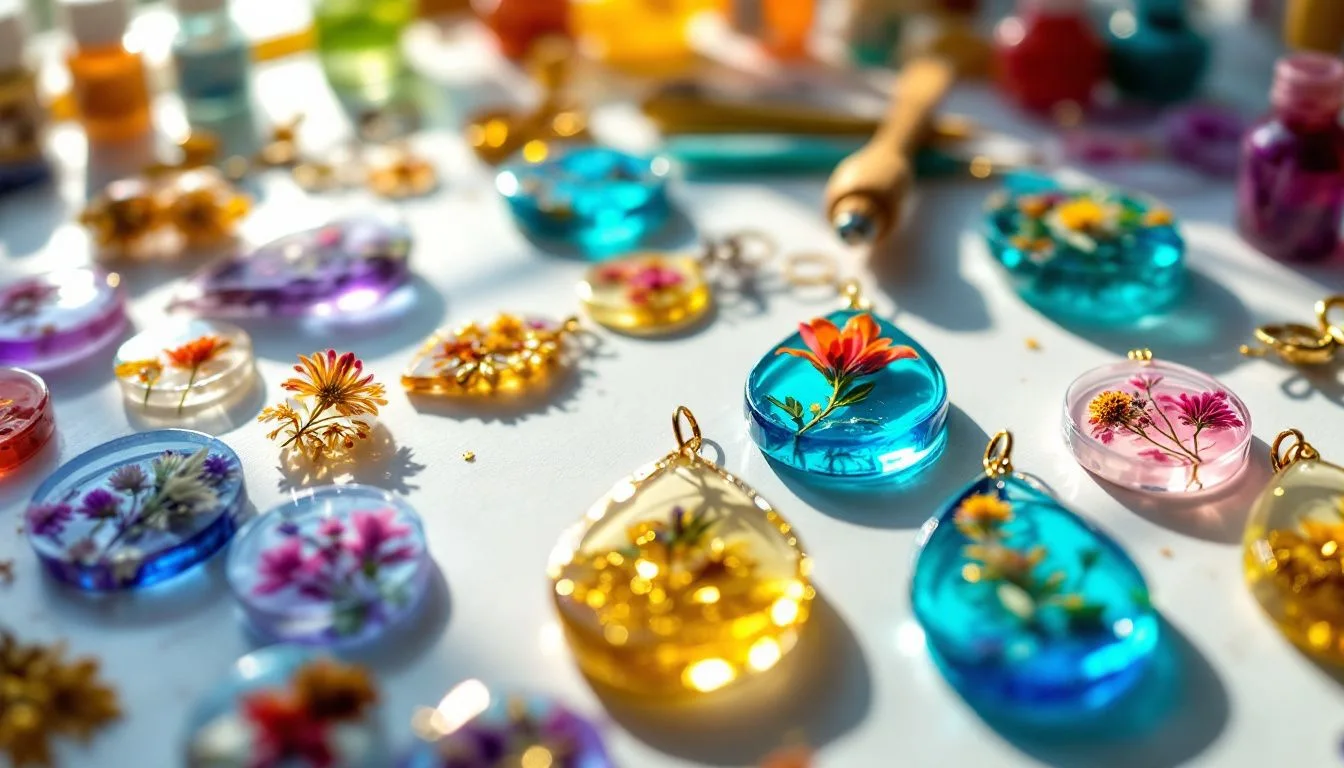
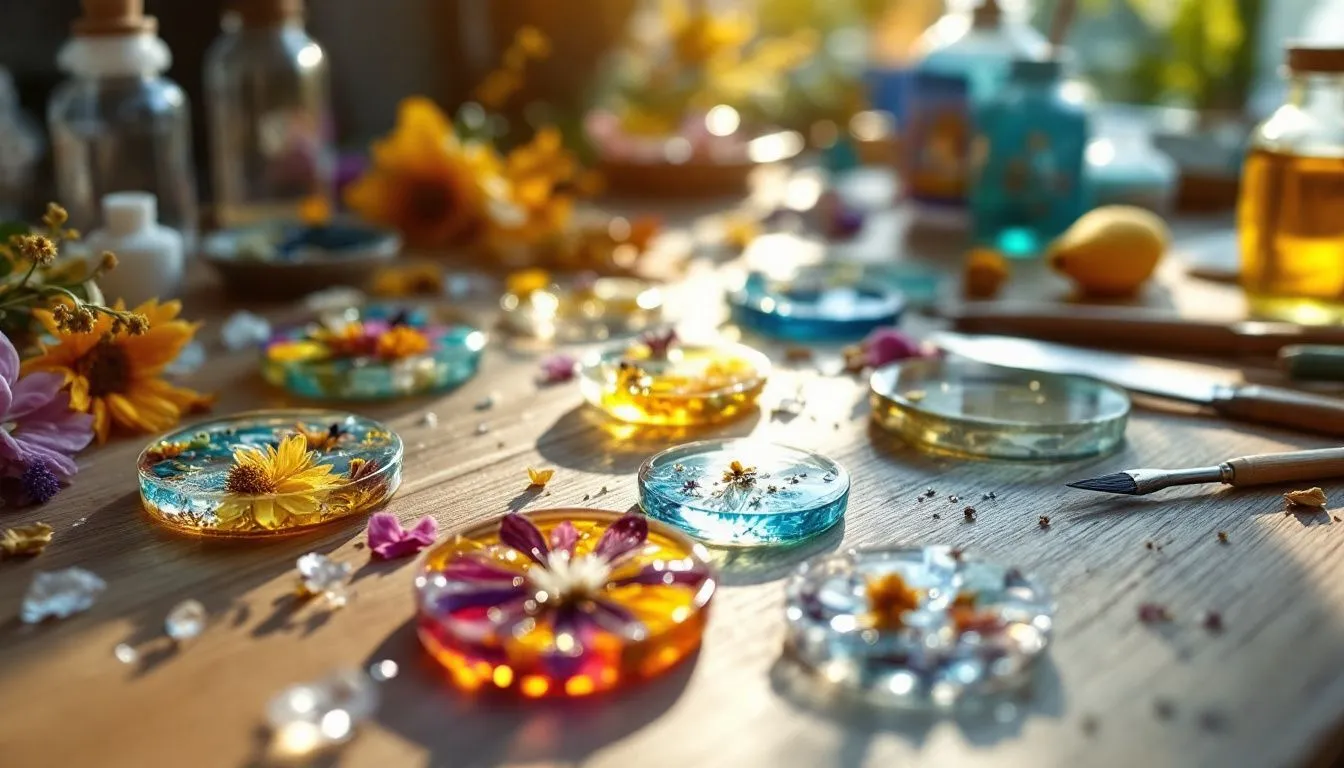
2. Use Dried Flowers in Your Resin Jewelry
In your resin jewelry projects, embedding dried flowers like lavender or pressed daisies offers a natural aesthetic that’s truly enchanting.
To maintain your flowers’ vibrant colors, seal them with clear epoxy resin before embedding. This not only preserves them but also enhances their beauty.
Employing a layering technique is essential. It prevents your flowers from floating and guarantees they stay perfectly positioned within the piece. Properly cured resin further safeguards the embedded flowers from moisture and damage.
Experiment with different flower types to create unique designs that reflect your style.
3. Create Custom Keychains with Clear Resin
Crafting custom keychains with clear resin is a fantastic entry point for beginners.
- Start your resin craft by mixing resin and hardener in the correct ratio for that smooth, bubble-free finish.
- Embed tiny charms, initials, or dried flowers before the resin fully cures.
- Allow the resin 24 to 48 hours to fully cure, depending on the environment.
- Once set, give your keychain a professional touch by sanding the edges and polishing the surface.
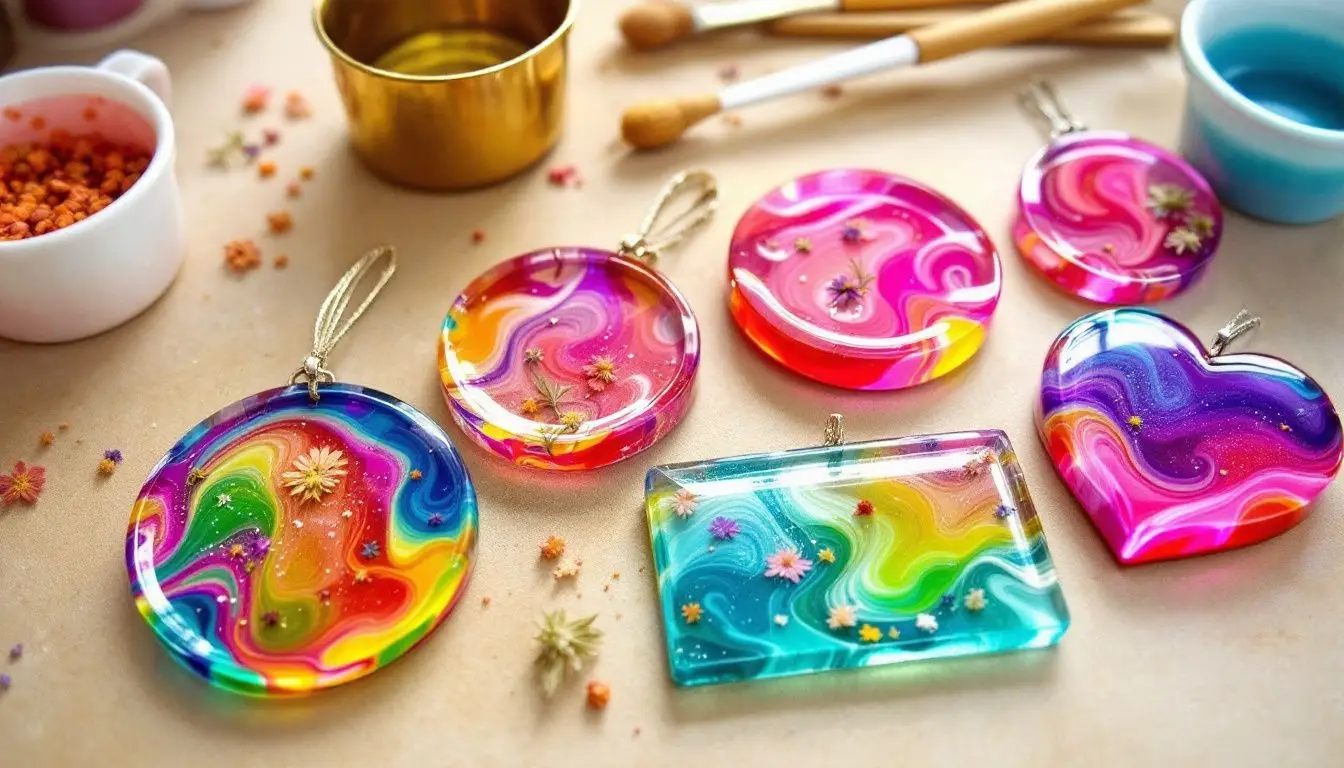
4. Incorporate Glitter and Pigments
Transform your resin jewelry into masterpieces by incorporating glitter and pigments.
Use various glitter types, from fine to chunky, to add texture and sparkle to your pieces. Combine different pigments to produce vibrant colors or subtle gradients. Layering colored resin can create unique effects, making each piece truly one-of-a-kind.
Get creative and let your imagination shine!
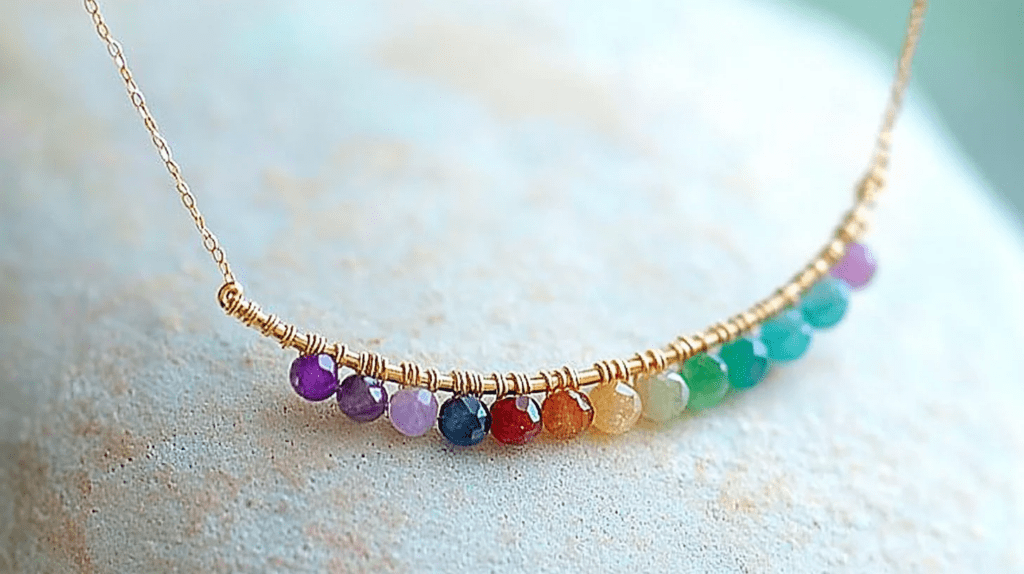
5. Use Creative Shapes
With resin jewelry ideas, you can start with classic round shapes for pendants and earrings. You can infuse unique designs with color pigments or tiny embedded treasures.
Embrace nature with leaf-shaped designs. They’re perfect for capturing the essence of the seasons using pressed leaves or flower petals.
Geometric shapes like triangles or hexagons offer a modern edge. They align with contemporary fashion trends.
For something whimsical, consider nature-inspired shapes like butterflies or stars.
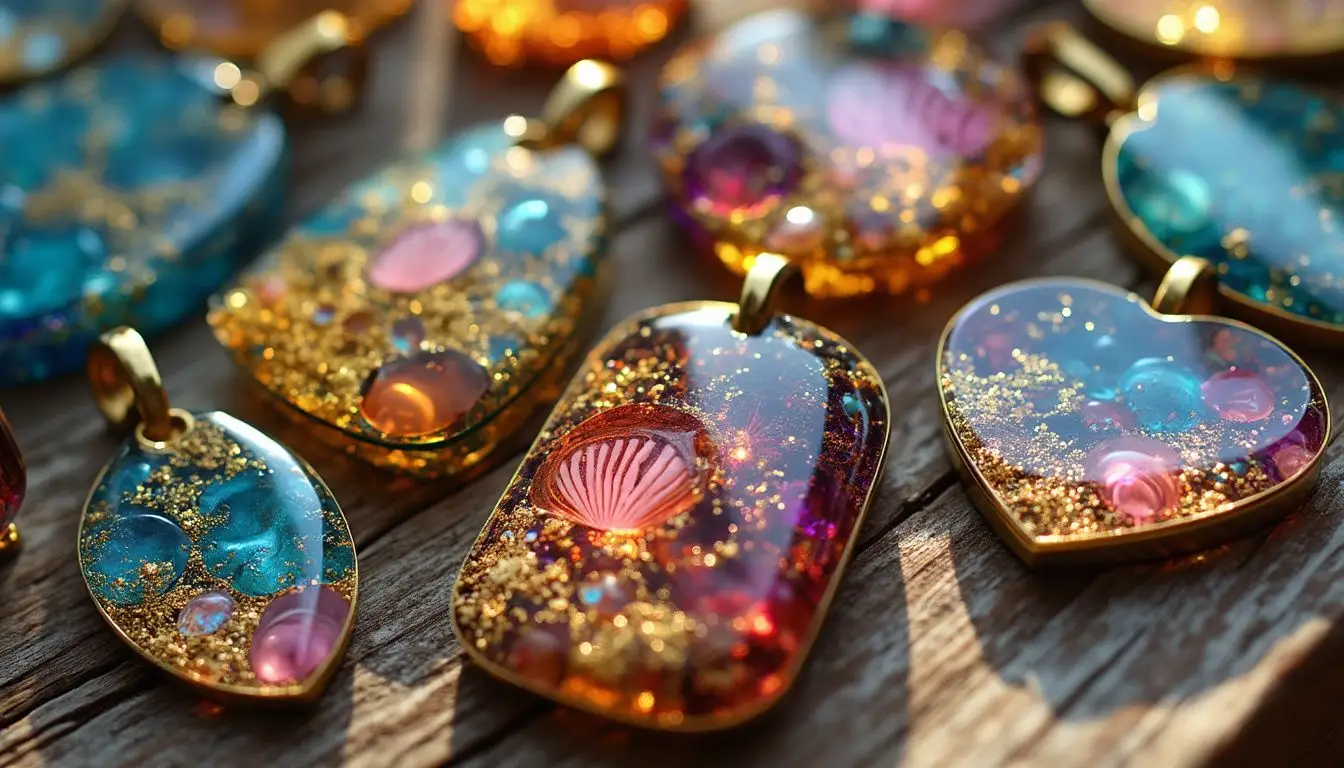
6. Use Bezels and Molds
Using bezels and molds opens up a world of creative possibilities. Bezels let you encapsulate enchanting materials like dried flowers or glitter.
Experiment with silicone molds to craft intricate shapes—organic or geometric—that cater to diverse tastes. These molds guarantee easy resin release and endless customization.
Layering is your secret weapon for achieving a polished, professional look. It prevents your embedded charms from floating, creating depth and visual interest.
7. Make a Pair of Earrings with Resin
Creating a pair of resin earrings is a delightful craft project that lets your imagination shine.
- Start by choosing a silicone mold for your DIY earrings.
- Mix your resin and hardener in a precise 1:1 ratio.
- Infuse your creation with pigments and dyes, adding color and vibrancy.
- You can also sprinkle in glitter or embed tiny treasures for a unique touch.
- Pour this beautiful resin mix into your mold, ensuring even distribution.
- Allow it to cure for 24-48 hours.
- Once fully set, gently sand any rough edges and polish them to a glossy finish.
- Finally, use jump rings to transform resin earrings into wearable art pieces.
8. Design One-of-a-Kind Resin Rings
Crafting resin rings is an exciting journey. The possibilities are as vast as your imagination when designing your rings. Incorporate dried flowers, glitter, or small photographs to make each piece uniquely yours.
Mastering the layering technique ensures embedded items stay in place and your design remains stunning. To simplify the process, use silicone molds specifically for rings, which provide smooth finishes and easy removal.
Remember, patience is essential—resin typically requires 24-48 hours to cure fully. Once hardened, don’t skip the finishing touches. Sanding and polishing will transform your creation, giving it a glossy, professional look.
9. Create Jewelry with Embedding Techniques
Mastering embedding techniques can transform simple crafts into extraordinary treasures.
To create beautiful, personalized designs, begin by selecting small objects such as dried flowers, glitter, or charms. Then, use a layering technique. Pour thin resin layers and allow them to partially cure before embedding your chosen items. This prevents them from floating and guarantees a seamless finish.
Seal delicate materials like photographs with a clear sealant to maintain clarity and prevent bleeding. Experimenting with curing times can reveal unique textures or achieve a clearer finish, enhancing your jewelry’s visual depth.
How to Mix and Pour DIY Resin Jewelry
To bring your resin jewelry designs to life, let’s explore the detailed process of mixing and pouring resin.
Essential Tips for Mixing Epoxy Resin
When diving into epoxy resin jewelry, attention to detail—both in preparation and execution—is your best ally.
Start by accurately measuring the resin and hardener using clear mixing cups, ensuring a perfect 1:1 ratio or as specified by the manufacturer. Thoroughly mix the components for 3-5 minutes, gently scraping the sides and bottom of the cup. This prevents sticky or cloudy results and minimizes pesky air bubbles.
After mixing, let the resin sit for a few minutes to allow bubbles to rise before you pour.
How to Pour Resin for Perfect Results
Getting the pour just right can transform your creation from ordinary to extraordinary.
Hold the cup about 6 inches above your mold, and let the resin jewelry magic begin. Slow, steady pouring minimizes bubbles, and a gentle pass with a heat gun or torch perfects the surface.
Layering is key when embedding treasures. Let each layer partially cure to keep items anchored.
Common Mistakes to Avoid When Pouring Resin
As you begin your resin jewelry adventure, sidestepping common pitfalls can elevate your creations to a higher level.
- First, guarantee you measure the resin and hardener precisely. An off-balance ratio could result in a sticky, non-curing mess.
- Mix them thoroughly for at least 3-5 minutes. Scrape the container’s sides and bottom to achieve a homogeneous blend and minimize bubble trouble.
- Pour slowly in a thin stream, perhaps from a height, to further reduce air bubbles.
- If you’re embedding objects, let the resin partially cure first, preventing items from floating.
- Create in a dust-free environment. Cover your pieces during the curing process to safeguard against imperfections.
Crafting resin jewelry with these tips will guarantee stunning, flawless results.
How to Cure Your DIY Resin Jewelry Effectively
You’ve crafted the perfect resin jewelry design, but now it’s time to ensure it cures perfectly.
Tips for Ensuring Your Resin Fully Cures
Successfully curing your DIY resin jewelry involves mastering a few essential techniques.
Start by verifying the accurate mixing of resin and hardener. Improper mixing is a common culprit for incomplete curing. Follow the manufacturer’s ratios meticulously.
To create an ideal curing environment, maintain a workspace temperature between 70°F and 80°F (21°C to 27°C). This range supports chemical reactions.
Keep humidity at bay, as it can leave your piece sticky or improperly cured. A dehumidifier can be your best friend here.
Be patient with your curing time, allowing 24-48 hours or even longer for thicker pieces.
Use UV Light for Quick Curing
With UV light, your resin jewelry can harden in just 10 to 30 minutes instead of waiting a full day or two. The key is applying resin in thin layers to guarantee thorough curing. Thick layers might leave you with sticky disasters.
Remember to rotate your piece under UV light for even exposure. Uneven curing results in soft spots and cloudy finishes. To avoid mishaps, always adhere to the manufacturer’s guidelines regarding distance and duration.
While UV curing is trendy and efficient, it’s essential to check that your resin types are compatible with this method.
How to Store Your DIY Resin Jewelry Properly
It’s equally important to organize and store your creations in a way that sparks new ideas.
Think of your resin jewelry storage as a gallery of inspiration. Use clear containers to showcase your jewelry resin pieces, allowing you to visualize their potential.
Stackable trays can help you sort by color, theme, or season, sparking ideas for your next project.
By keeping your craft area organized and aesthetically pleasing, you’ll find that new concepts for your next jewelry resin piece come naturally.
How to Get Inspiration for Your Next Resin Jewelry Project
Before diving into your next creation, here are a few ideas to help you find inspiration for your resin jewelry designs.
Explore Ideas on Instagram
Scrolling through Instagram, you’ll uncover a vibrant tapestry of resin jewelry inspiration just waiting to ignite your creativity. With hashtags like #ResinJewelry and #ResinArt, you’ll find a treasure trove of design ideas perfect for both beginners and seasoned creators.
Instagram offers a rich community where artists share their creative processes, showcasing unique materials and innovative techniques. Many creators provide tutorials and step-by-step videos, making it easy for beginners to immerse themselves in resin jewelry.
Trending themes, from seasonal colors to nature-inspired designs, can spark your imagination, leading to truly personalized pieces. Engaging in challenges or collaborations not only connects you with fellow artists but also encourages experimentation with new styles and concepts.
Ideas for Special Events Using Resin Jewelry
When planning resin jewelry for special events, tapping into the event’s unique essence can transform your creations into cherished keepsakes.
Consider the event’s theme and palette. For weddings, use colors that mirror the bride’s bouquet or embed delicate lace patterns.
Seasonal festivities open a world of possibilities. Imagine embedding miniature ornaments or dried flowers for Christmas or Easter gatherings.
Nature-inspired elements like leaves or shells can make your pieces perfect for outdoor events or summer celebrations.
Don’t forget the power of color psychology. Choose hues that resonate with the event’s mood, like calming blues for serene retreats or fiery reds for vibrant parties.
Incorporate cultural symbols to add a layer of personal meaning and connection to your resin jewelry.
Conclusion
Immerse yourself in the vibrant world of resin jewelry making, where your creativity knows no bounds. Mix, pour, and cure your pieces with precision, crafting accessories that are as unique as you are.
Let your imagination soar with innovative designs, from whimsical butterflies to striking geometric patterns. Infuse each piece with personal meaning, drawing inspiration from the changing seasons and diverse cultures.
Remember, resin jewelry isn’t just an accessory—it’s an expression of art and individuality, perfect for any occasion.
FAQs
What Can I Put in Resin Jewelry?
To create stunning resin jewelry, you can embed dried flowers, leaves, glitter, or small beads. For an organic touch, add seashells, stones, or wood slices. For a whimsical, trendy flair, add vibrant pigments or tiny trinkets.
How Long Does Resin Jewelry Last?
When properly created and cared for, your resin jewelry can last several years. Keep pieces out of direct sunlight, clean them gently, and avoid prolonged water exposure to maintain their beauty and prevent fading or damage.
What Should You Not Put in Resin?
You shouldn’t use fresh flowers or fruits in resin; they’ll rot and smell. Avoid porous items like paper and untreated wood; they absorb moisture. Steer clear of rust-prone metals and air-pocketed pieces to prevent discoloration and bubbles.