Bracelet Ideas With Beads: Design Your Beautiful Bead Bracelets
Beaded bracelets are vibrant and versatile accessories. They’re perfect for expressing your style or creating heartfelt gifts. Whether you’re a seasoned crafter or a newbie looking to explore your creativity, the world of beadwork offers endless possibilities.
The options are limitless, from colorful patterns to unique charm additions. Today, we’ll explore bracelet ideas using beads, showcasing techniques and combinations to inspire you. Get ready to transform simple beads into beautiful wearable art!
Key Takeaways
- Use clay beads and charms for unique, personalized bracelet designs.
- Experiment with polymer and air-dry clay beads for durability and convenience.
- Incorporate accent beads like gemstones for focal points and visual interest.
- Create stretch bracelets using an elastic cord for flexibility and comfort.
- Plan designs on a bead board for organized assembly and precise measurements.
What Are Some Easy DIY Bracelet Ideas With Beads?
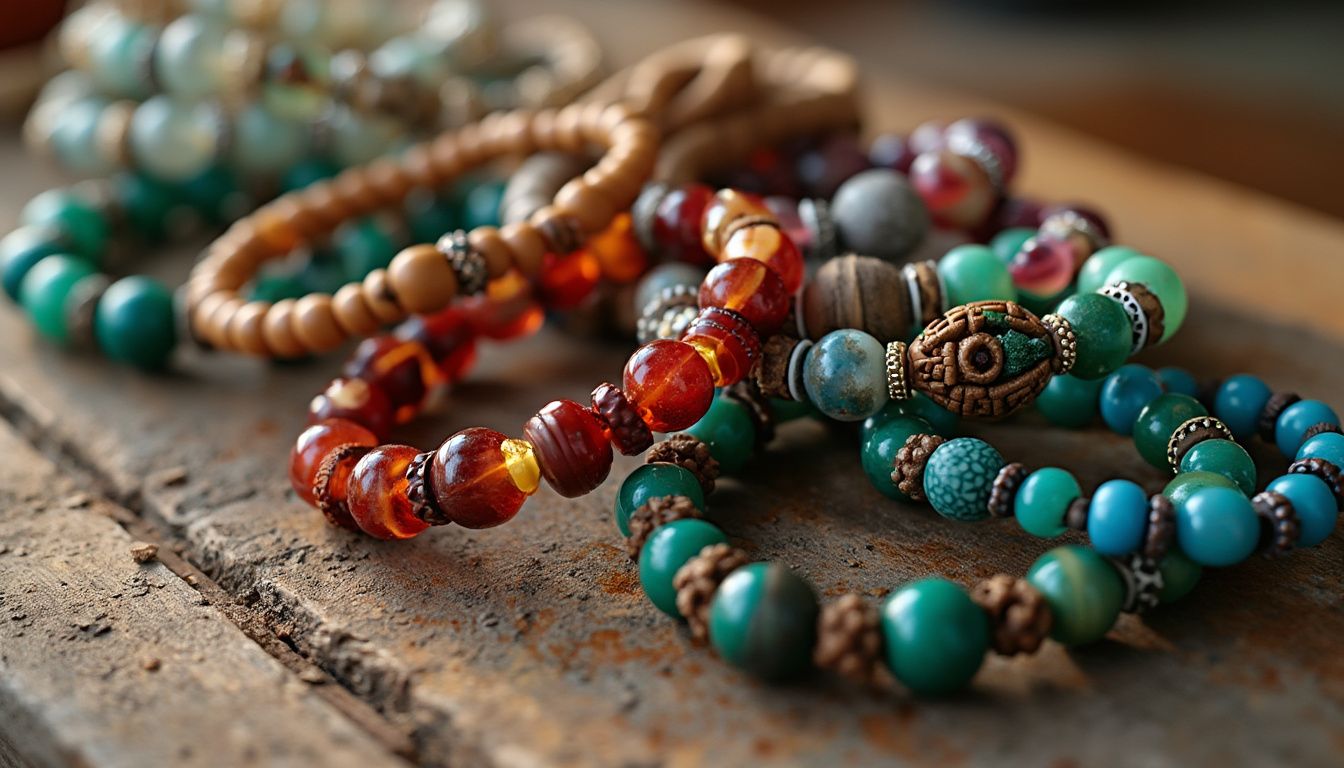
To personalize your accessories, let’s explore some simple DIY bracelet ideas using beads.
1. Simple Clay Bead Bracelet Designs
Creating simple clay bead bracelets is a fantastic way for beginners to plunge into jewelry making. Start with a simple design using air-dry clay beads. You can easily mold and roll these without needing a kiln, making them perfect for beginners.
Experiment with monochromatic or multicolored patterns to enhance your creativity. Add colorful acrylic letter beads for a personal touch.
It’s a fun way to make bracelets that reflect your style. These projects don’t require specialized skills, so you can focus on enjoying the process.
2. Add Beads to Your Stretch Bracelet
Crafting a stretchy bracelet is a delightful way to express your creativity and personal style. Start by cutting the right length of the elastic cord, about twice the size of your wrist. This guarantees you have enough for stringing beads and securing the ends.
Arrange your beads on a bead board to create a balanced design before stringing them onto the elastic cord. Secure the starting point with a crimping bead and connector, looping the cord back through the crimping bead.
As you add beads, regularly check the bracelet’s length for a comfortable fit. Once satisfied, crimp the final bead securely with pliers. If needed, tie a knot to maintain the bracelet’s shape and durability.
3. Create Simple Knot Bracelets
Whipping up a simple knot bracelet is a fantastic way to plunge into the world of DIY jewelry.
Start by measuring your wrist and cutting an elastic cord twice that length for flexibility. Choose beads with larger holes and lay them out in your desired pattern.
If desired, thread them onto the elastic cord using a beading needle, leaving about an inch of space at each end. Then, test the bracelet’s fit around your wrist.
Once satisfied with the arrangement, tie a secure knot, ensuring the beads are snug but not overly tight. Add a drop of clear glue to the knot for added security.
Trim any excess elastic and gently stretch the bracelet to confirm it maintains its shape. Now, enjoy your personalized creation!
4. How to Incorporate Accent Beads into Your Jewelry Designs
Incorporate accent beads to elevate your designs and immerse yourself in DIY bracelet projects. Choose striking accent beads like gemstones or silver to create focal points.
To make your bracelet designs pop, use contrasting colors that stand out against your primary beads. Alternate larger accent beads with smaller beads for a balanced look that ensures harmony and eye-catching appeal.
Experiment with shapes such as rondelles or spacers to add variety and depth. When stringing your bracelets, secure your accent beads using crimp beads or knots on either side to prevent movement.
5. Fun Ideas for Making Bead Bracelets with Kids
Many fun and easy bead bracelet projects await you and your kids. These projects are perfect for sparking creativity and honing fine motor skills.
Create colorful friendship bracelets using clay beads. These beads are made in vibrant colors, allowing your kids to personalize each bracelet project with their chosen patterns. Using round nose pliers, you can also add charms to express interests and personalities.
Try themed designs, like nature-inspired fun bracelets with leaf or flower motifs, which kids can craft using air-dry clay. Introduce alternating color patterns to teach symmetry and design skills.
Spell out names or fun words with acrylic letter beads, adding an educational twist to the bracelet-making process. Enjoy crafting together!
How to Use a Bead Board for Making a Bracelet
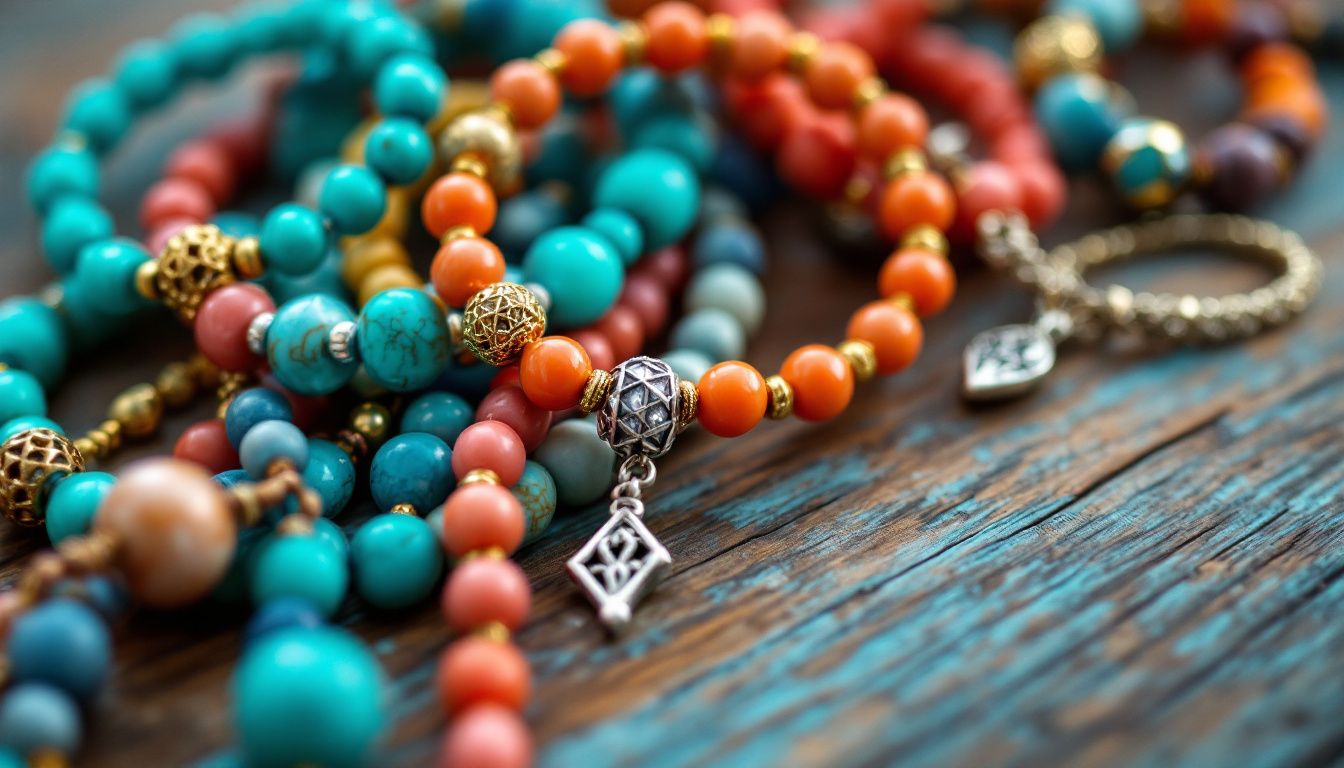
Using a bead board can transform your bracelet-making process. It offers a neat and organized way to plan your design.
What Is a Bead Board and Why Is It Useful?
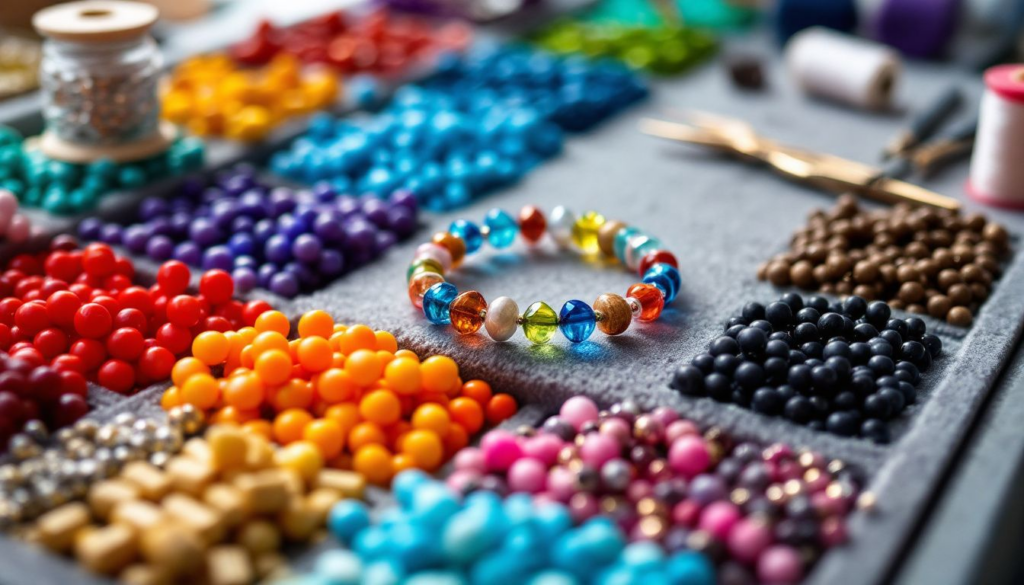
A bead board is an essential tool for anyone interested in bracelet making. It provides both organization and design assistance. The board features compartments and a grid layout that helps you plan your design before stringing. This allows you to visualize the length and spacing accurately, preventing beads from rolling away.
Plus, it keeps your beads in place as you experiment with different color combinations and patterns. Many bead boards include channels that help secure your beading thread, making it easier to measure and cut the correct length.
This is especially useful for beginners who need a structured design plan. With a bead board, you’ll create beautiful bracelets with ease and precision.
How to Lay Out Your Bead Design on a Bead Board
With your bead board ready, you can now focus on effectively laying out your design. The following is a simple tutorial.
Select a color palette that reflects your style or the intended wearer’s preferences. Arrange the beads in a visually appealing pattern on the bead board. Use the grid and designated channels to guide you.
Using the measurement lines, confirm that your design fits the desired bracelet length, leaving space for clamping and knots. Balance larger focal beads with smaller seed beads to create harmony in your design.
Once you’re happy with your layout, take a photo of it for reference when you string beads onto your bracelet.
How to Secure Your Design Before Stringing Beads
To secure your design, place a stop or crimp bead at one end of the board. This prevents your beads from sliding off while you work.
Use the measuring guide on the bead board to confirm the bracelet length, typically around 7-8 inches for adults. Adjust bead numbers if necessary for a comfortable fit.
How to Choose the Right Clasp for Your Bead Bracelet
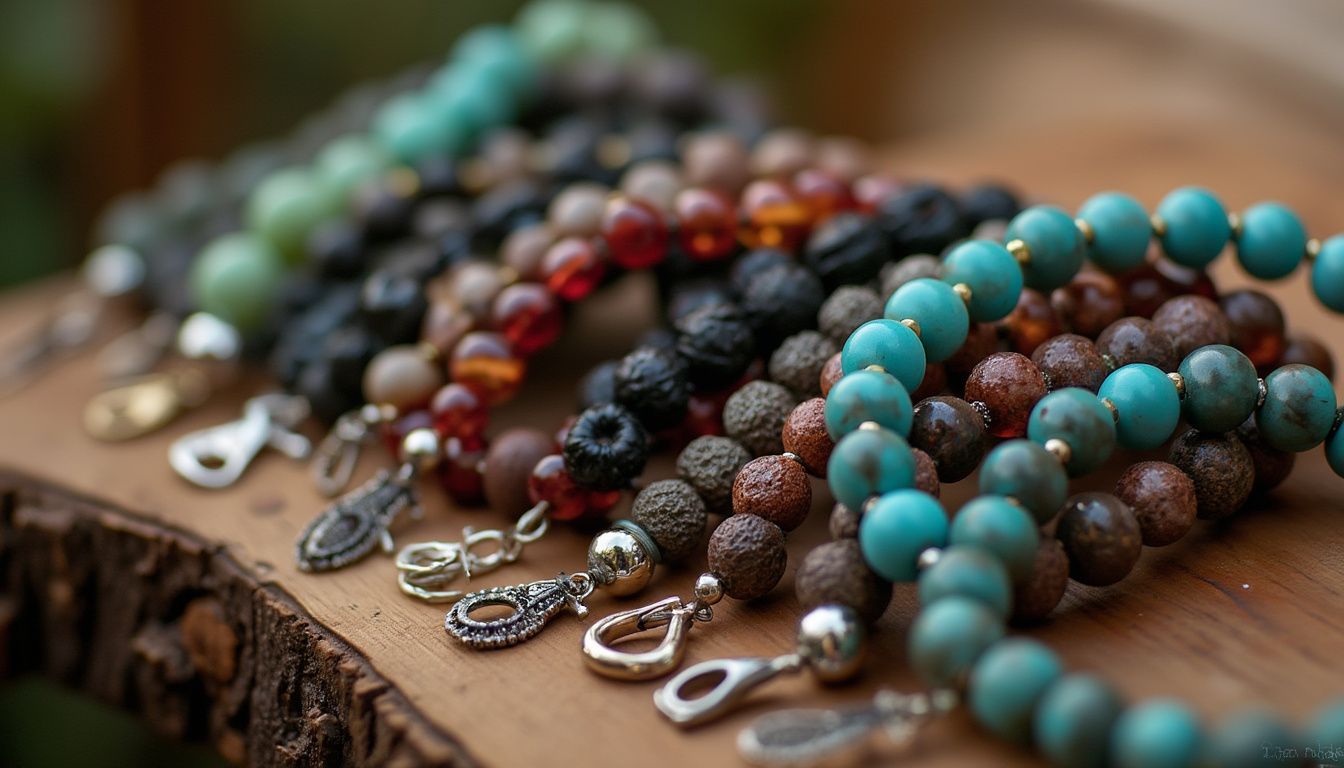
Choosing the right clasp for your bead bracelet is essential for both function and style.
Best Types of Clasps for Different Bracelet Designs
Lobster claw clasps are a top choice for bracelets. Because they’re secure and easy to use, making them perfect for daily wear.
Toggle clasps are ideal for a more decorative look, especially for boho or statement designs, though they mightn’t be as secure.
Snap clasps work well for elastic or stretch bracelets, providing flexibility and a snug fit.
For added convenience, magnetic clasps offer quick on-and-off access. But watch out for heavier designs as they may not hold firmly.
How to Properly Attach a Clasp to Your Bracelet
After selecting the perfect clasp for your bead bracelet, it’s time to learn how to attach it to guarantee both durability and style.
First, thread one end of your beading wire through the chosen clasp and a crimp bead. Loop the wire back through the crimp bead, then flatten it securely with pliers. This secure fastening prevents the clasp from slipping.
Be mindful of the clasp material. It should complement the overall design and withstand daily wear. After attaching the bracelet, gently pull on it to test the closure’s strength and ensure it won’t open unexpectedly.
This careful attention to detail guarantees your bracelet remains both functional and fashionable.
How to Choose a Clasp That Complements Your Design
The artistry of bracelet design isn’t just in the beads but also in selecting the perfect clasp to complement your creation.
- First, consider the weight and size of your beads. Larger beads need sturdy clasps like lobster or toggle for support.
- Match the clasp to your bracelet design’s aesthetic. Delicate clasps are best for minimalist designs, and bold ones are best for chunky pieces.
- Guarantee the clasp is user-friendly. Magnetic or snap clasps are great if you want ease of use.
- Align the clasp’s metal finish with the beads to achieve a cohesive look, such as pairing gold clasps with gold-toned beads.
- Don’t forget adjustability! Choose adjustable clasps or extensions to accommodate different wrist sizes.
These tips guarantee your bracelet is both beautiful and functional.
Conclusion
Creating bead bracelets is a rewarding and creative journey that allows you to express your unique style. Start with clay or acrylic beads for vibrant designs, and don’t hesitate to add gemstones or charms for a personal touch.
Use a bead board to experiment with patterns, ensuring your bracelet is balanced and visually appealing.
With practice, you’ll discover endless possibilities and find the perfect clasp to complete your masterpiece. Let your creativity shine through every bead!
FAQs
How to Do a Bracelet With Beads?
First, select enough beads, then design your layout on a bead board. Cut a piece of elastic cord, secure one end, string the beads, and finish by crimping the other. Enjoy your personalized bracelet!
How Many Beaded Bracelets Should You Wear?
For a stylish, balanced look, wear three to five beaded bracelets. Mix slim and chunky designs to add interest without overwhelming your wrist. Guarantee comfort; if it feels restrictive, opt for fewer pieces.
How to Make a Magical Bracelet?
To make a magical bracelet, choose vibrant gemstone beads like amethyst. Use a strong elastic cord, double its length. Add star or moon charms. Meditate on your intentions while crafting to infuse personal energy into your creation.
What Can I Use for a Homemade Bracelet?
You can use elastic cords for flexibility, clay beads for unique designs, and acrylic letter beads for personalization. Add crimping beads to secure closures. Mix different bead types like gemstones and charms for a visually appealing homemade bracelet.

